When it comes to saving money, I'll do whatever I can to get the most bang for my buck. My husband? He's the spender. I like to reuse and repurpose whenever I can. If not for the environment, then for my bank account.
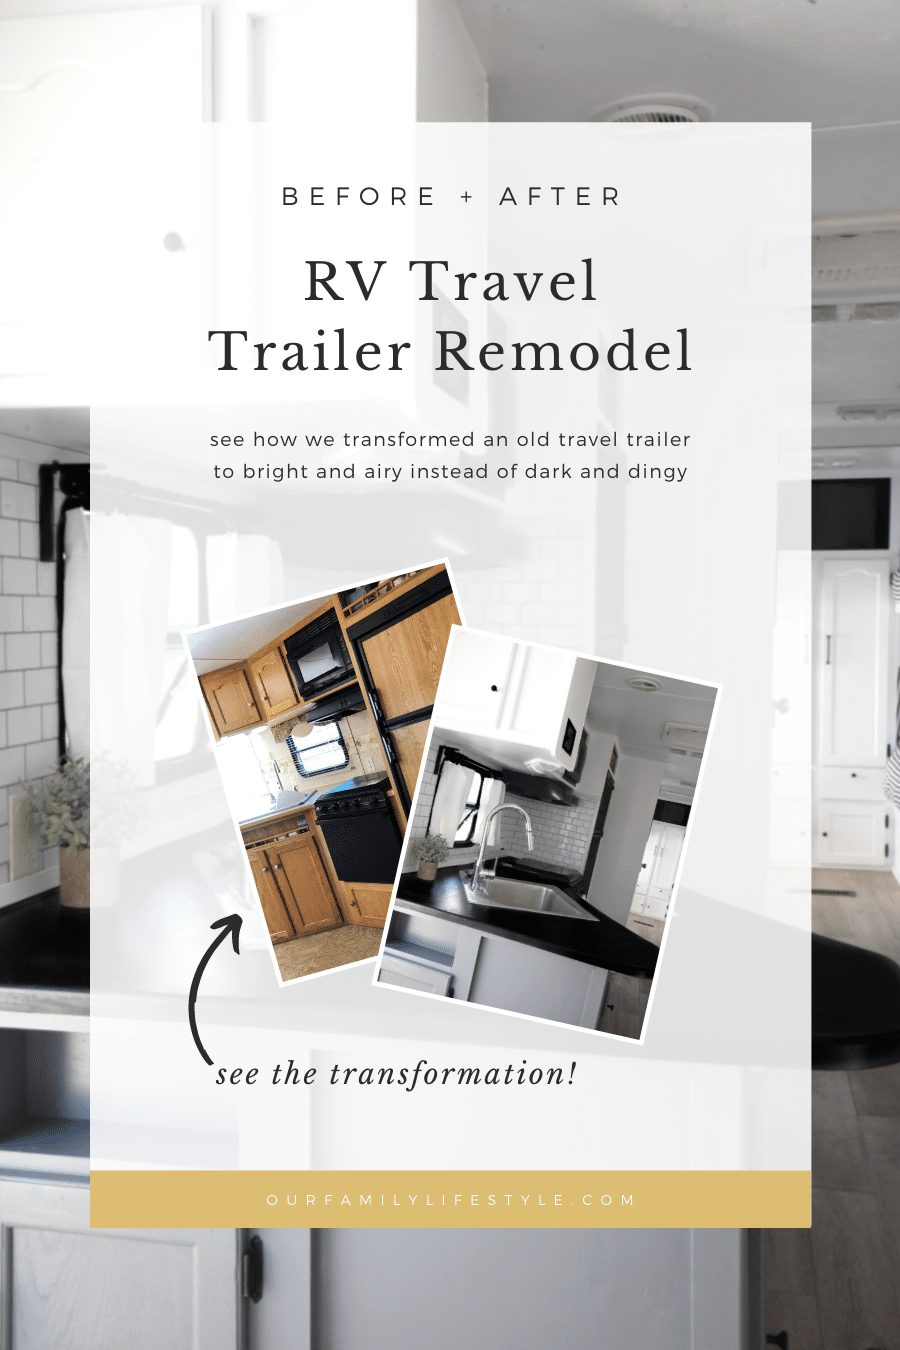
Therefore, as we began planning on how to redo different spaces in our RV travel trailer, I wanted to repurpose the original dinette set. Colby, at least at first, thought I was crazy.
This is not the first time. I tend to get my way often with him!
Nevertheless, I could envision what I wanted, I simply needed Colby to help me make it happen. And, as usual, he did.
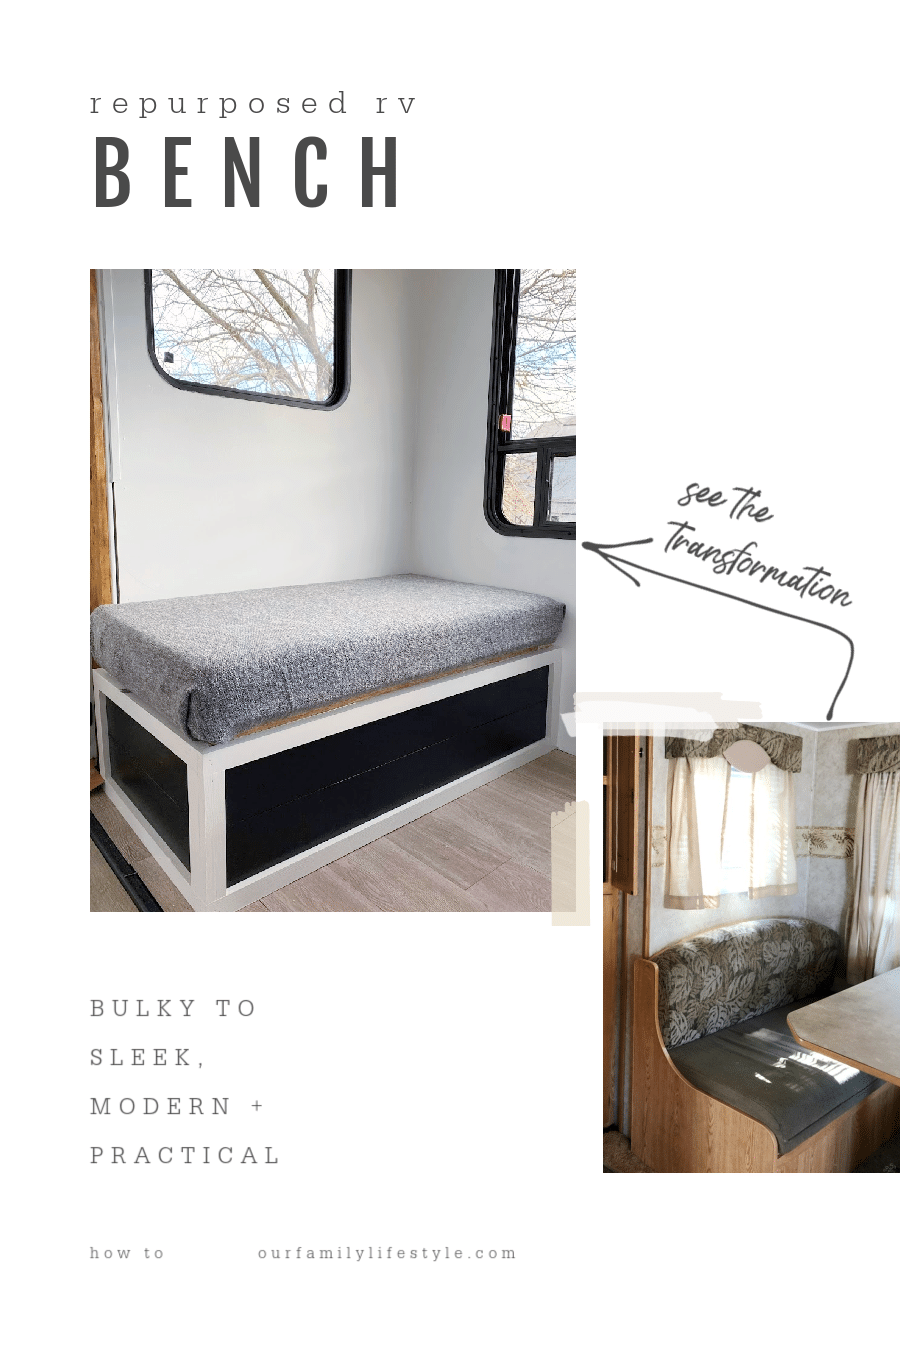
Repurpose RV Dinette
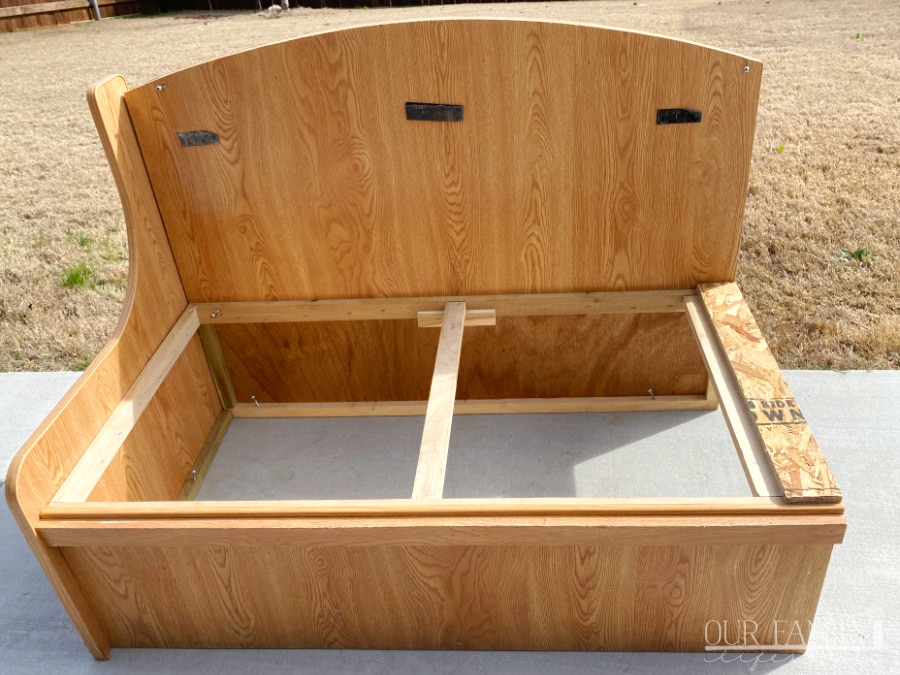
Here's the thing, the base of the RV dinette benches are practical and they work. Our benches lifted up to offer some storage space, and anyone who owns an RV, knows storage is essential.
Therefore, the base of the bench was fine. It was the rest that I didn't like.
First off, it's that terrible wood veneer that was everywhere in the trailer. Nope.
Second, the backs of the benches matched the ugly valances and sofa sleeper we took out, so, again, nope. Plus, they were dirty and musty.
Finally, they were too bulky; just like the couch. We were trying to open up the space and alleviate some weight.
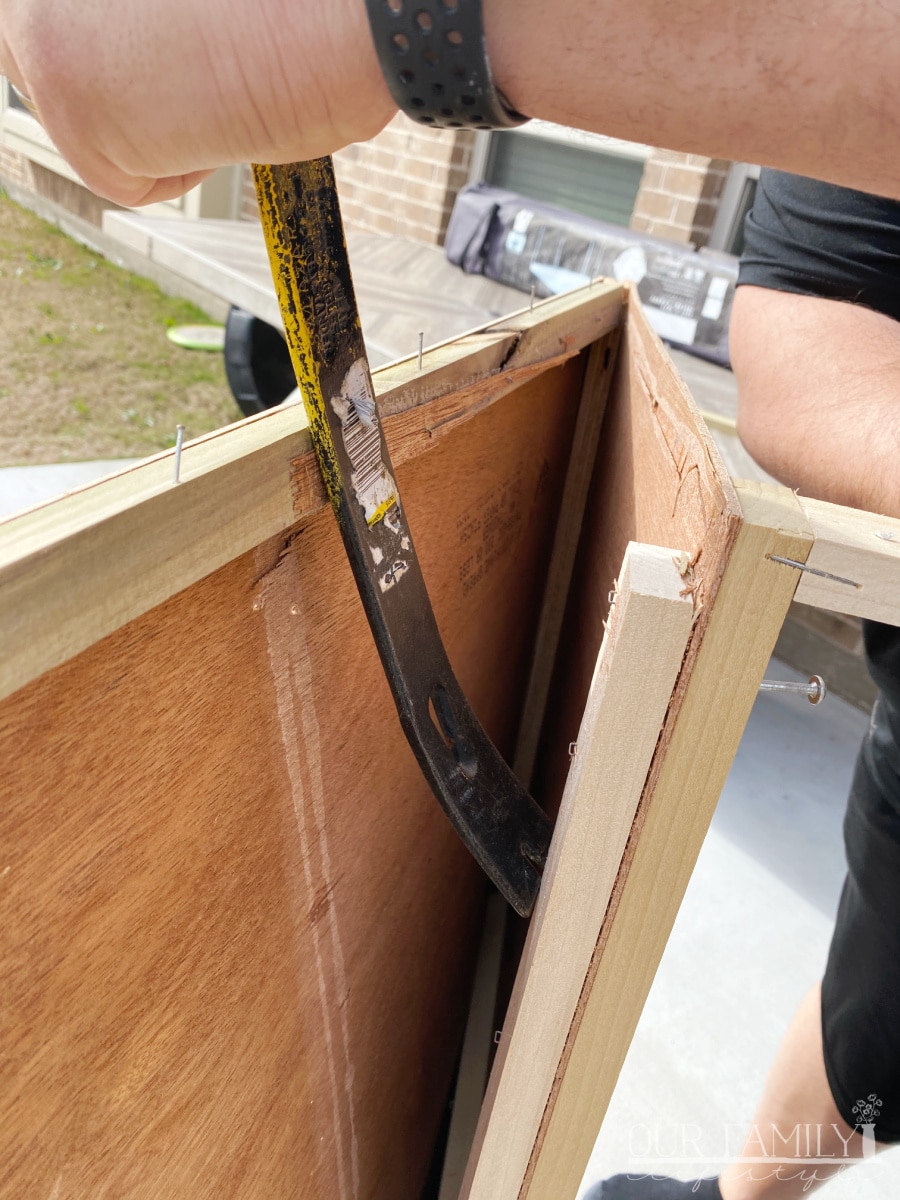
Taking the dinette benches out of the slide out on demo day was the easy part; now it was time to disassemble them.
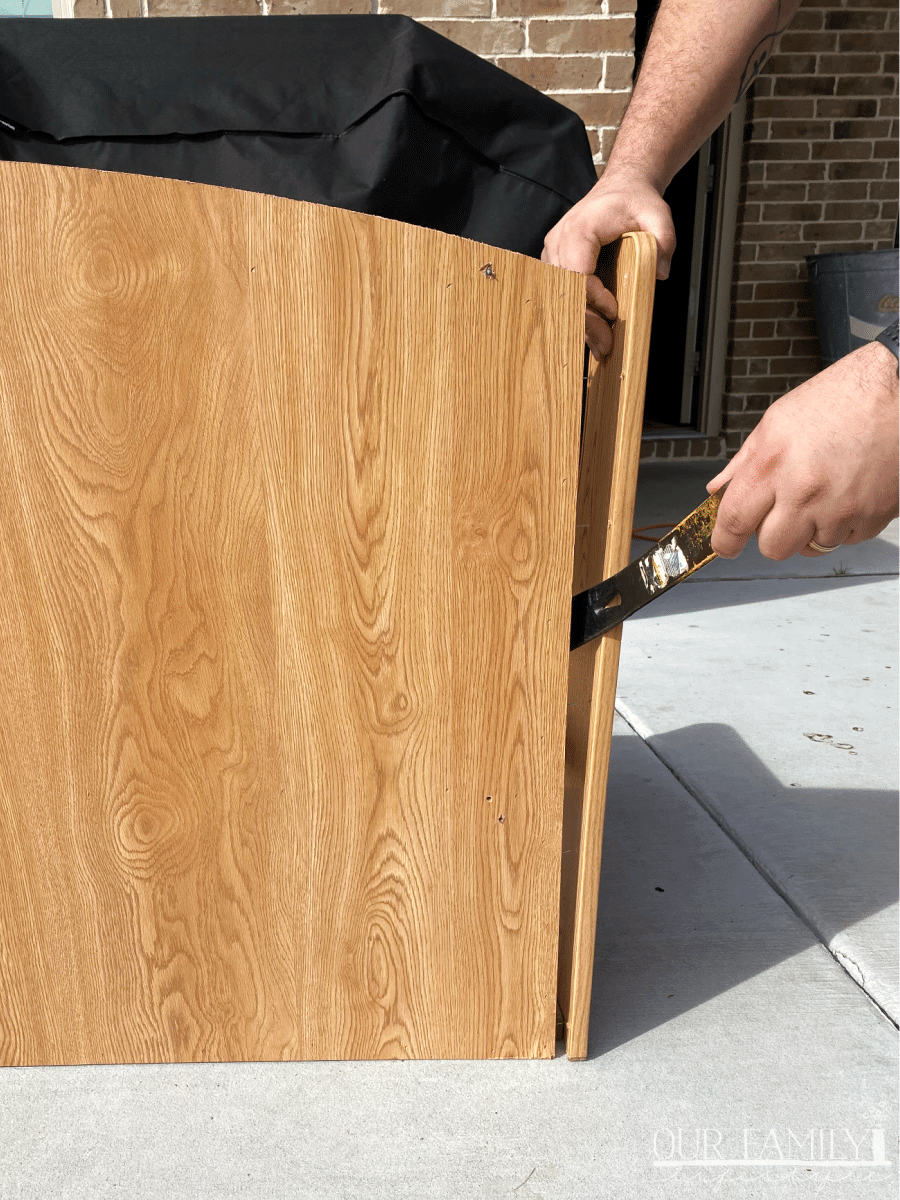
Just like the walls of the RV, we found staples galore holding the benches together. The pry bar was once again our friend during this process.
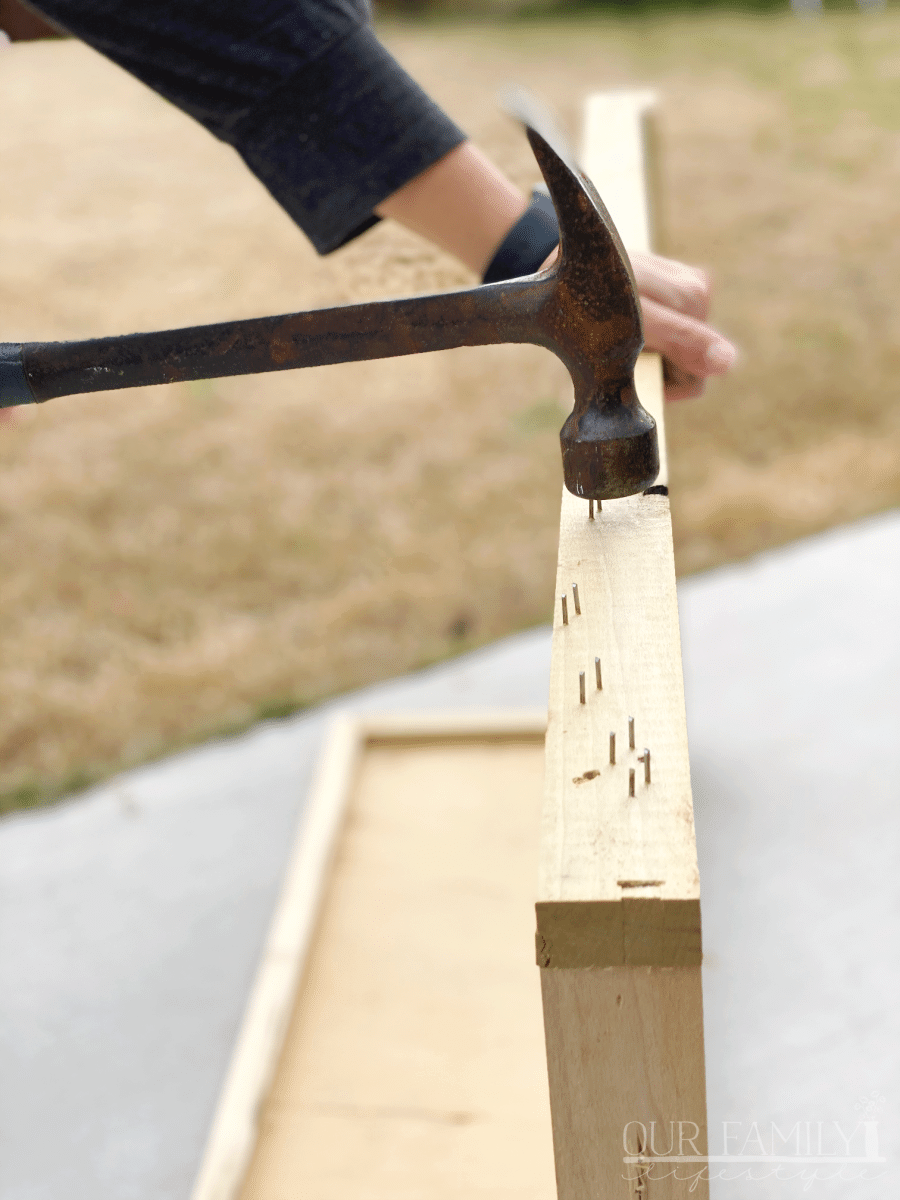
And then it was a hammer and pliers to finish removing the staples.
We had to take the back off the base, as well as pull it apart from itself. If that makes sense?
It was two pieces of mdf attached to a few pieces of trim. I wanted to use the extra mdf for the next part of the project.
We took apart the backs of both benches, even though I only wanted to end up with one. We needed all of the extra pieces.
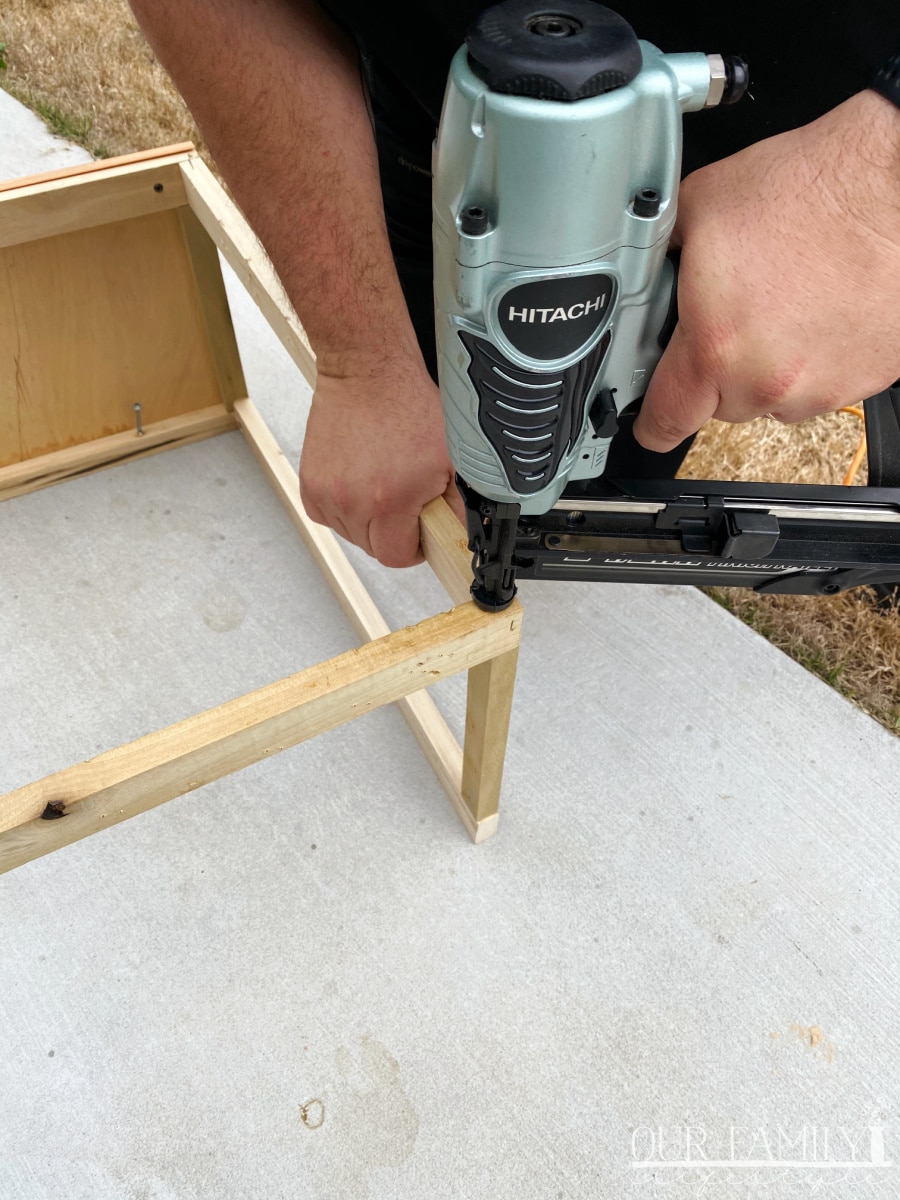
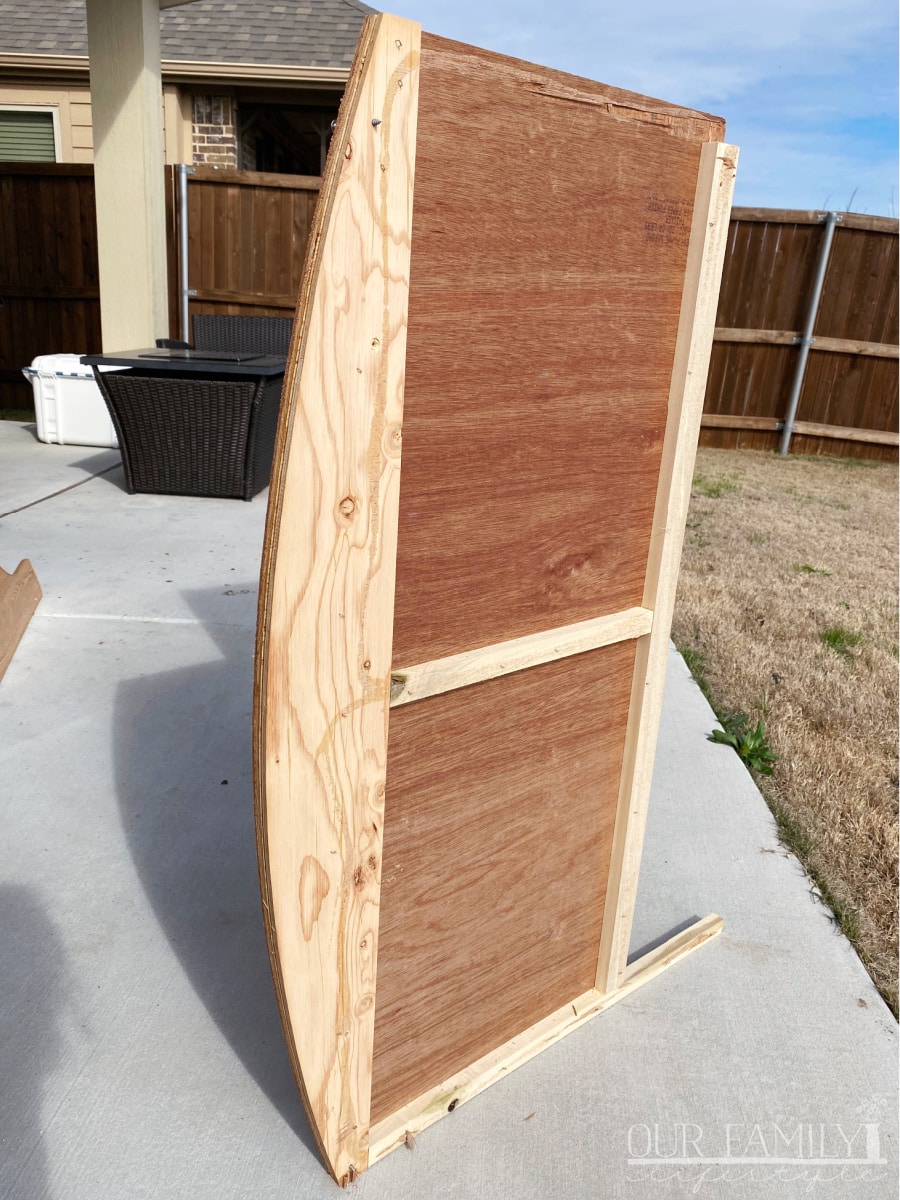
In fact, the trim pieces off both backs helped us make the new base of the bench, without purchasing any new boards.
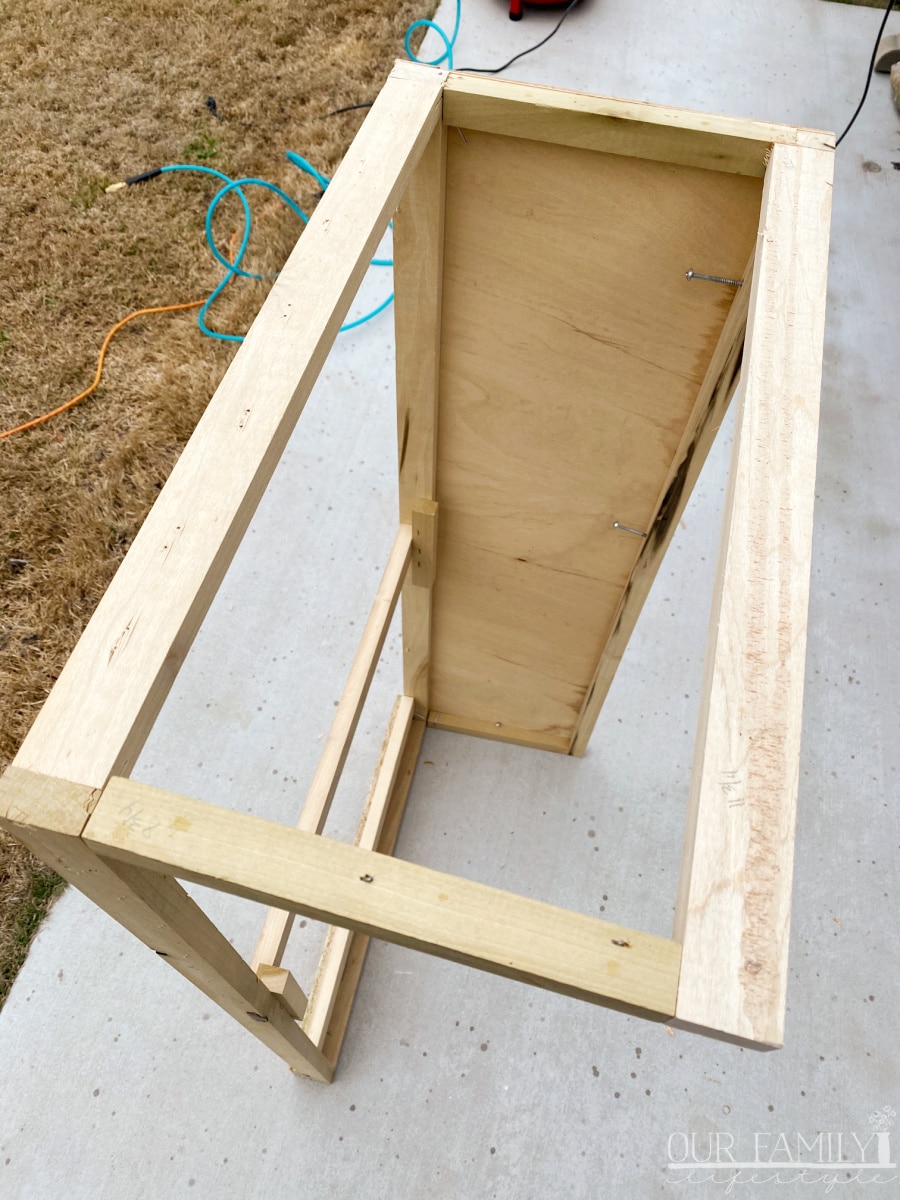
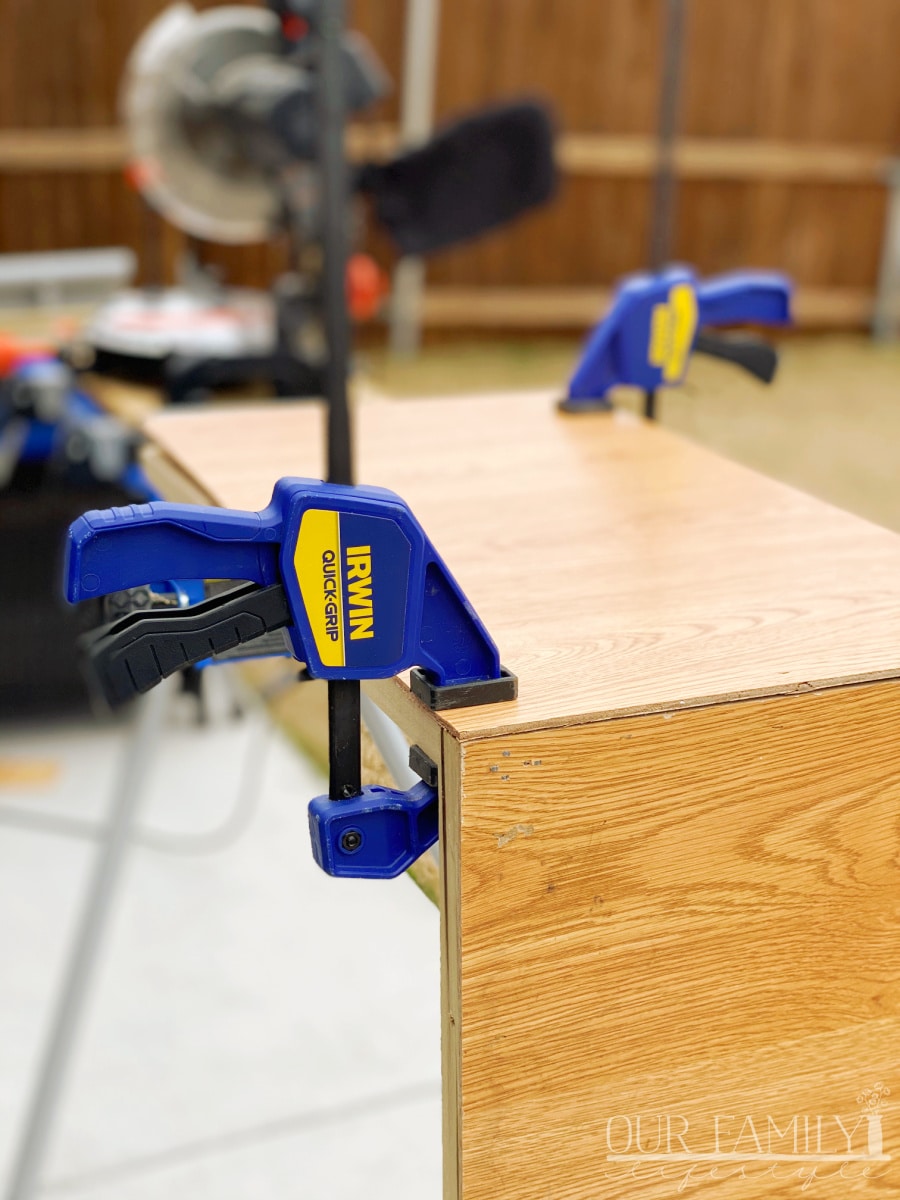
Because the original base was dependent on the back of the bench, we needed to create a box for stability. These pieces would also be used to anchor the base back into the trailer.
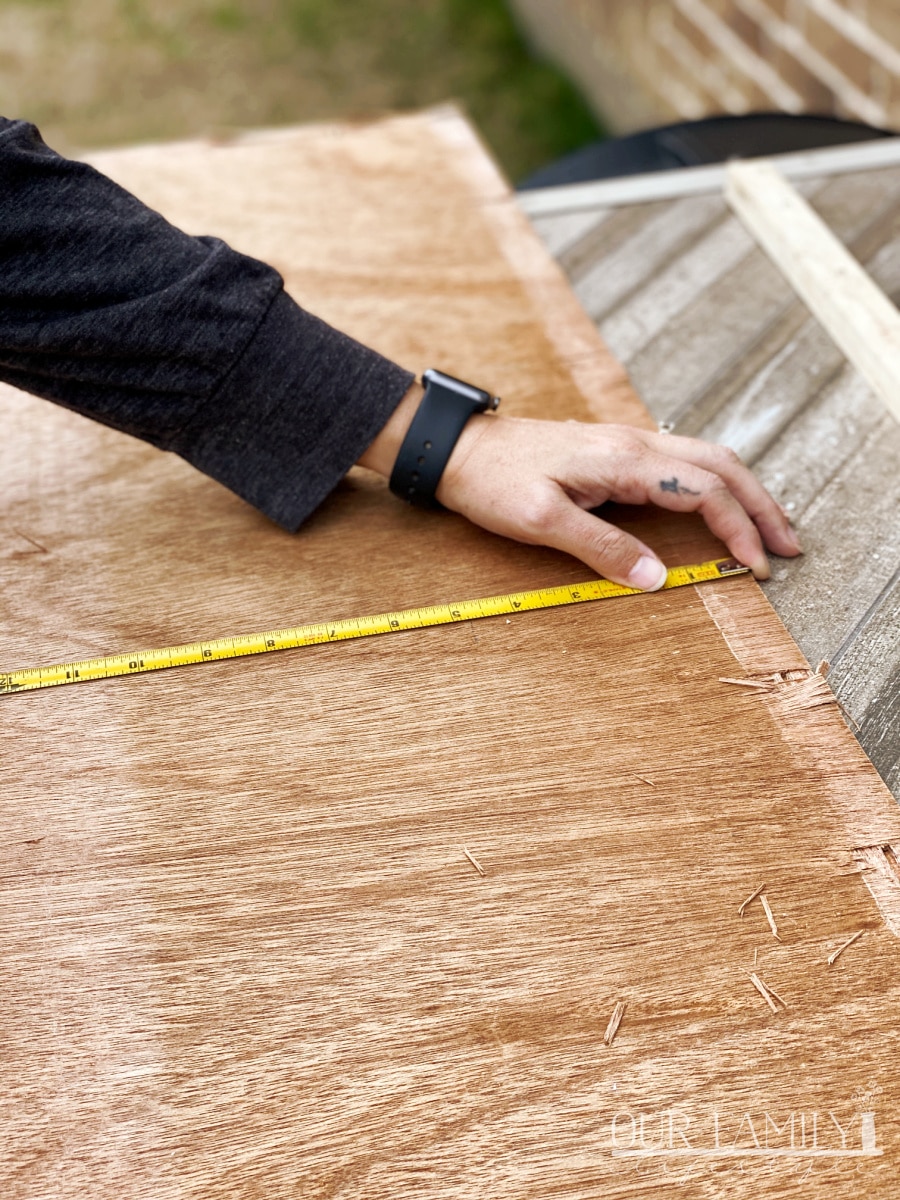
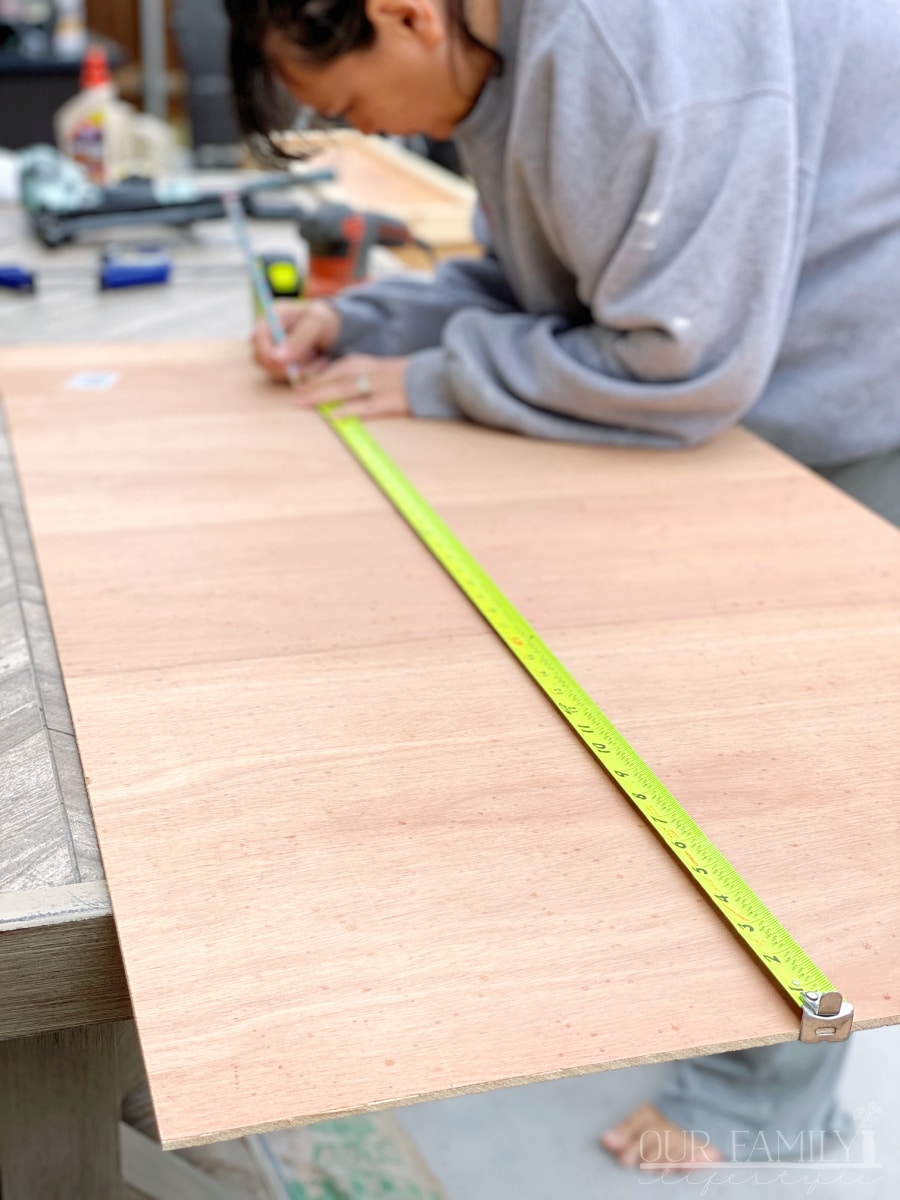
The backs of the benches were sanded and measured to create the new sides of the bench.
The bench only had the front side how we needed it originally. The back and side (not adhered to the trailer) were over the top of the base. And the fourth side did not exist.
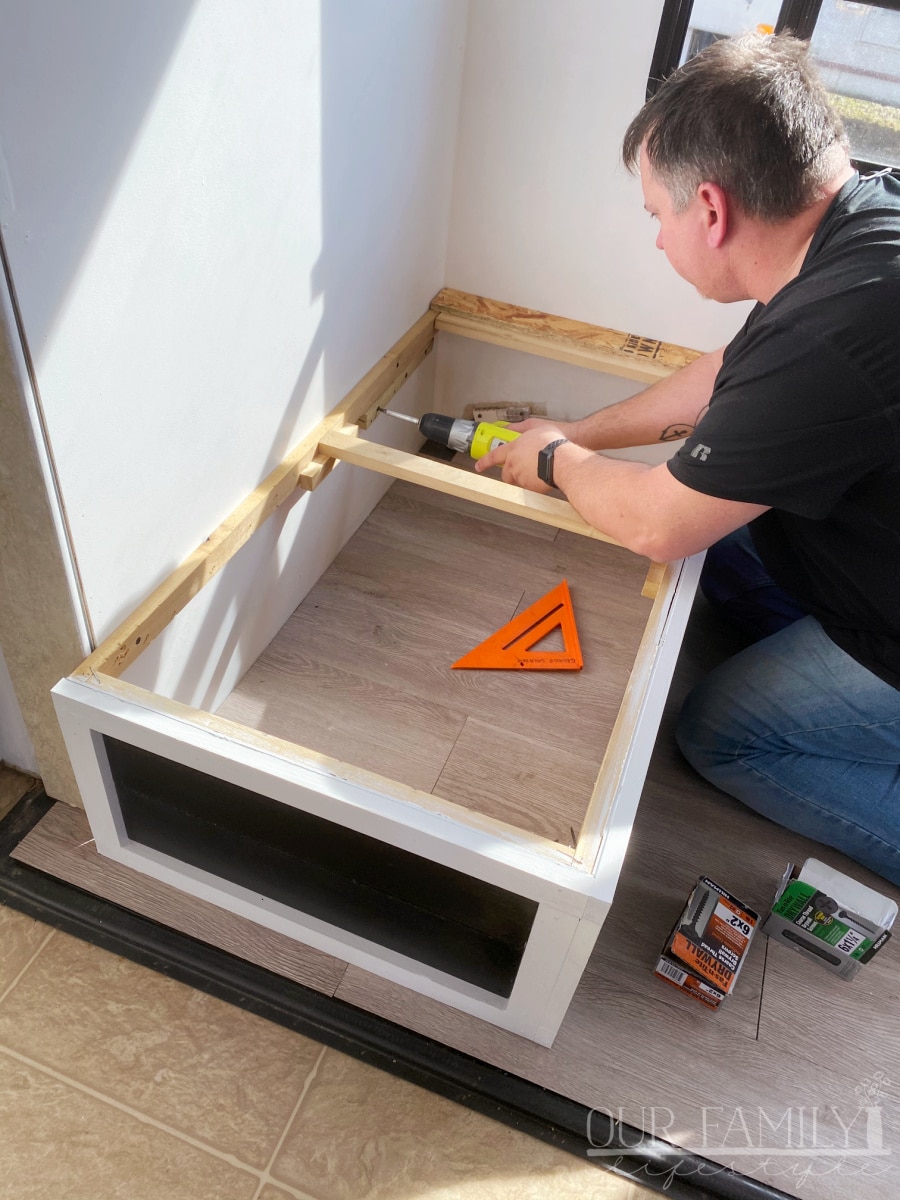
Once we assembled our new base, it was time to create the new look of the dinette bench!
Using more leftover mdf pieces, we measured the piece and cut it in half to paint black for the next step.
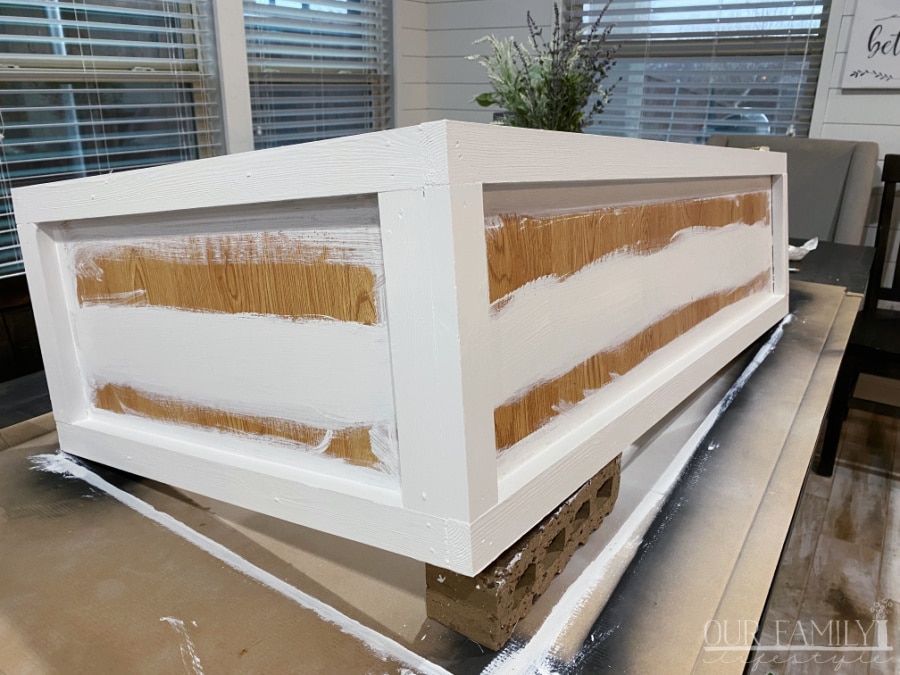
First, the base trim was painted white, as was the areas that would show through after the application of the mdf strips.
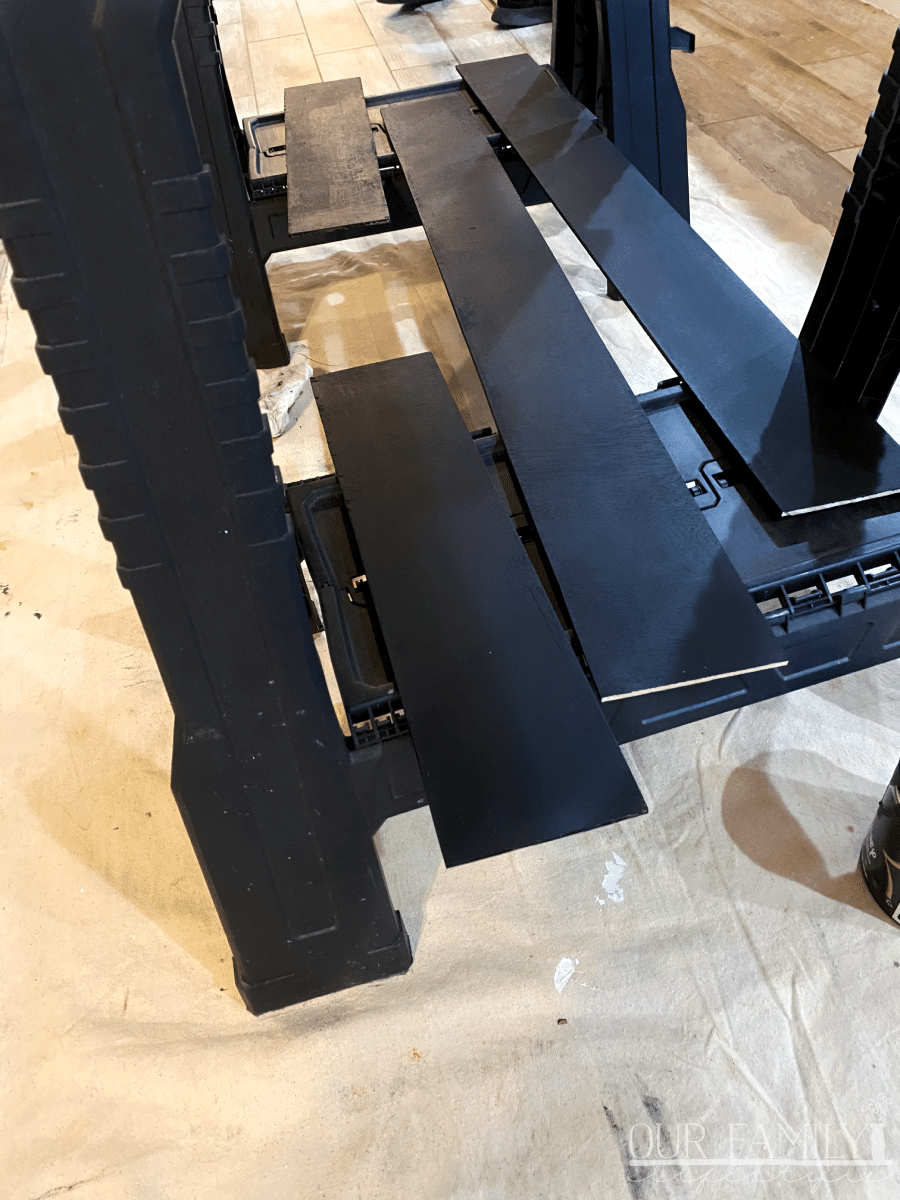
Can you tell what we did with them? We made them into black faux shiplap pieces for the bench sides!
I've been wanting to try black shiplap for a while now. I saw my chance with this small project and I took it!
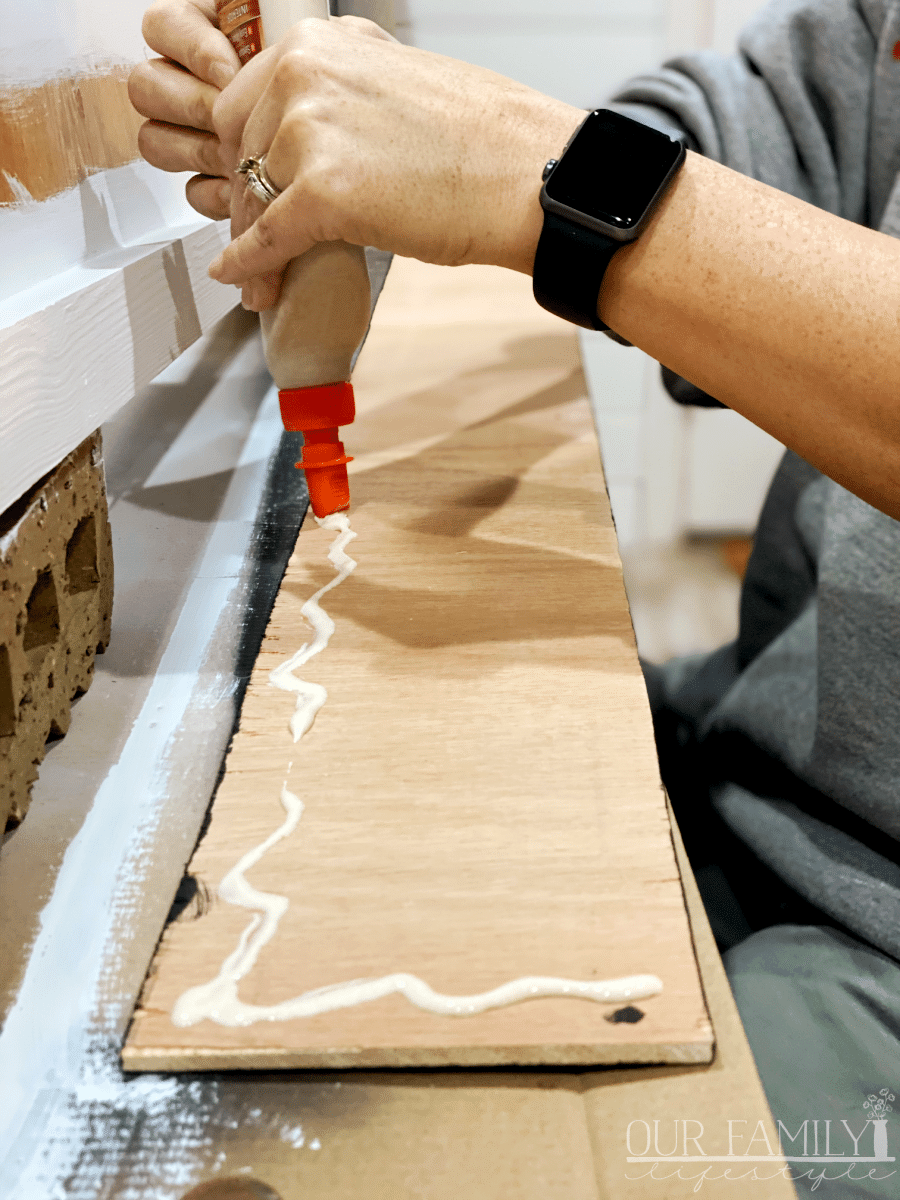
Once everything tried, I used wood glue to adhere each strip to the sides of the base with a nickel gap between the parallel pieces.
After allowing everything to dry and set over night, we were ready to bring it back to the trailer for installation.
A few screws through the trim pieces and we were back in business!
We used the original piece of particle board as the seat under the cushion.
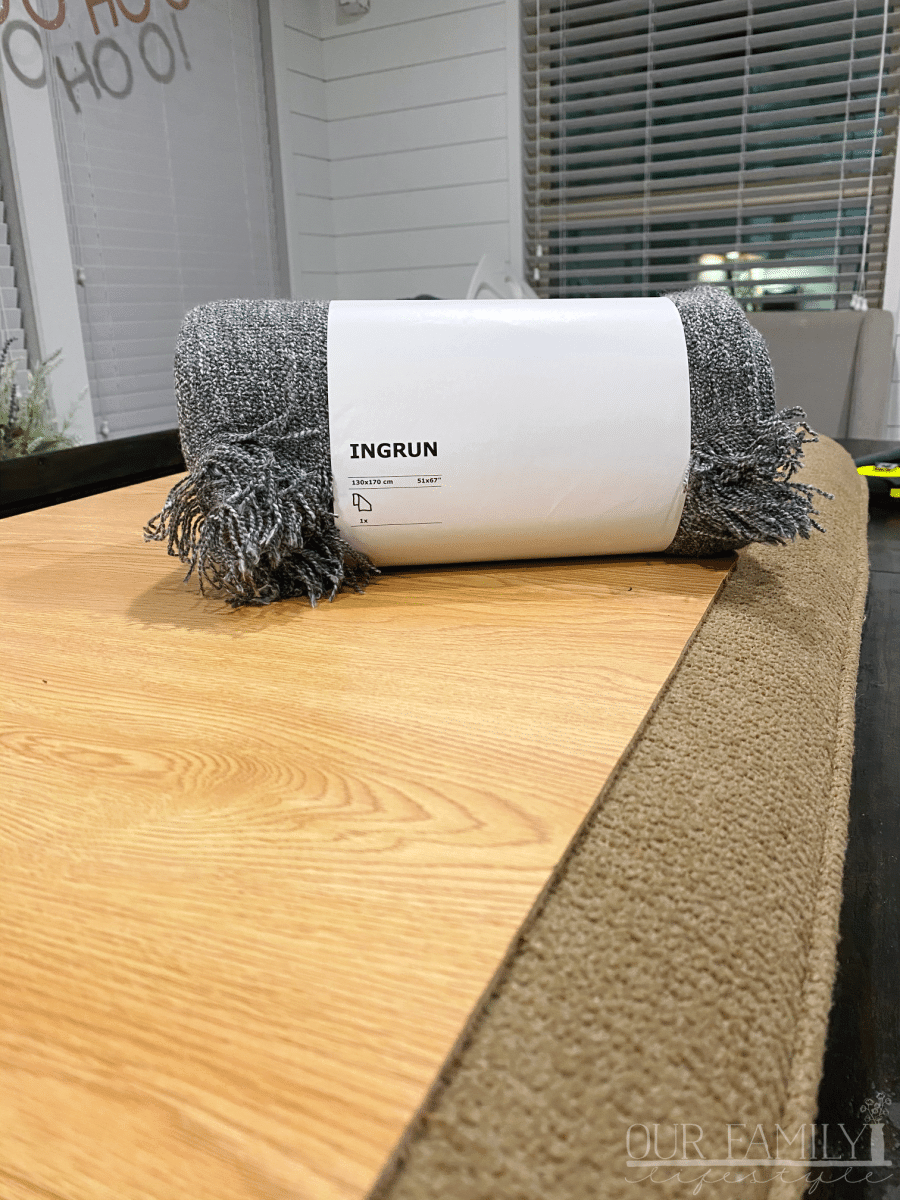
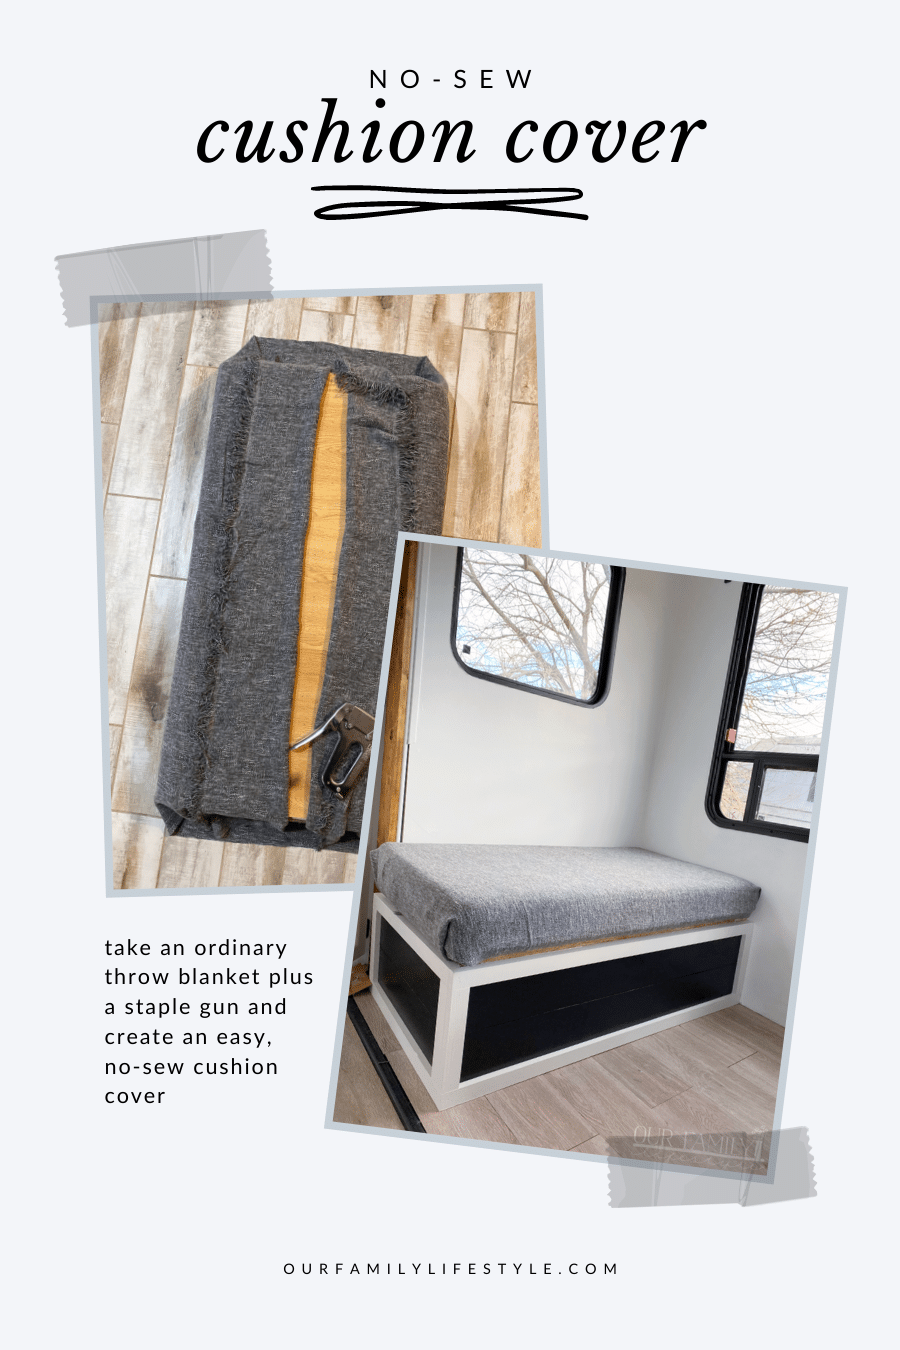
Speaking of the cushion, I couldn't find a new cover I liked, so I used a super simple technique to make my own.
We took a throw blanket from IKEA, along with another leftover piece of the benches, and carefully wrapped it around the original cushion.
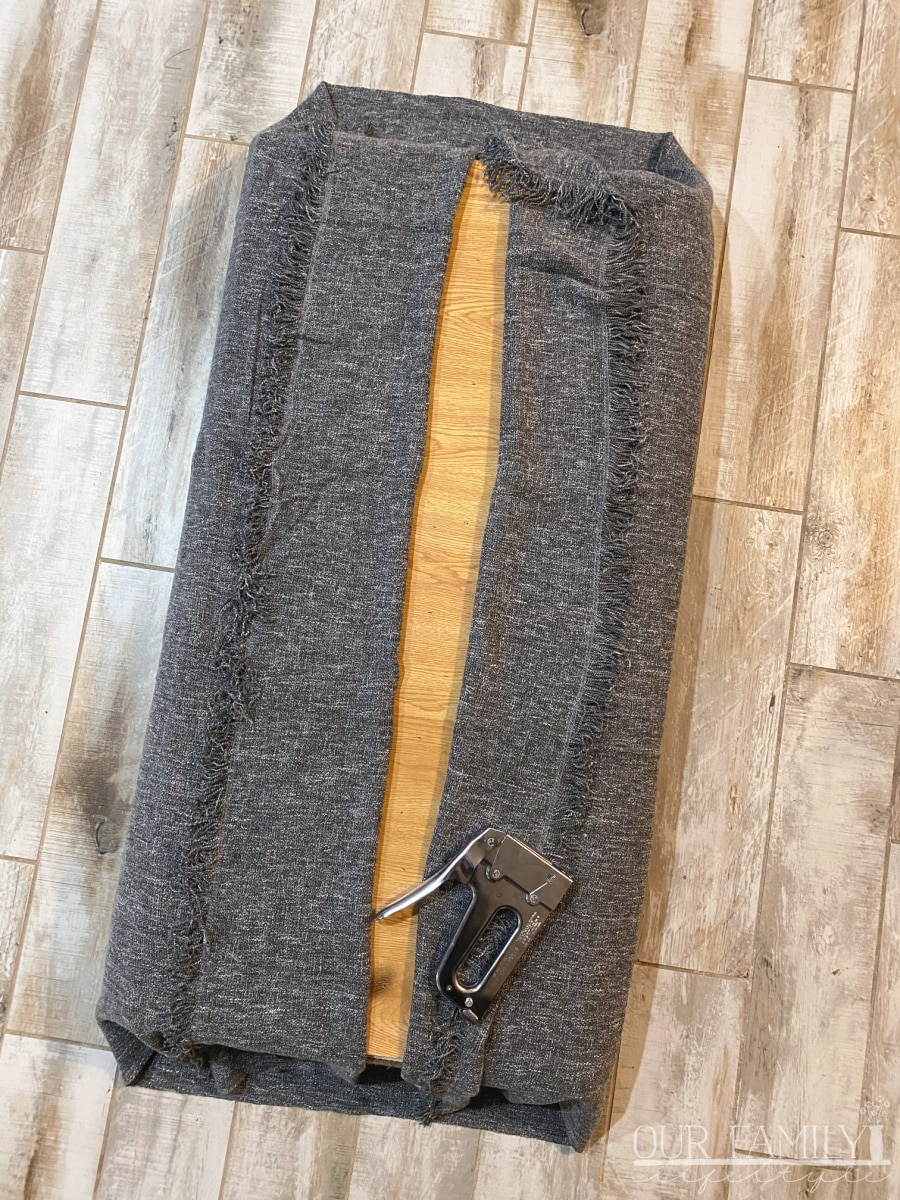
Using a staple gun, and pulling the blanket snug, we stapled the fabric in place to fully cover the cushion. Again, it's all about repurposing and using what you have.

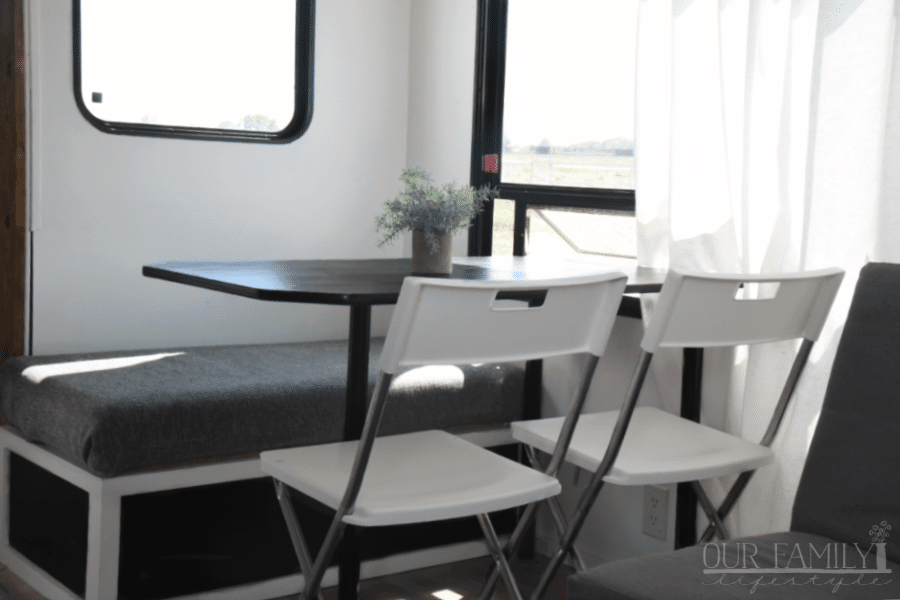
I think it turned out great! We toss a few throw pillows up there, store our extra chairs in in the storage compartment, and enjoy meals and play games there while traveling.
Can't beat (basically) FREE!
See more of the trailer transformation here!
amzn_assoc_placement = "adunit0"; amzn_assoc_search_bar = "true"; amzn_assoc_tracking_id = "7onashoe-20"; amzn_assoc_ad_mode = "manual"; amzn_assoc_ad_type = "smart"; amzn_assoc_marketplace = "amazon"; amzn_assoc_region = "US"; amzn_assoc_title = "Shop the Post"; amzn_assoc_linkid = "f36a2afee05e0201573ffcd3e6baa601"; amzn_assoc_asins = "B000NPT67A,B000X4J2H0,B00002ND61,B001DSY4QO";