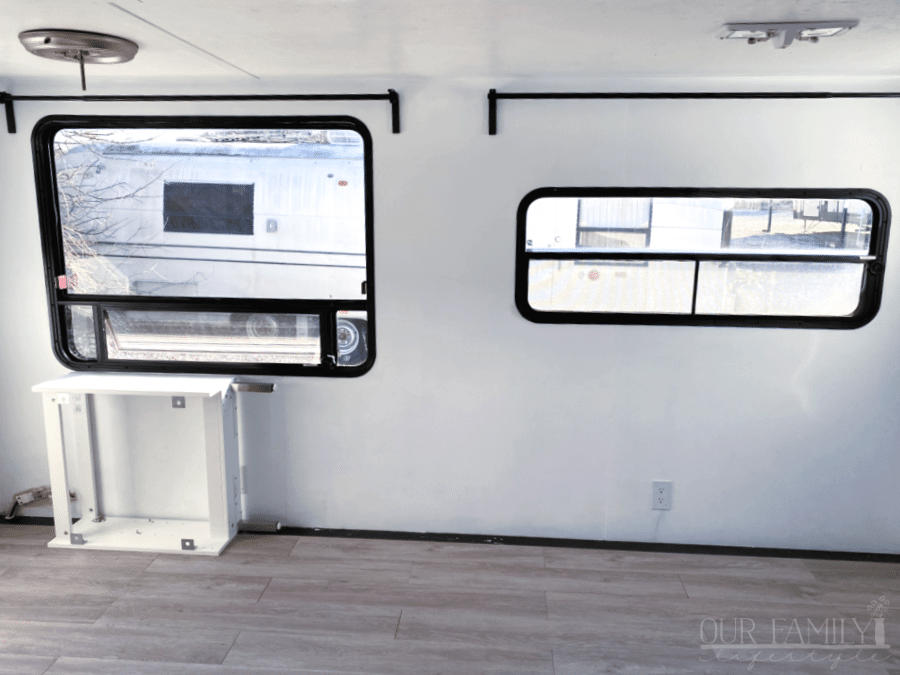
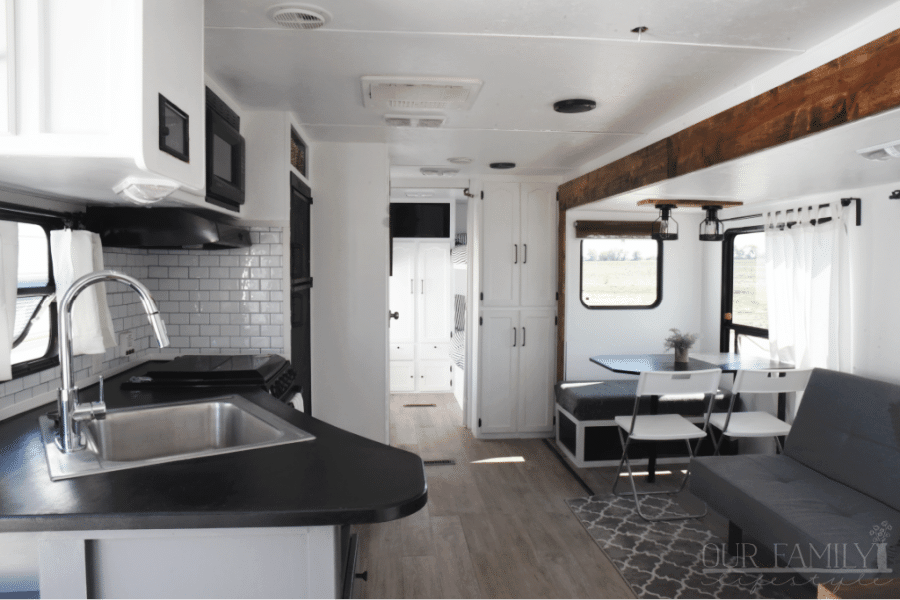
When we decided to take on this RV travel trailer renovation, I knew exactly how I wanted it to look. Well, mostly how I wanted it to look. One thing I knew for sure? I wanted it white.
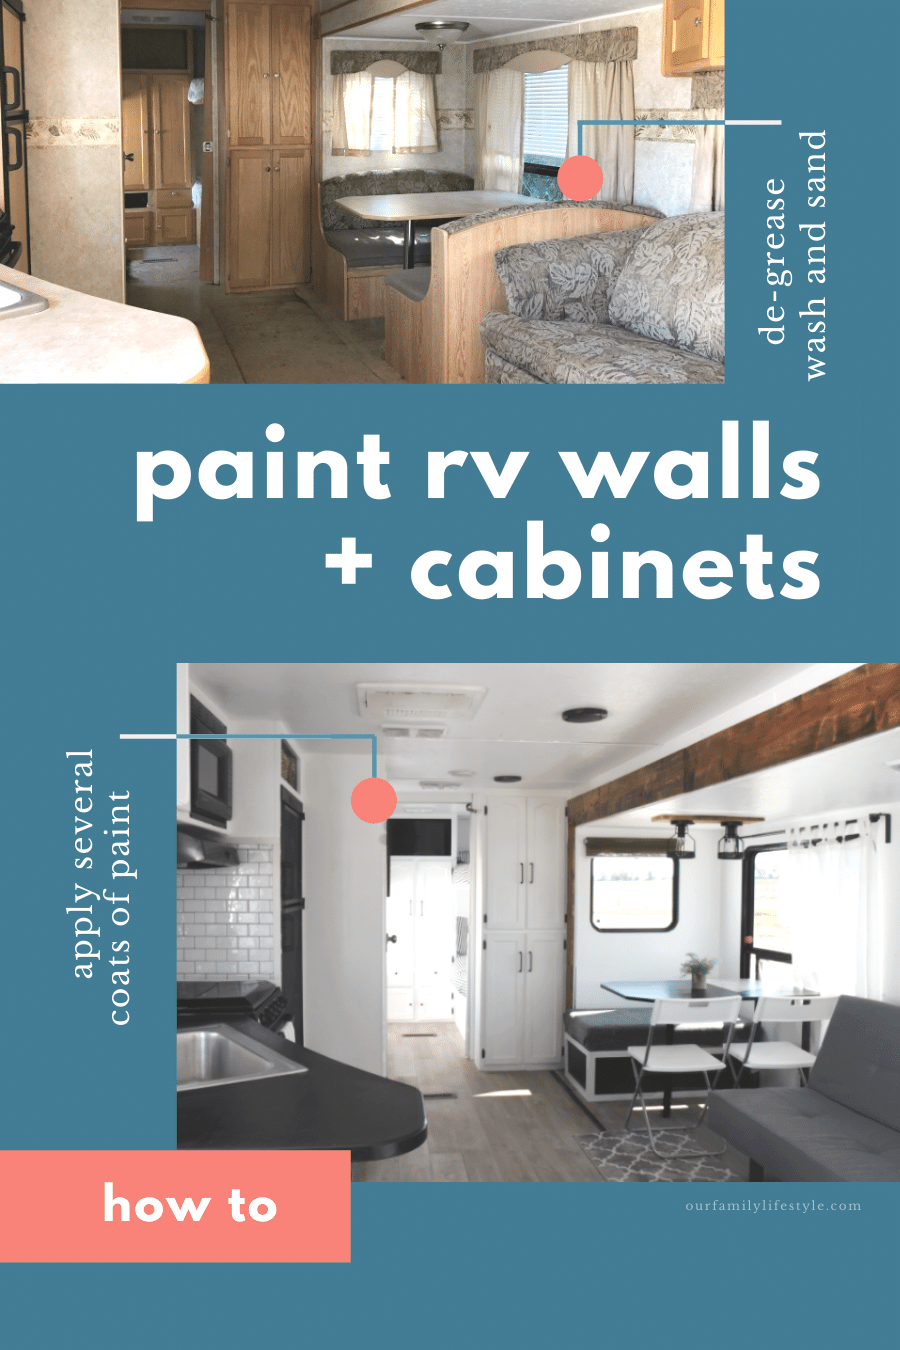
No offense to all you RV manufacturers out there, but the old school brown interiors are dark, drab and suffocating to me.
[mv_video doNotAutoplayNorOptimizePlacement="false" doNotOptimizePlacement="false" jsonLd="true" key="xav1rvvsxsuisu0cguly" sticky="false" thumbnail="https://mediavine-res.cloudinary.com/v1599851175/yzigfb4upvaf2zl1v3ju.jpg" title="RV Travel Trailer Remodel" volume="30"]
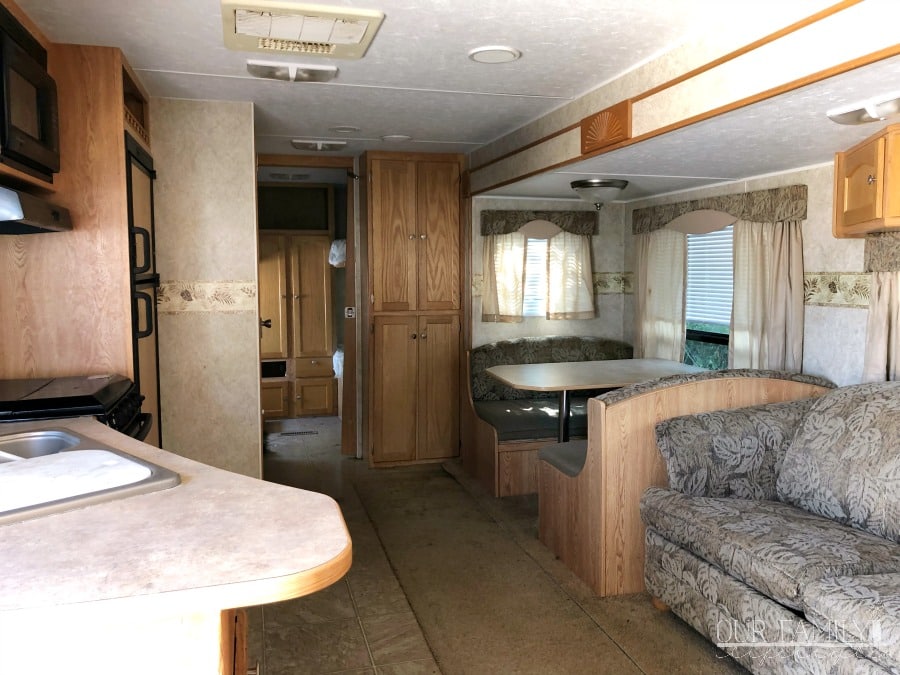
I enjoy bright and airy. White interiors seem to make the small space feel larger.
Is it tougher to keep clean? Perhaps?
But, people thought I was crazy for going with white kitchen cabinets in my home when we built it too, but here we are three and a half years later and they still look great!
Paint RV Walls
So, we went all in and started prepping the travel trailer to be painted white. Top to bottom pretty much.
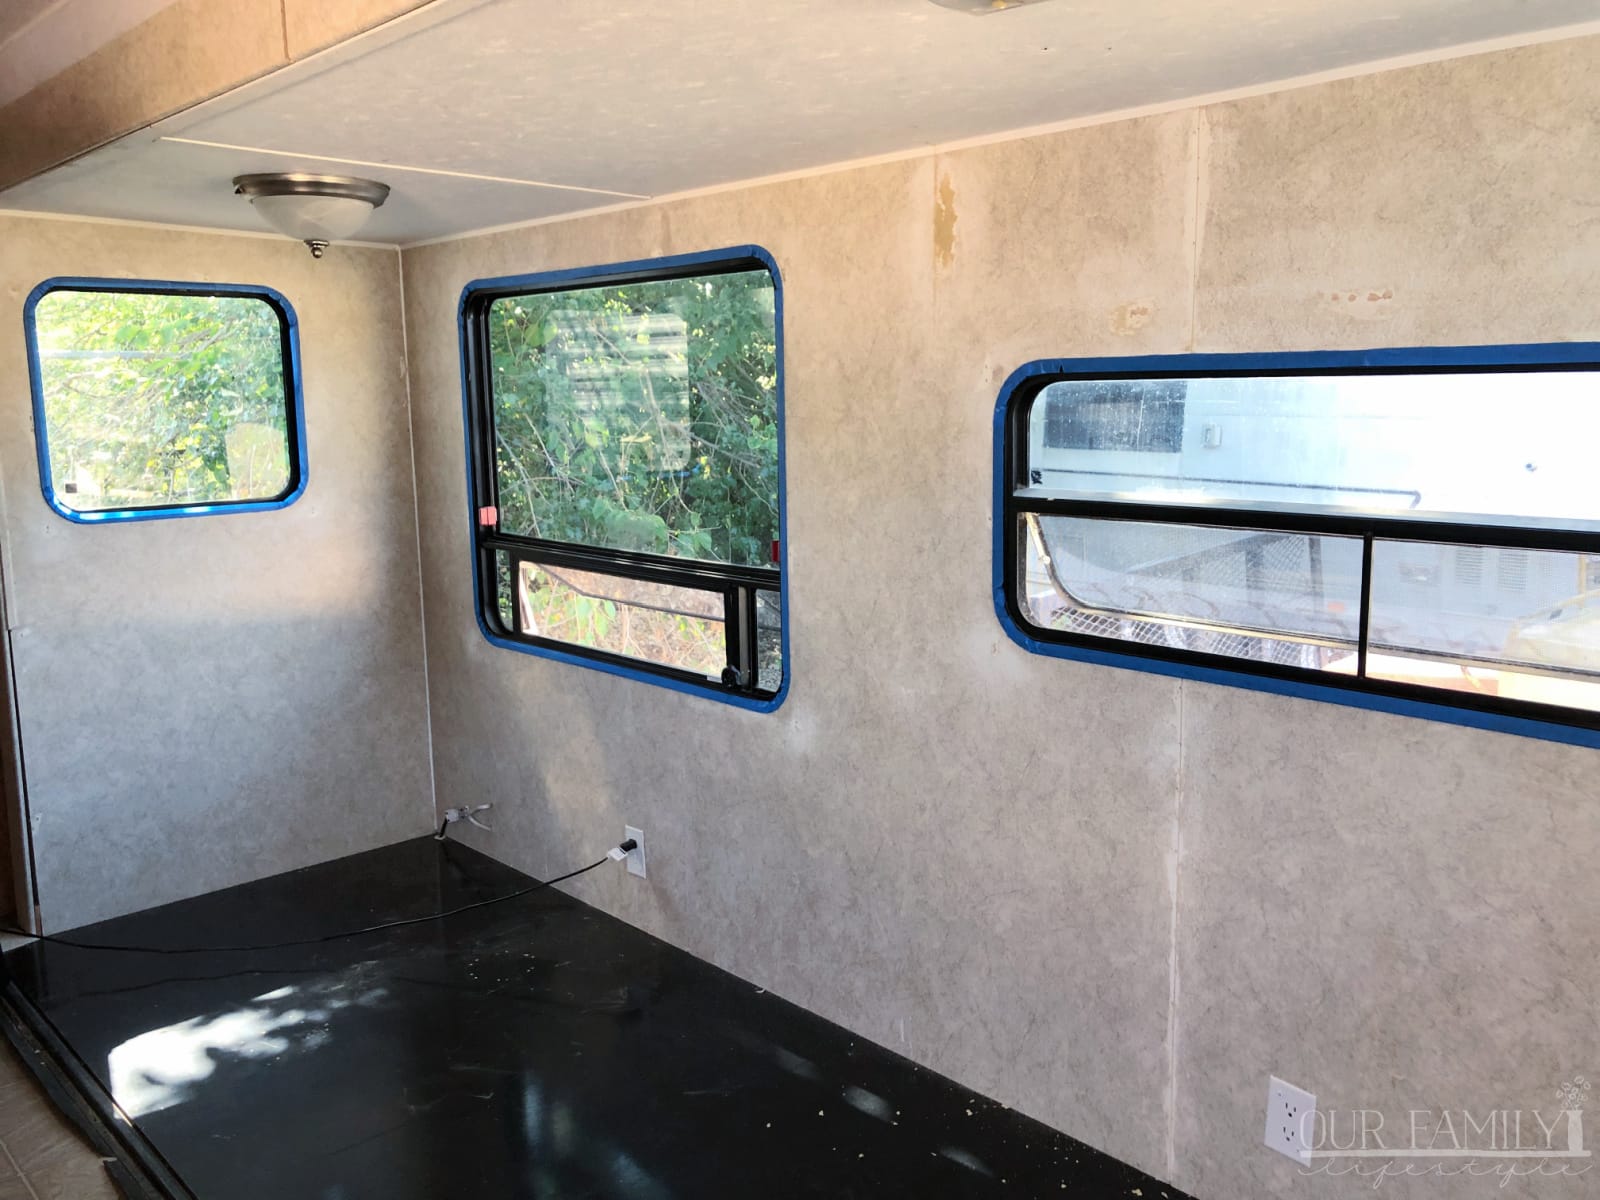
During the demo of the trailer, we also began scrubbing and sanding the walls. We were already removing sticky residue from the wallpaper border, so went a step further to scrub everything.
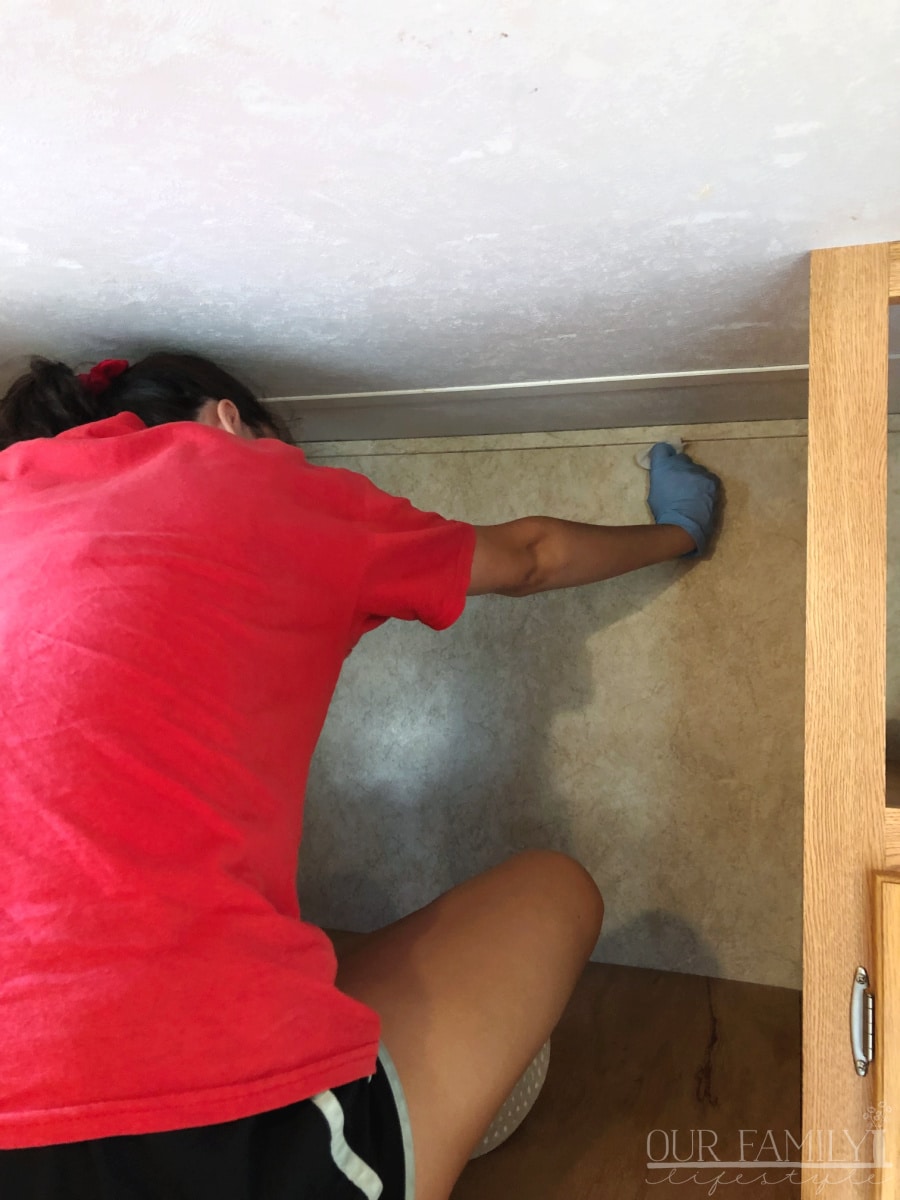
The walls had grime caked on from years of use and that all had to come off.
After we washed them, we had to sand them all to help the paint adhere, and then wash them again to get the sanding dust off.
It's a process, but absolutely necessary if you want to ensure the paint sticks and the walls are smooth-ish.

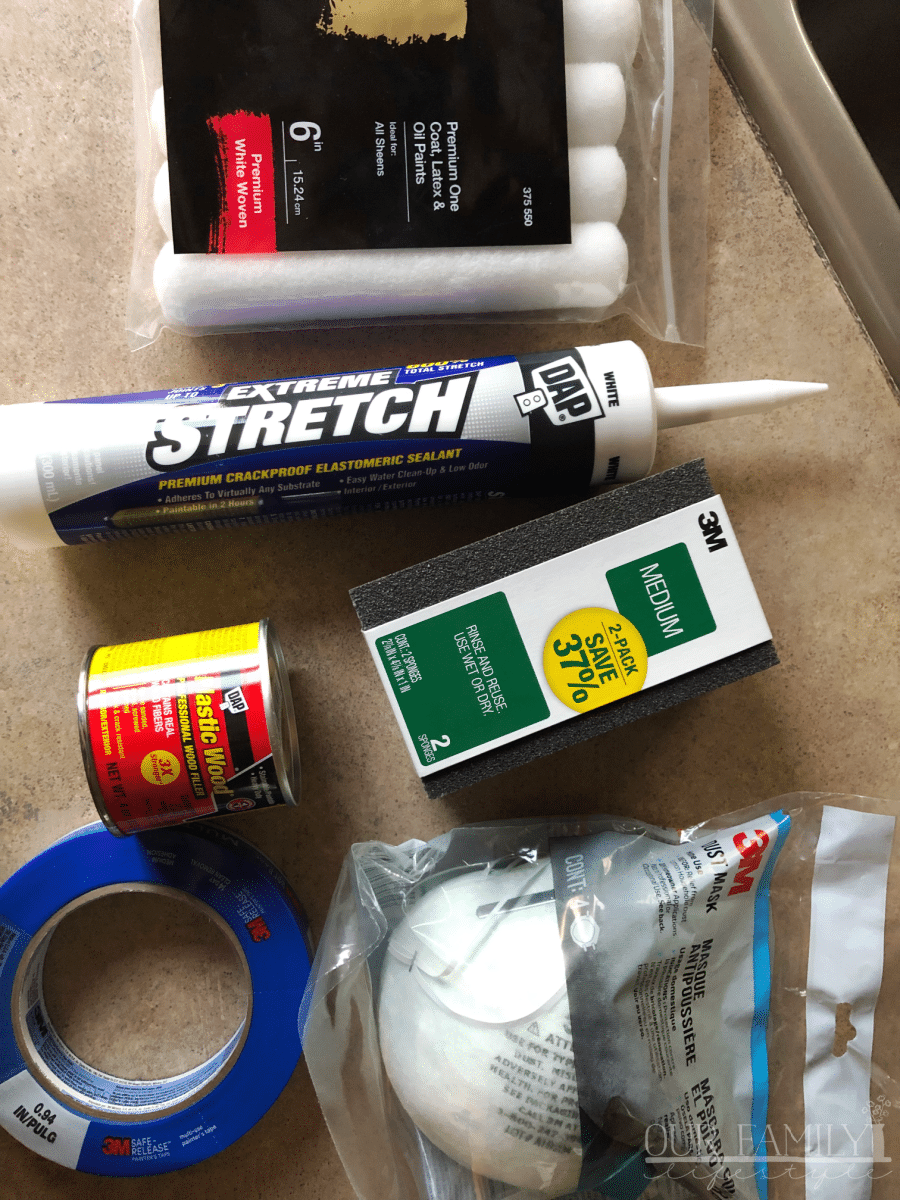
Not to mention, this was also the prime time to repair any damages to the walls.
Remember all those cabinets and other fixtures we removed on demo day? All those staples? Yeah. We had to repair all of those.
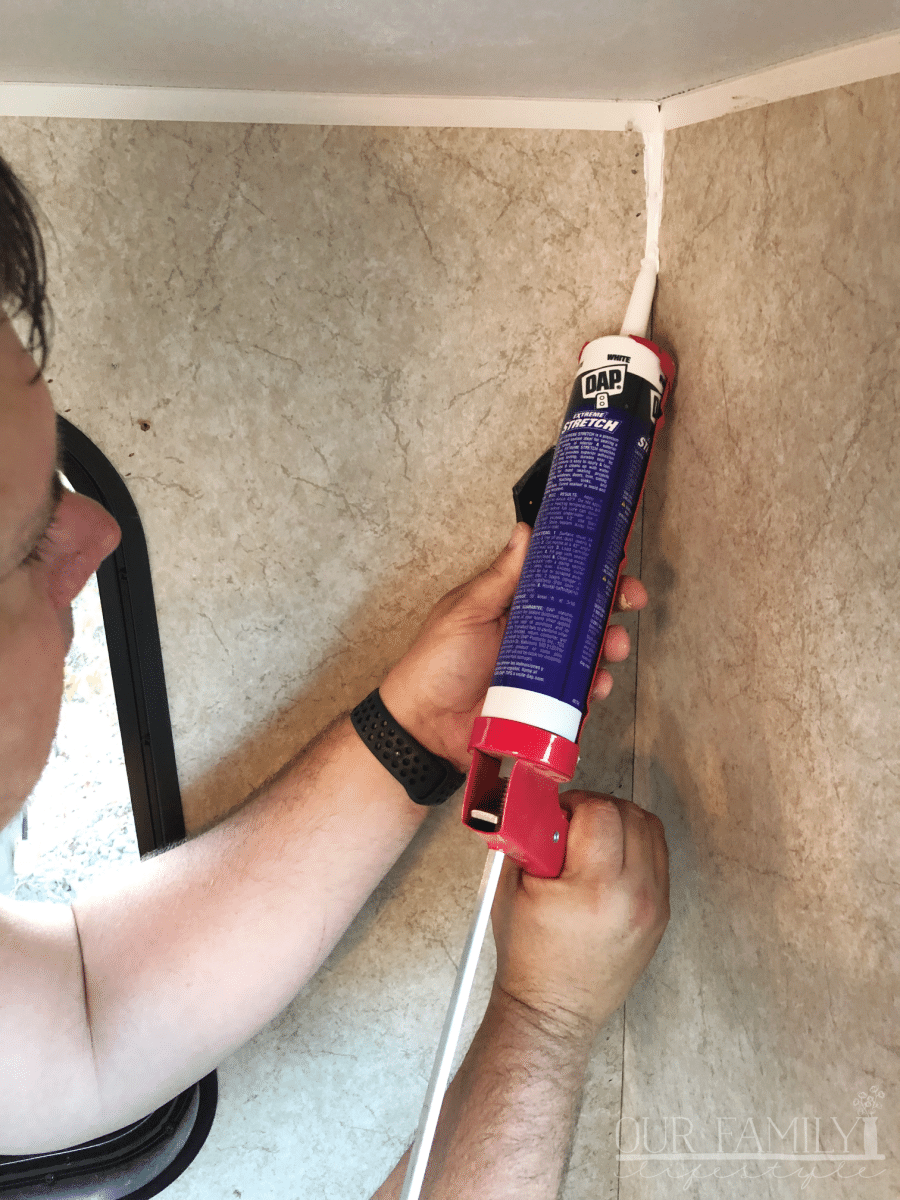
Not to mention, since the caulk was 12 years old, it needed a fresh seal too.
NOTE:
Remember that weight and flexibility matter everywhere in an RV travel trailer. We used DAP EXTREME STRETCH because of its ability to stretch over 600%.
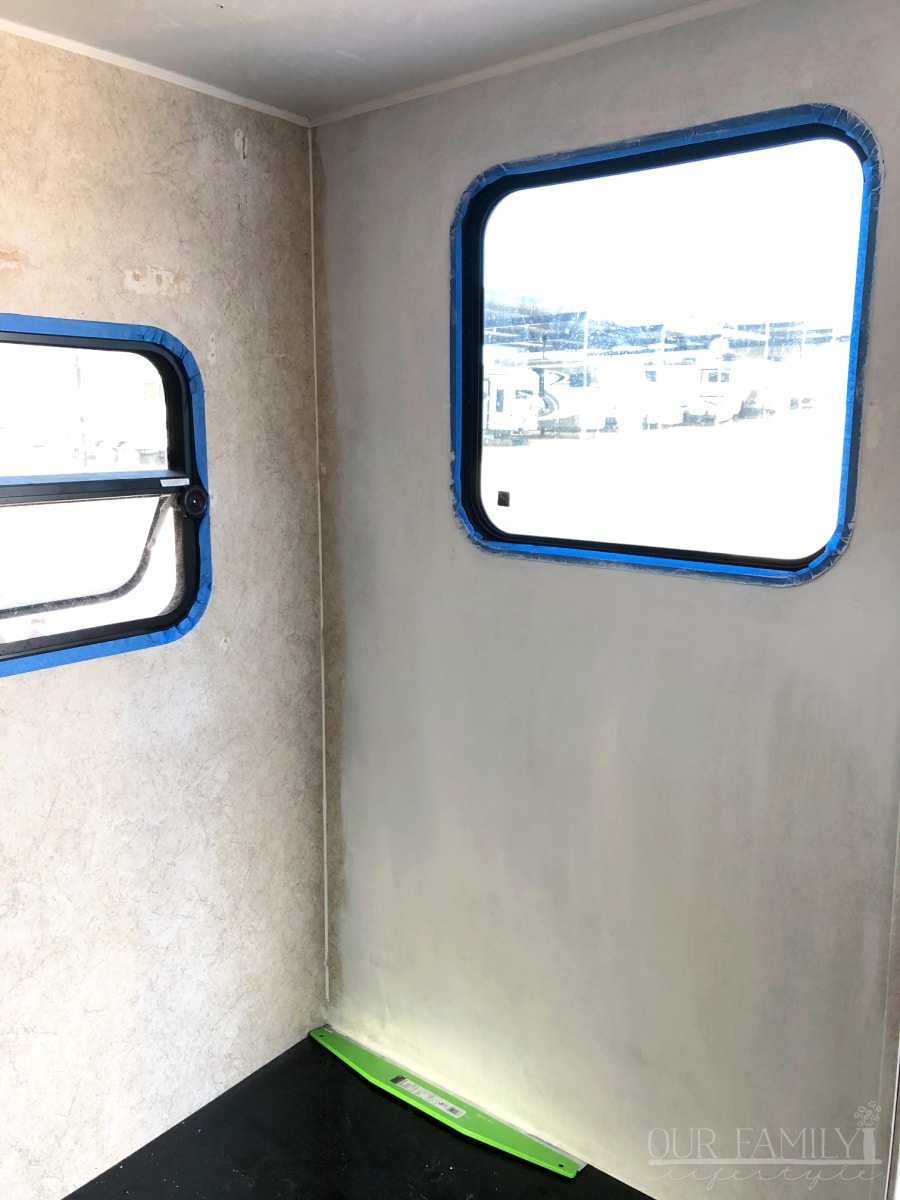
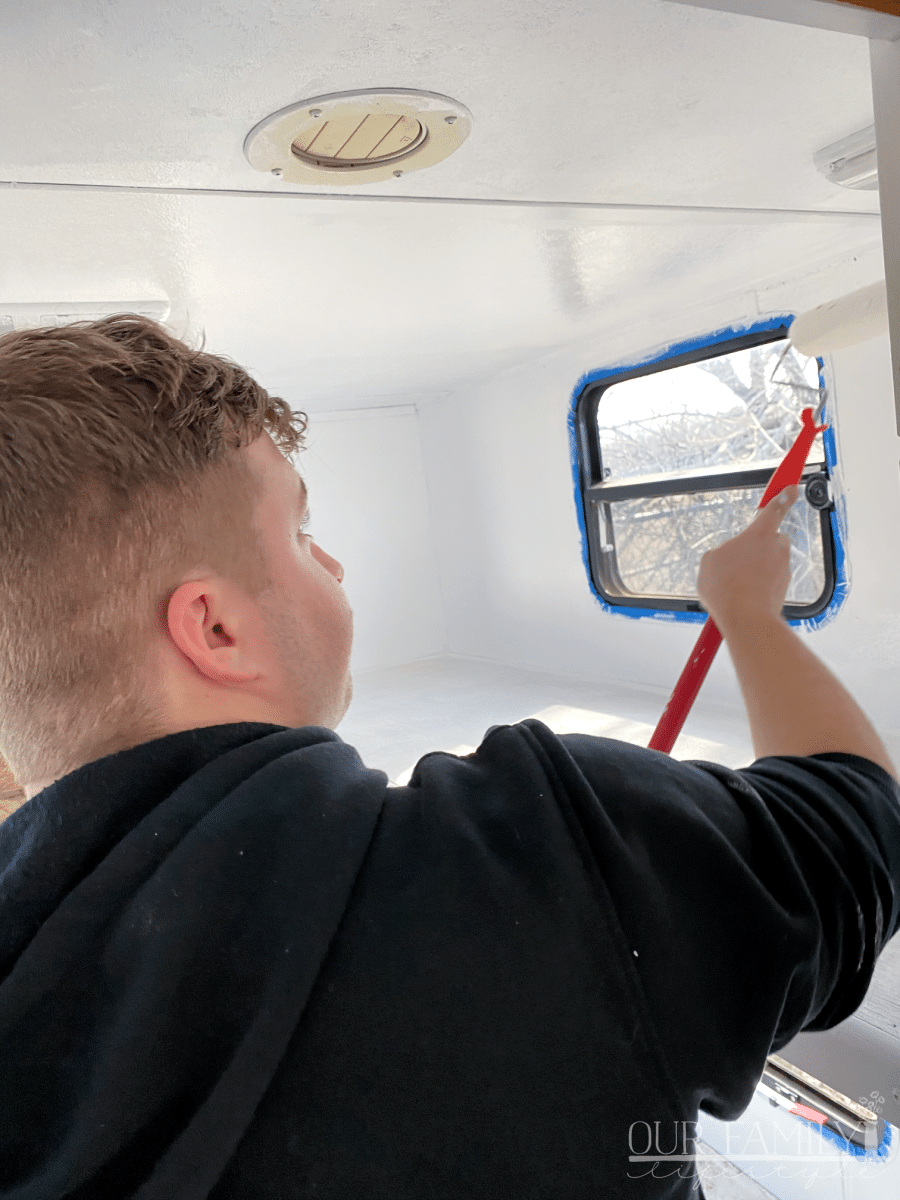
All of that was done during the prep stage. And then we finished off prepping by putting painter's tape over window frames, appliances, and other things we would be painting around.
Next, it was time to actually start painting.
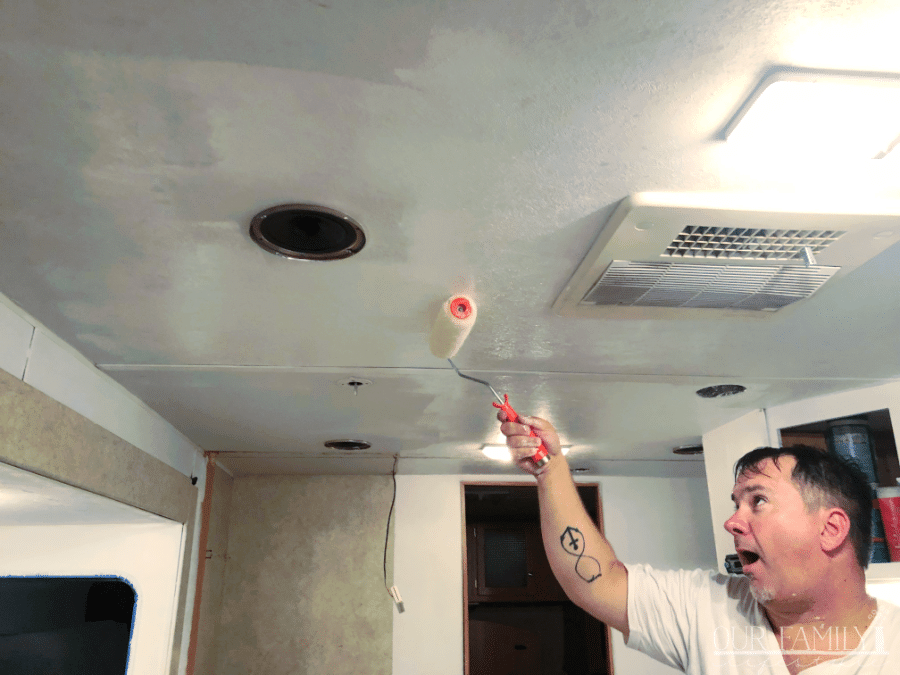
Where, at this time, it felt like that was all we did. We painted morning, noon and night for days. Weeks even.
When we thought we were done, we found something that was either (a) missed the first time or (b) required another coat.
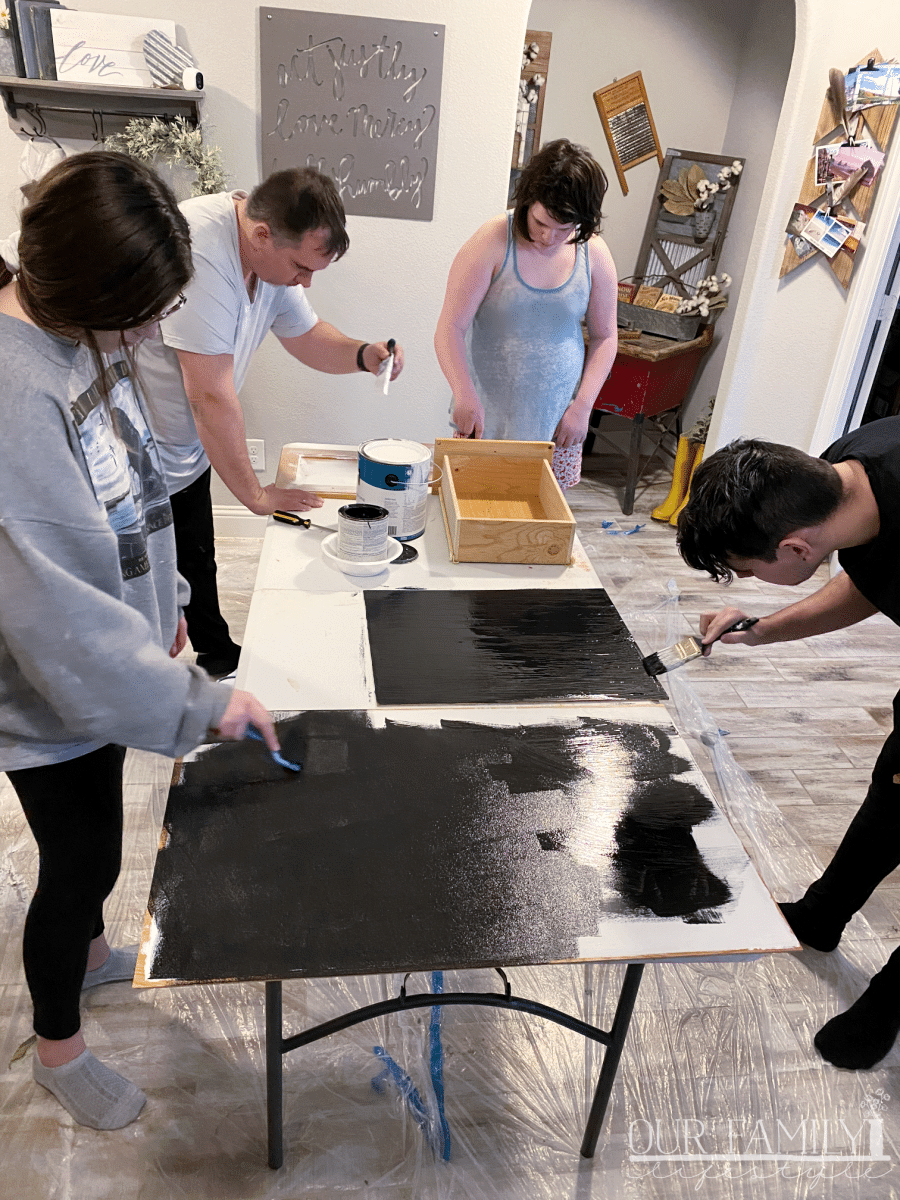
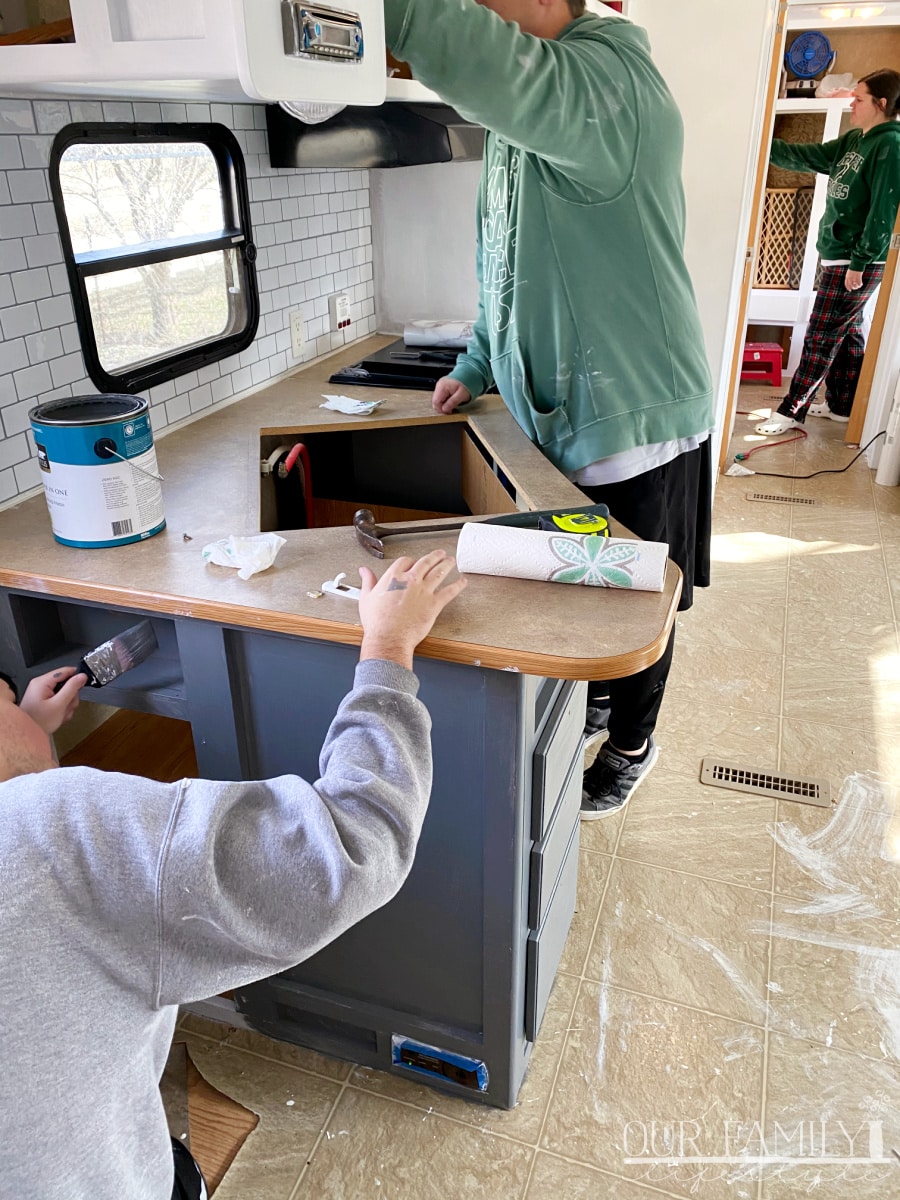
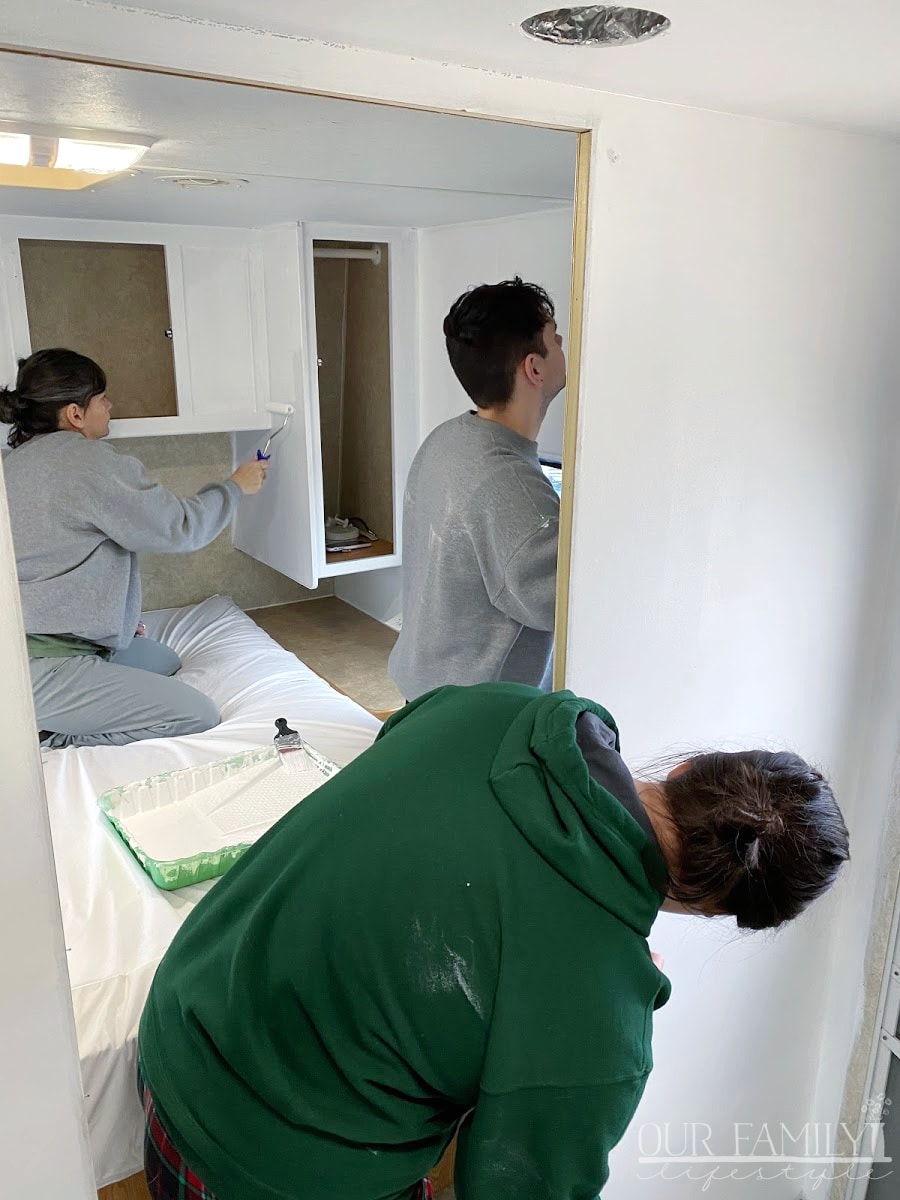
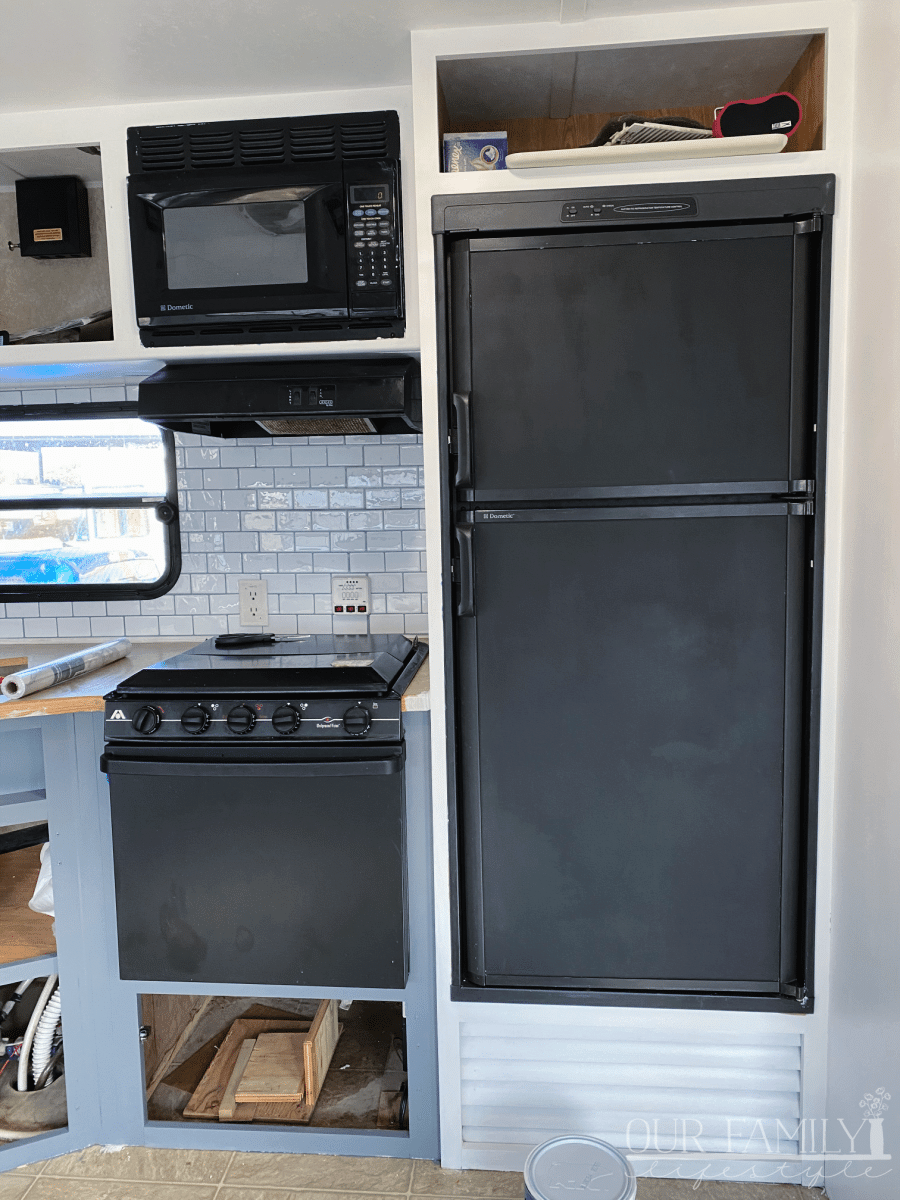
We took off cabinet doors and the refrigerator door sections and took them home to paint.
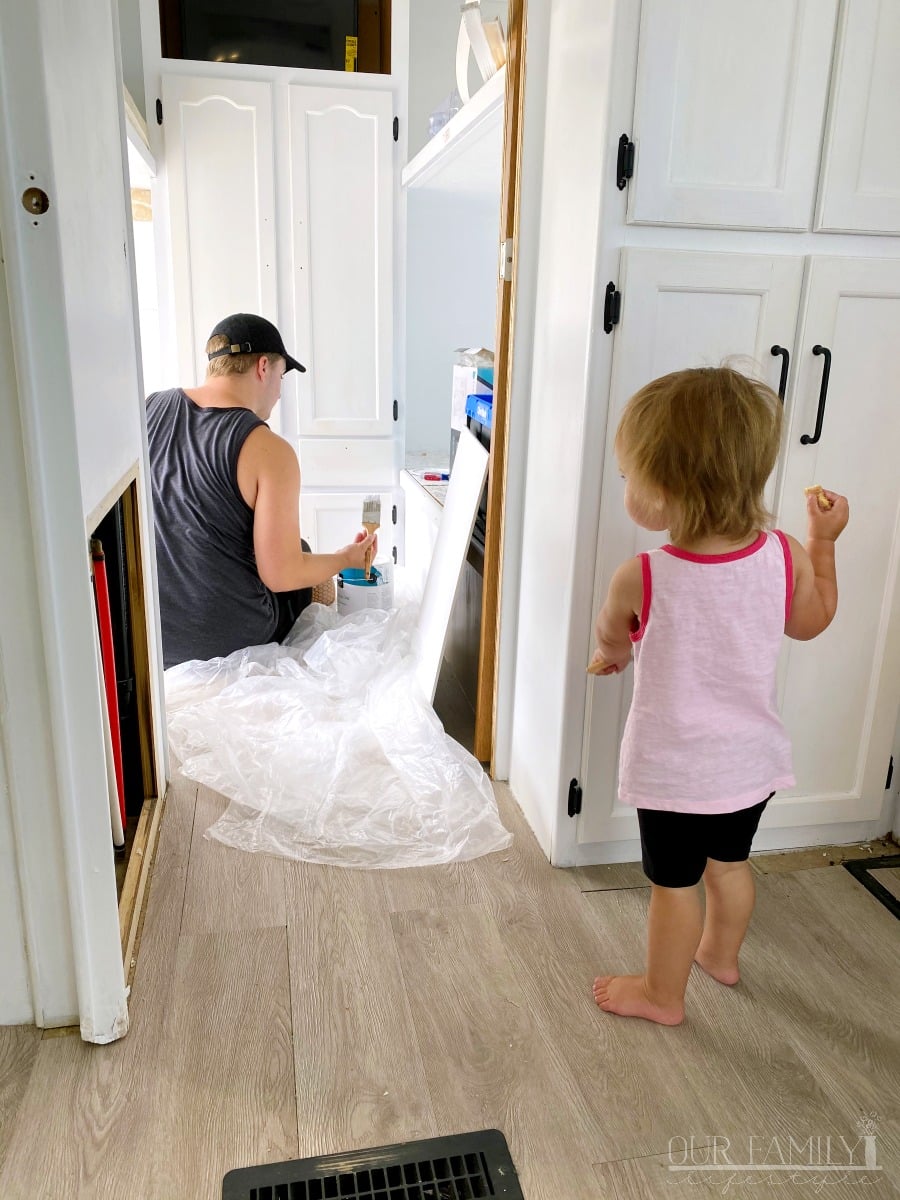
We got everyone involved. Even our grand baby (pretended) to help.
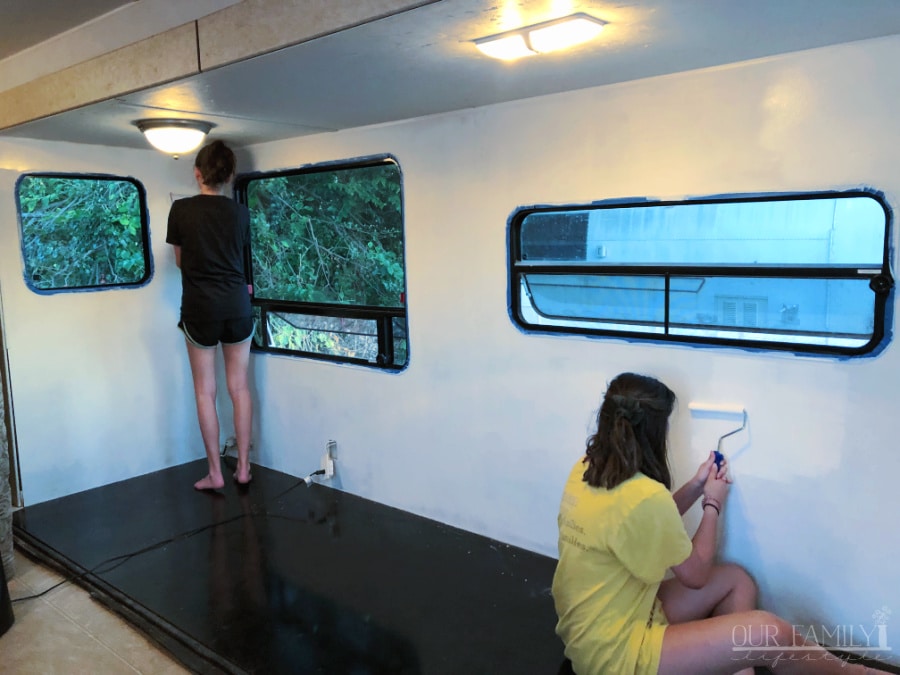
The slide out walls were the easiest to paint.
Besides the windows, it was easy to step in and roll the walls without much in the way.
Plus, because we were putting in all new vinyl plank flooring, we didn't have to worry about paint getting on the floor.

We just had to paint.
And paint.
And paint some more.
Overall, most of the surfaces used two to three coats of paints. Some areas seemed to suck up more paint than others, no matter how much we prepped it.
We used a Behr Paint & Primer in One that I saw recommended by other RV renovators so were sure we used a good paint. The surfaces were just incredibly porous I guess.
Overall, it wasn't too bad; it just seemed to never end.
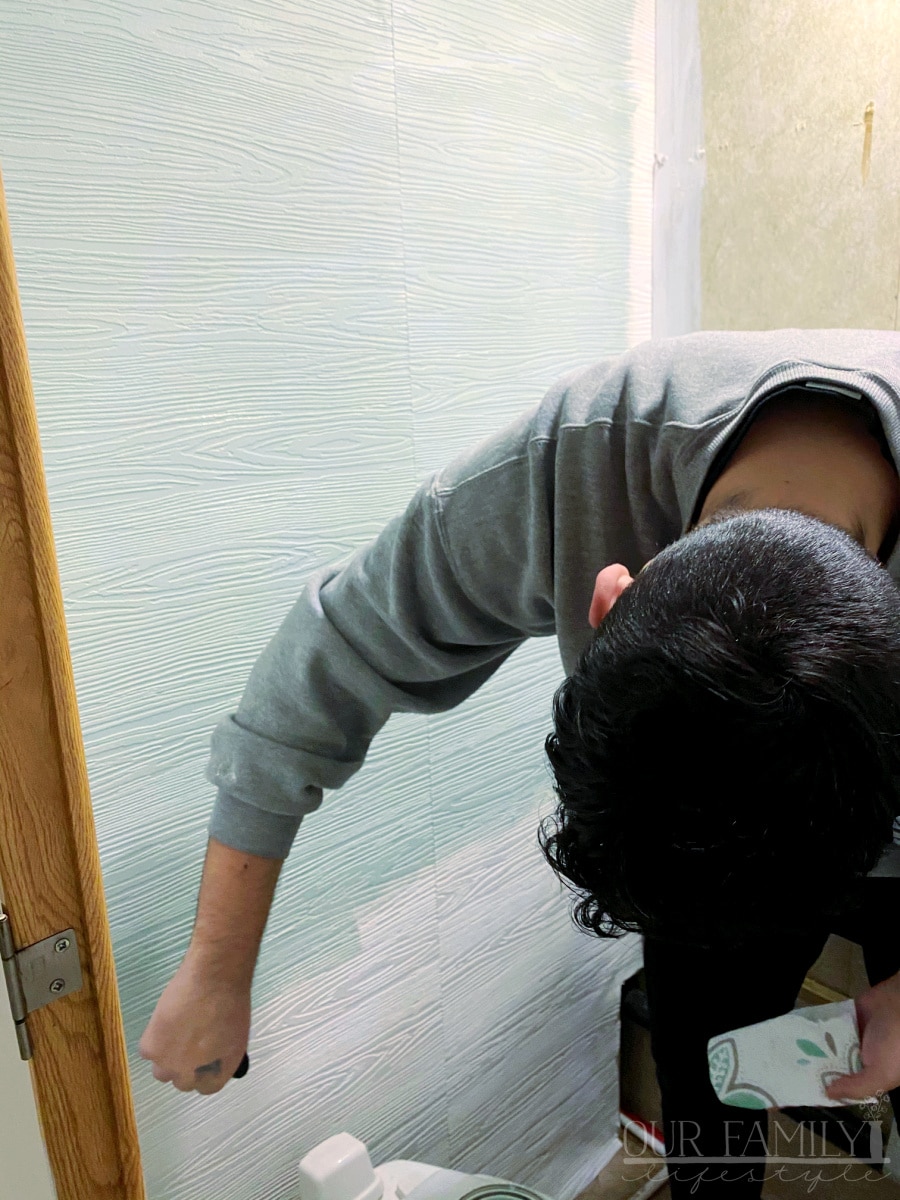
It probably didn't help that we then decided to add paintable wallpaper to the bathroom (note the paintable part)...
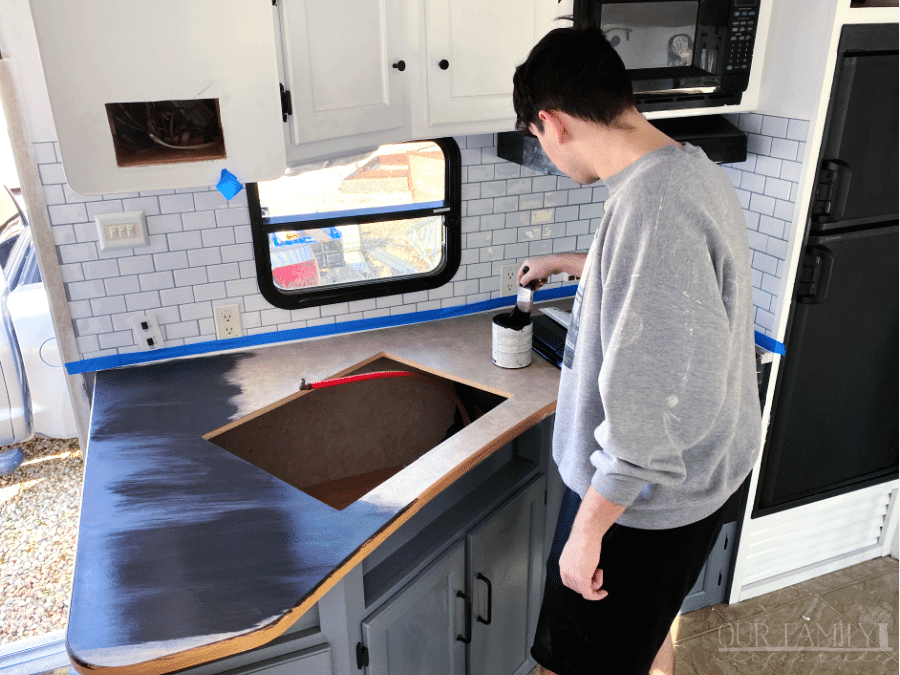
And then decided to forego the original plan for marble wallpaper on the kitchen counter and chose to paint it black instead...
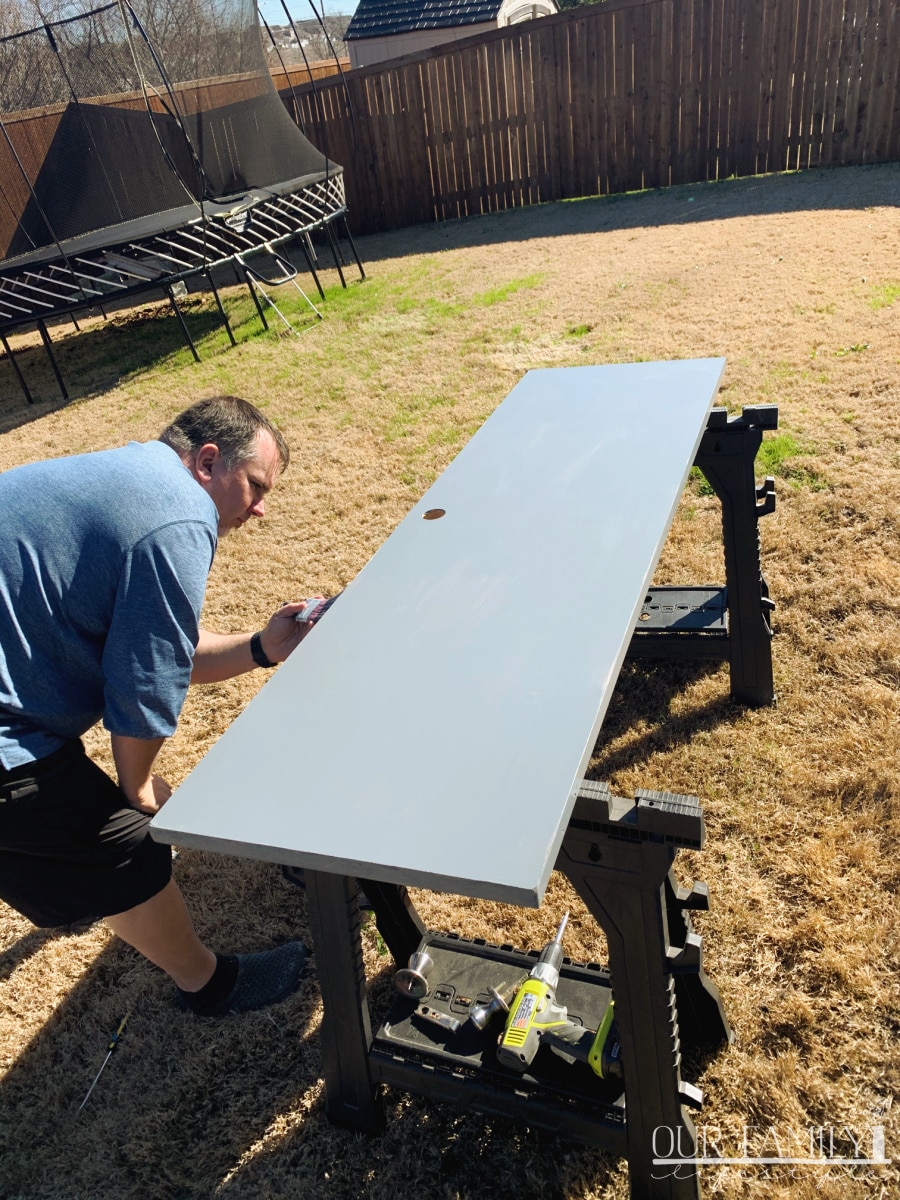
And finally, painted all three of the interior doors. Plus, the dinette table. Each project presented itself as a fresh, new project.
Each one had to be prepped and sanded in order to take the paint.
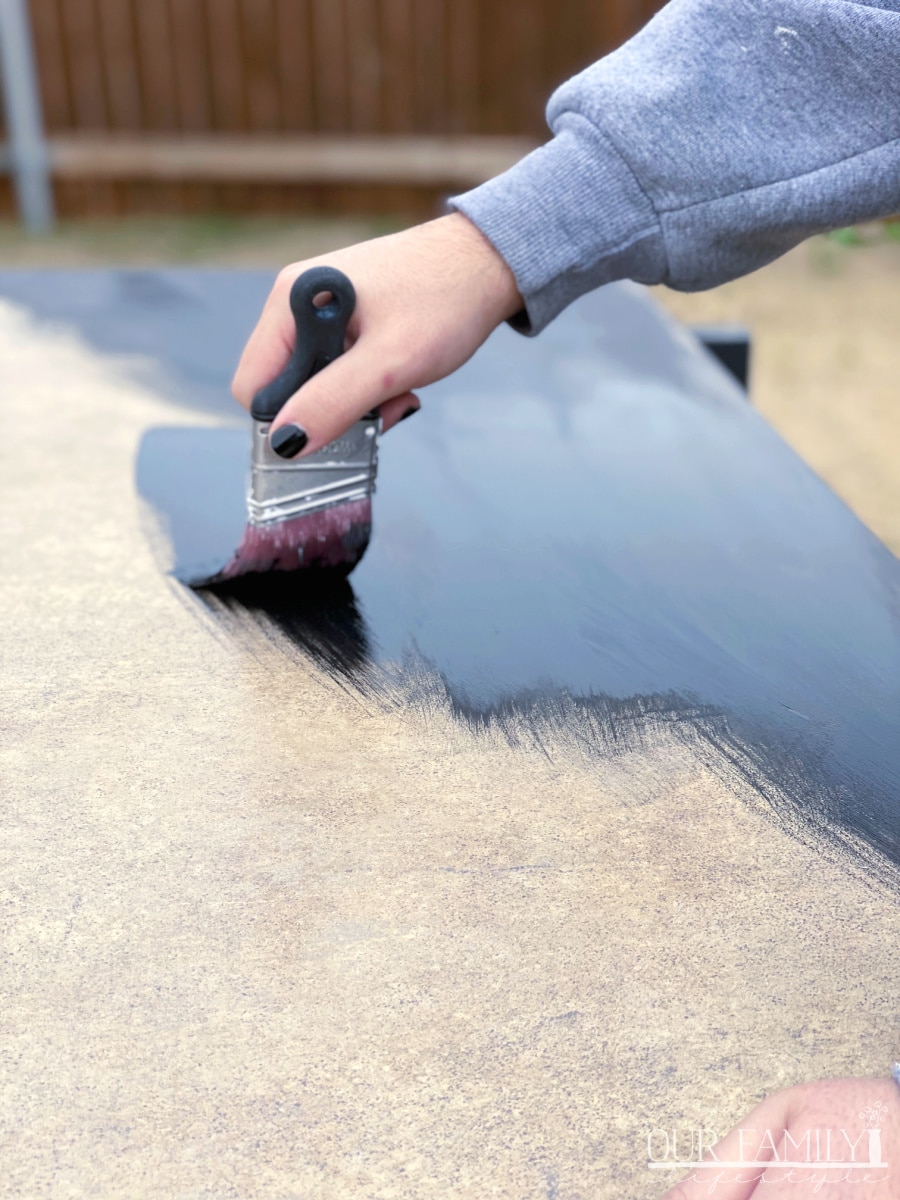
Plus, we covered all of the cabinets and doors, as well as the table top and counter, with a couple coats of clear Polycrylic to help safeguard against scuff marks and dings.
Y'all, we pushed through with every brush stroke and we did it!
And if I must say, we're pretty proud of the work we put in and the finished project!

Take a look at all of the before + after pictures of the travel trailer remodel here!
amzn_assoc_placement = "adunit0"; amzn_assoc_search_bar = "true"; amzn_assoc_tracking_id = "7onashoe-20"; amzn_assoc_ad_mode = "manual"; amzn_assoc_ad_type = "smart"; amzn_assoc_marketplace = "amazon"; amzn_assoc_region = "US"; amzn_assoc_title = "Shop the Post"; amzn_assoc_linkid = "f36a2afee05e0201573ffcd3e6baa601"; amzn_assoc_asins = "B071W141TK,B00004Z4DU,B004MW4GG6,B000BQYI24,B0010OKMMG,B01MRTEOHI,B01NCZKTZQ,B008U5LWZE";