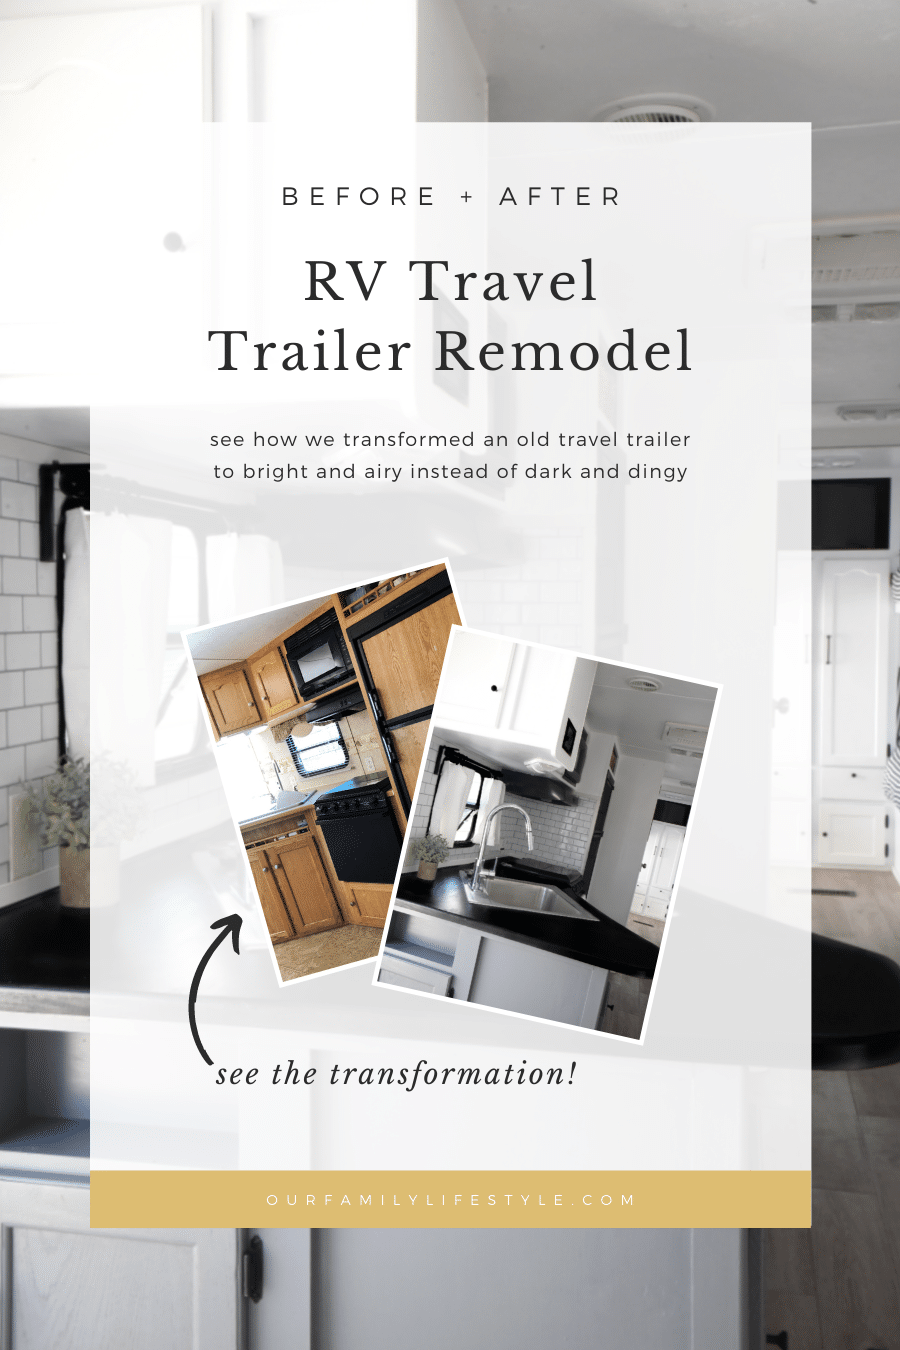
Have you ever watched Fixer Upper? If you have, you know how excited Chip gets over Demo Day. It's one of his favorite parts of the process. That's always been Colby's favorite part of the show.
Well, when we bought our travel trailer, Colby was able to finally live out his own dreams of demo day. The entire contents of the slide out had to go, along with a few other pieces, and he was definitely here for it.

How to Demo an RV
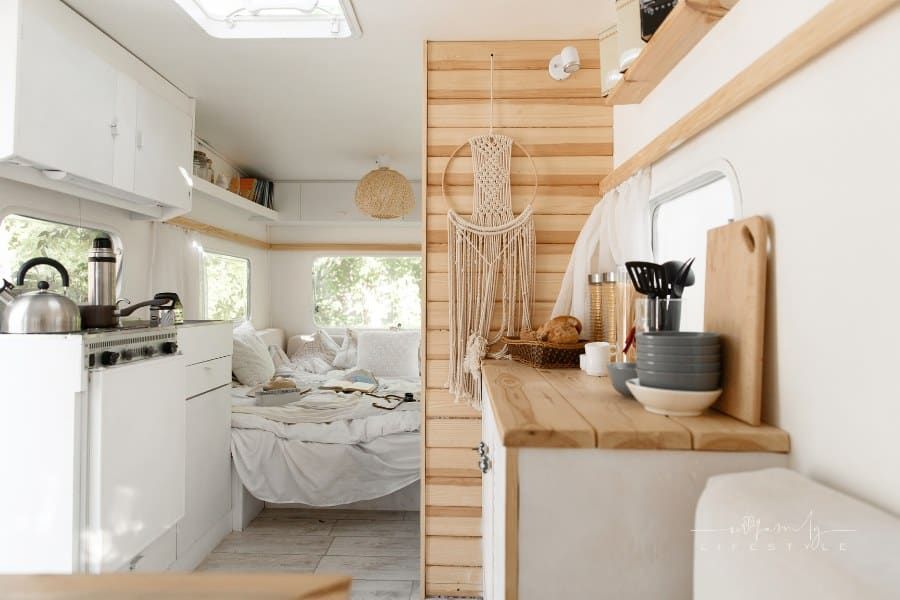
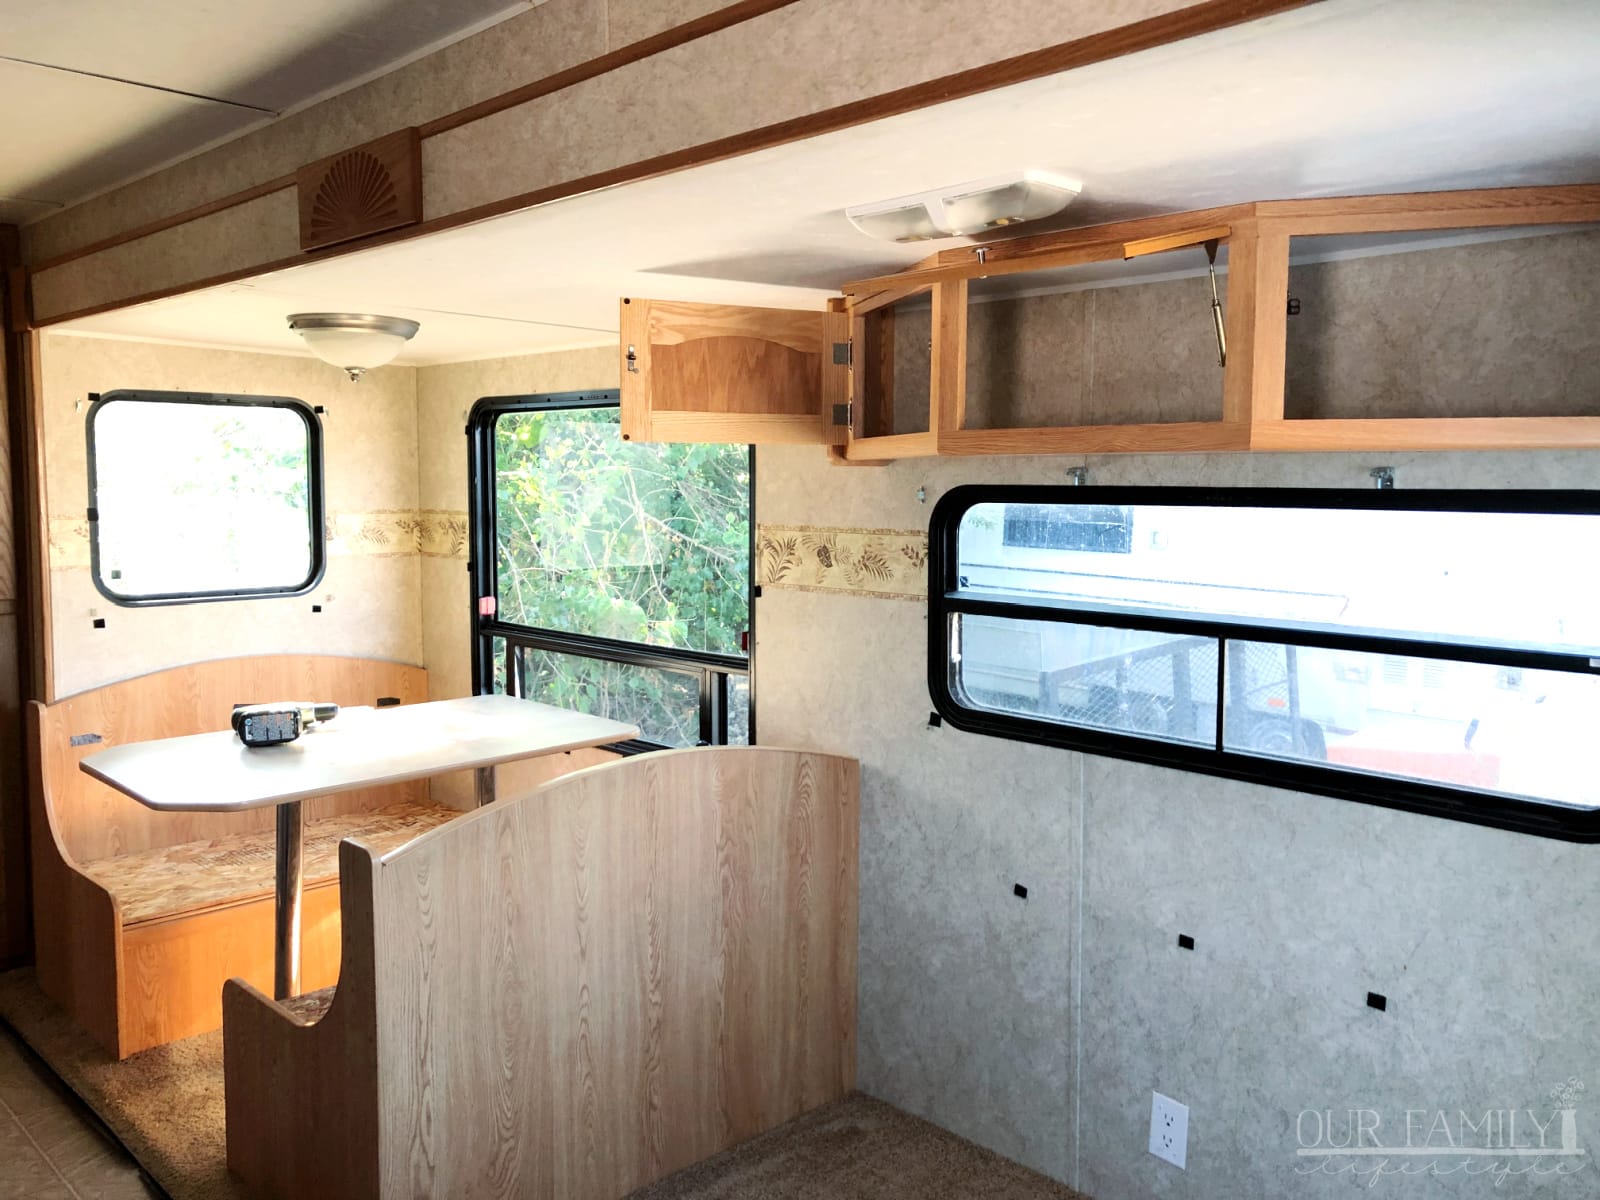
There's truly something to be said about having a fresh slate to create a new, more modern and beautiful space.
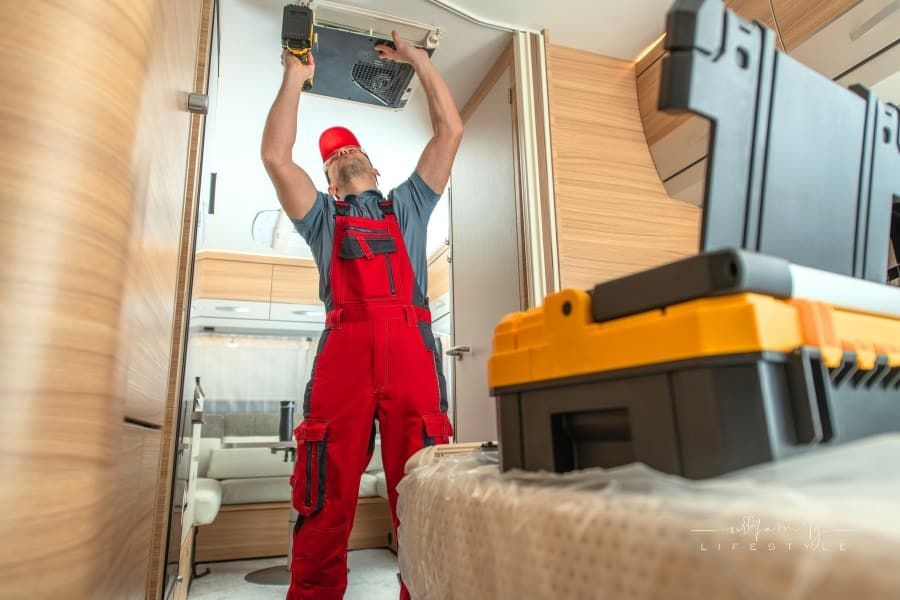
We knew there was a lot of work to do, so we just dove in and started tearing out everything we knew we didn't like.
We were going to remove the RV cabinets, the wallpaper border, and even some of the furniture. In addition to gutting the camper slide out as I mentioned above.
I had big plans and, to me, this stuff was simply stopping me from seeing my dreams come to fruition.

We started at the bottom and worked our way up.
The carpet was stained, full of dust and dirt, and made the entire camper feel old and smell musty.
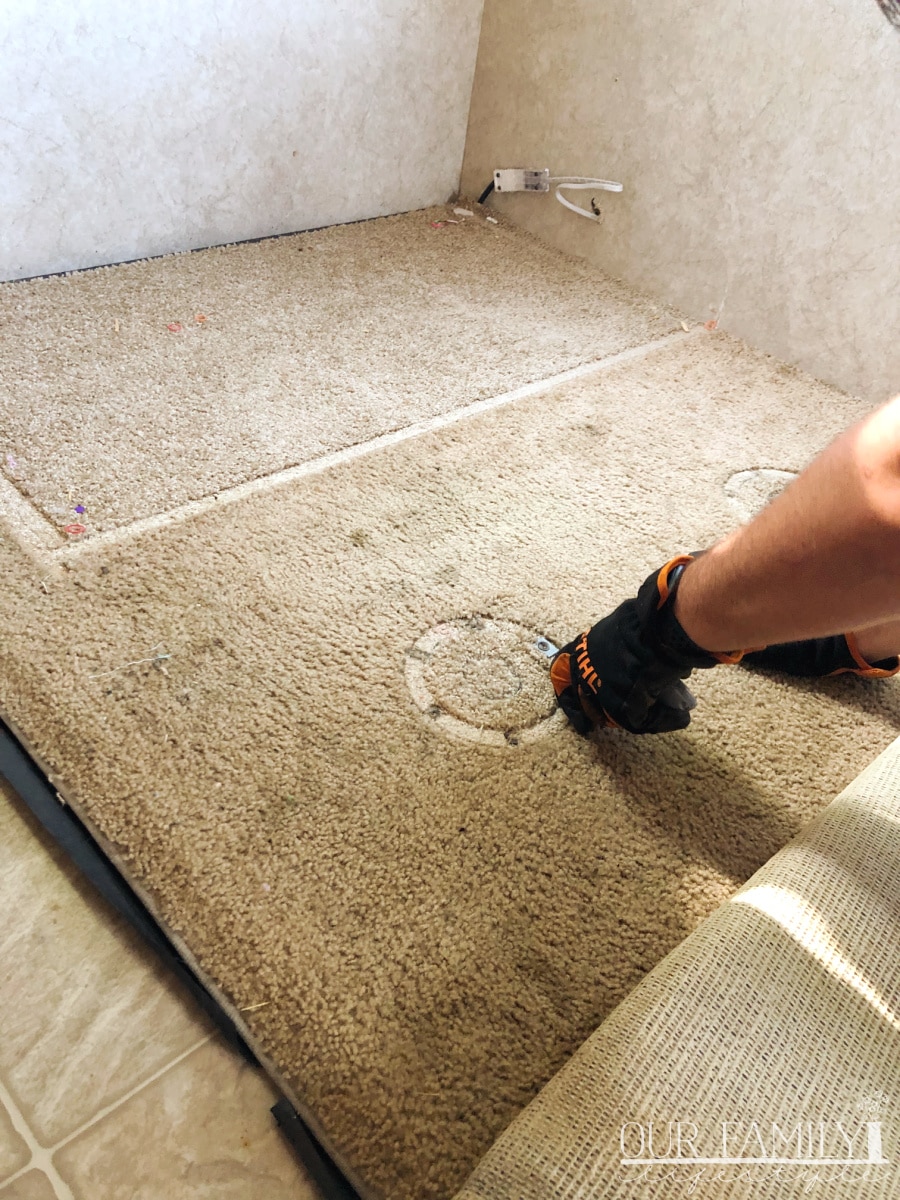
How to remove RV carpet
Fortunately, it wasn't very hard to remove. It took a bit of tugging, but once we got it started, it was one of the easiest parts of the removal process.
Next, in order to remove the rest of the carpet, we began gutting the slide out. Everything in it had to go.
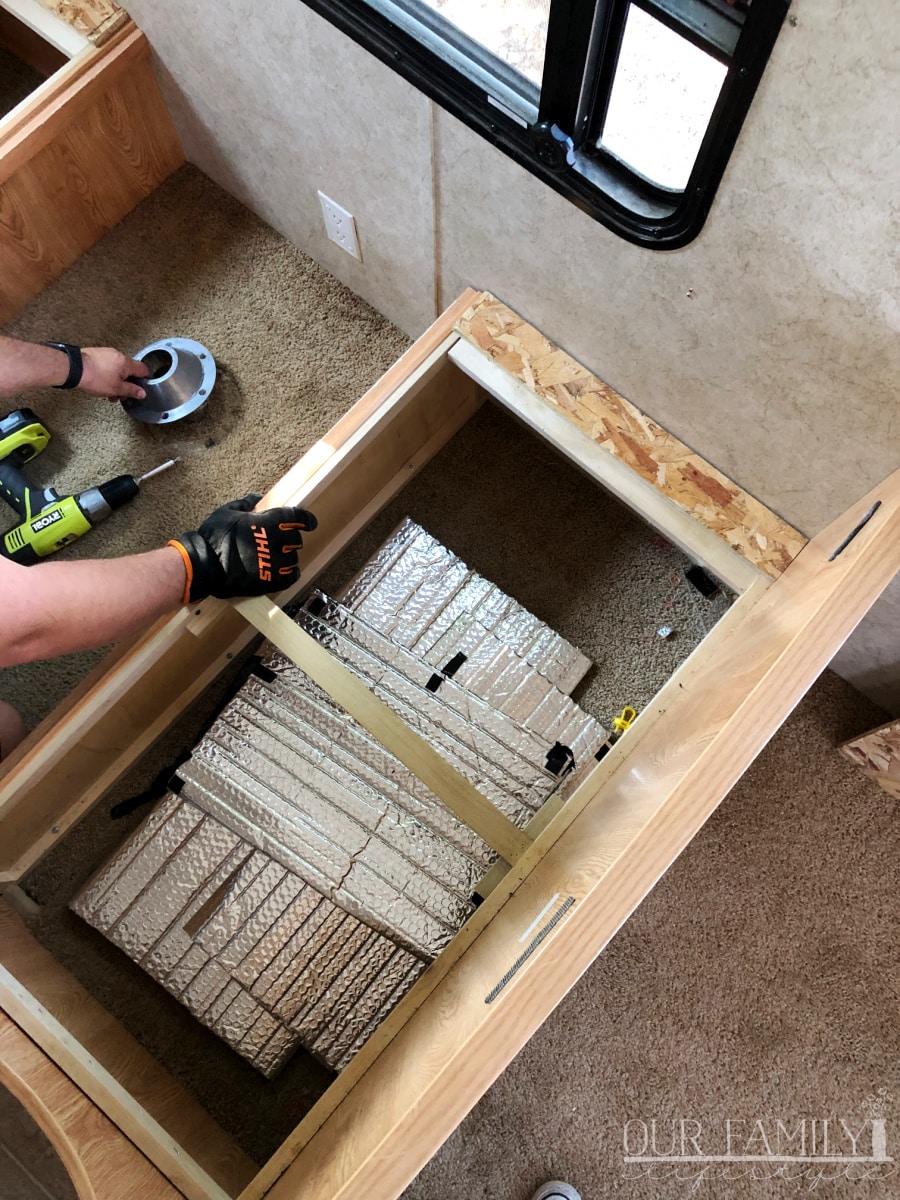
Everything. It was going to be completely recreated.
Removing the carpet meant removing the furniture. The sofa sleeper was easy because it wasn't attached, but challenging due to it's size.
We had to remove the back of it to get it through the trailer door.
How to remove the RV dinette booth
The dinette was a little more challenging, but not by much. The table and benches were disassembled by removing a few screws. Otherwise, not too difficult.
In fact, the hardest part was removing the cabinets and valances off the trailer walls.
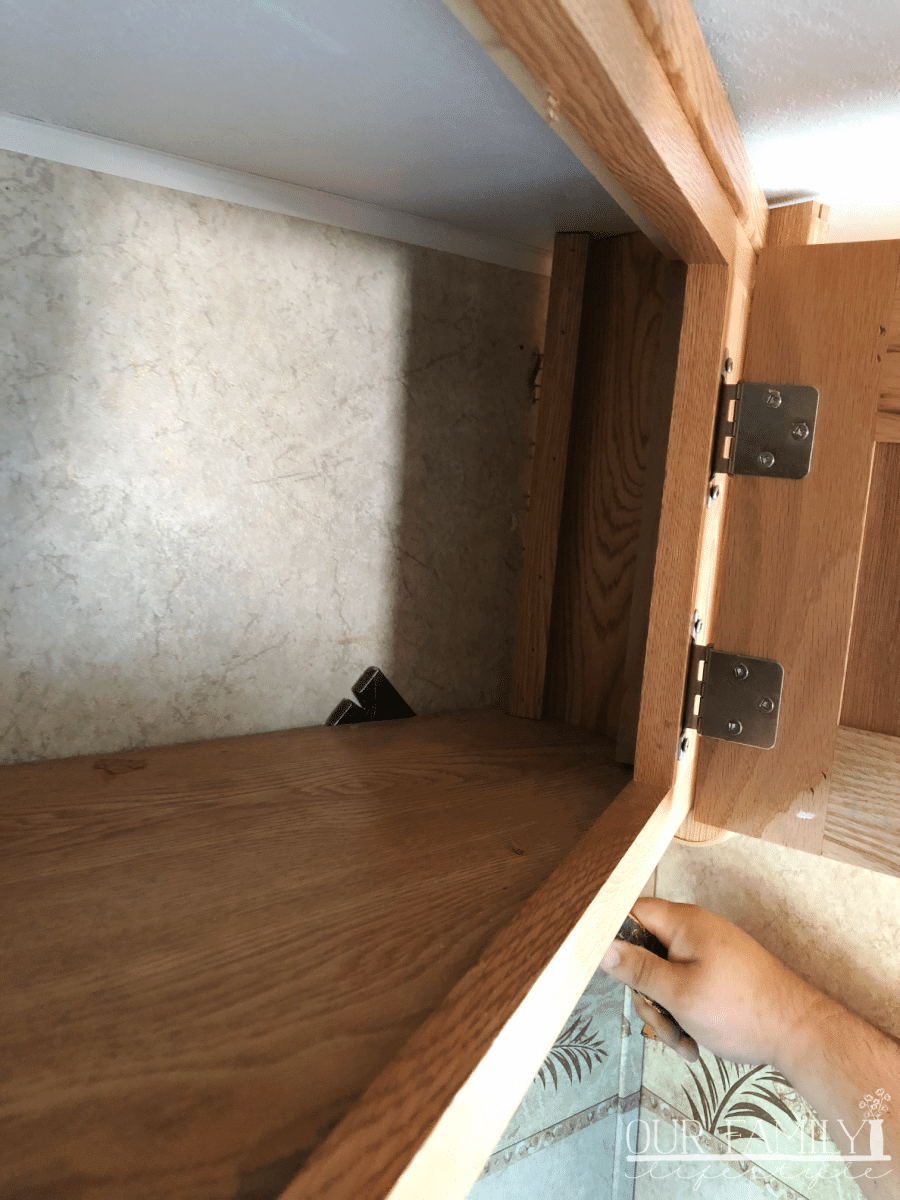
How to remove RV cabinets attached to the walls
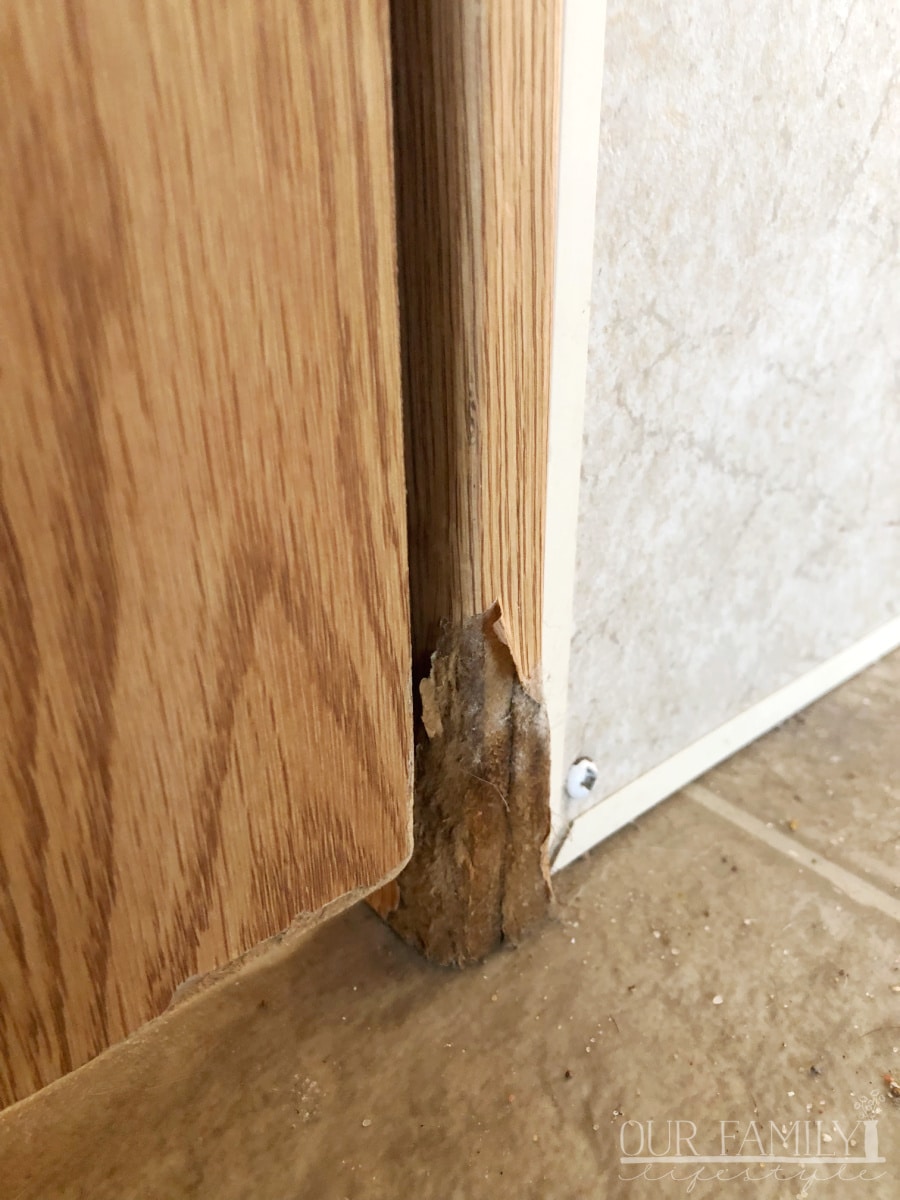
When the manufacturer assembles the travel trailer, they put the exterior shell on after the interior is complete. So, all the staples and any rivets they use for assembly come from the outside, in.
Which means, when you go to remove anything, you're pulling in the opposite direction of the hardware.
As you can imagine, there is plenty of resistance and some damage can occur. We did our best to minimize the damage to the walls.
Each removal began using a pry bar. (In fact, if you have a rivet nut tool it would possibly be the best tool for your RV renovations).
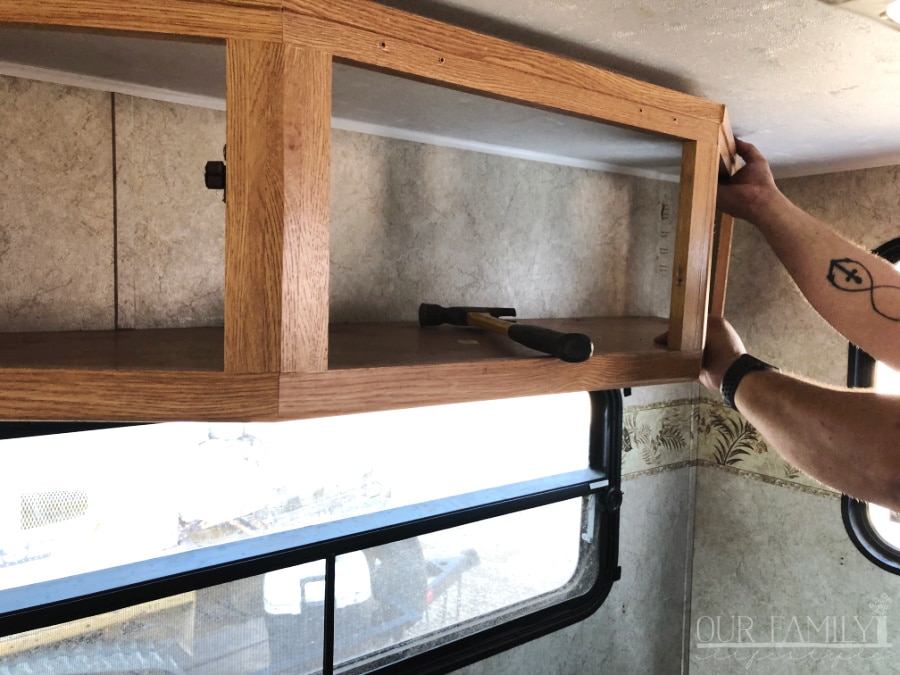
After loosening any screws holding the cabinet, shelf, or other piece to the wall, gently glide the pry bar between it and the wall. Look for any rivets that may need to be removed as well.
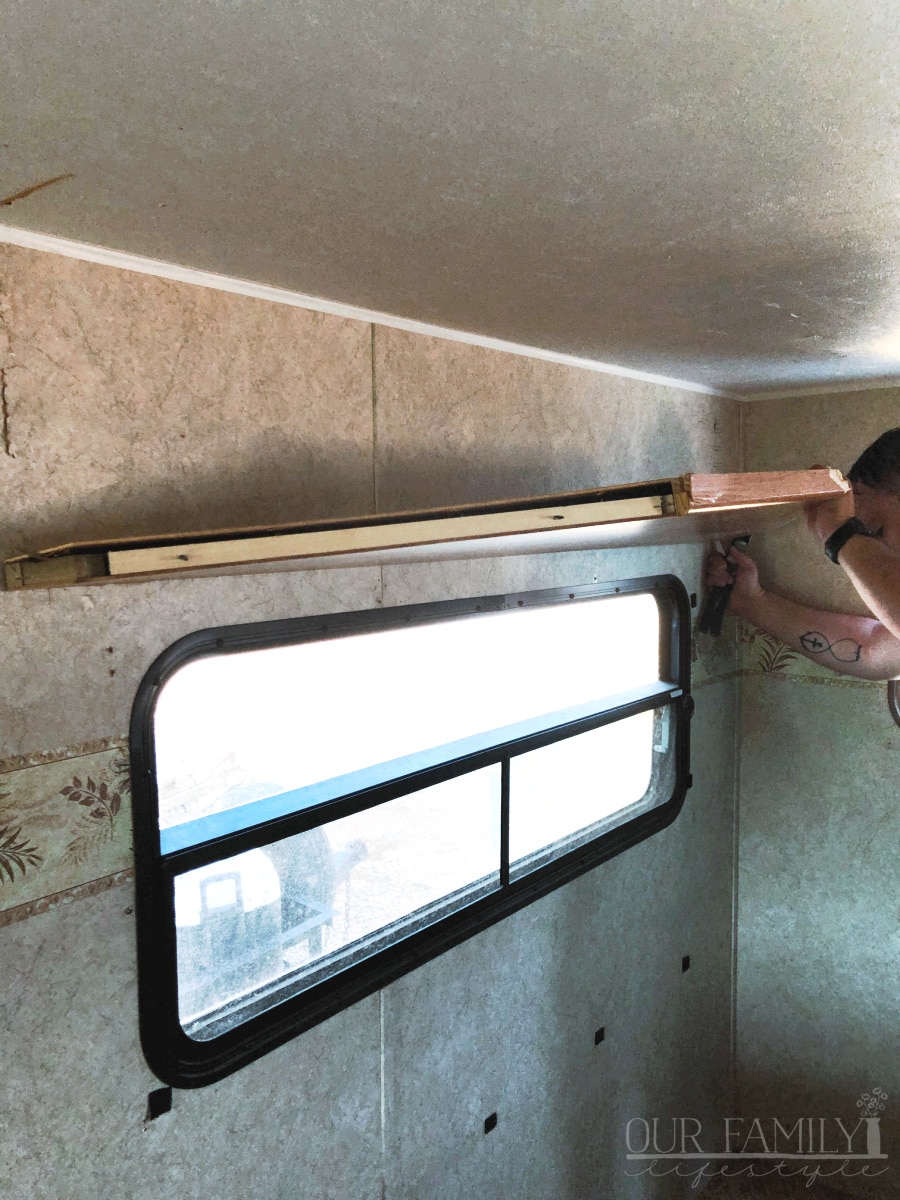
Apply pressure to pull the cabinet away from the wall until you can more easily grab and pull. Again, tug gently to minimize any damage to the thin RV walls.
Then we were able to either hammer the remaining staples back into the wall or pull them out if possible.
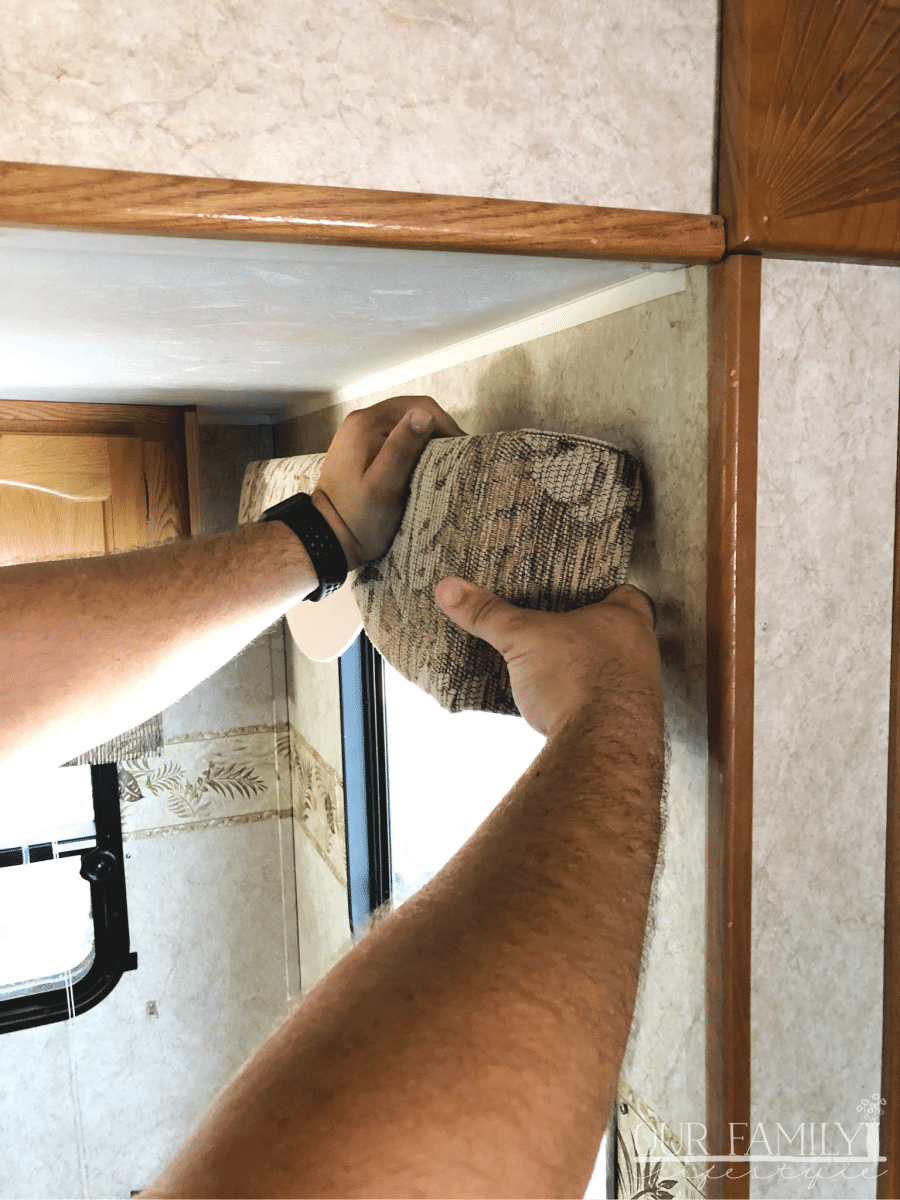
How to remove RV valances
This works for the basic stock RV valances too.
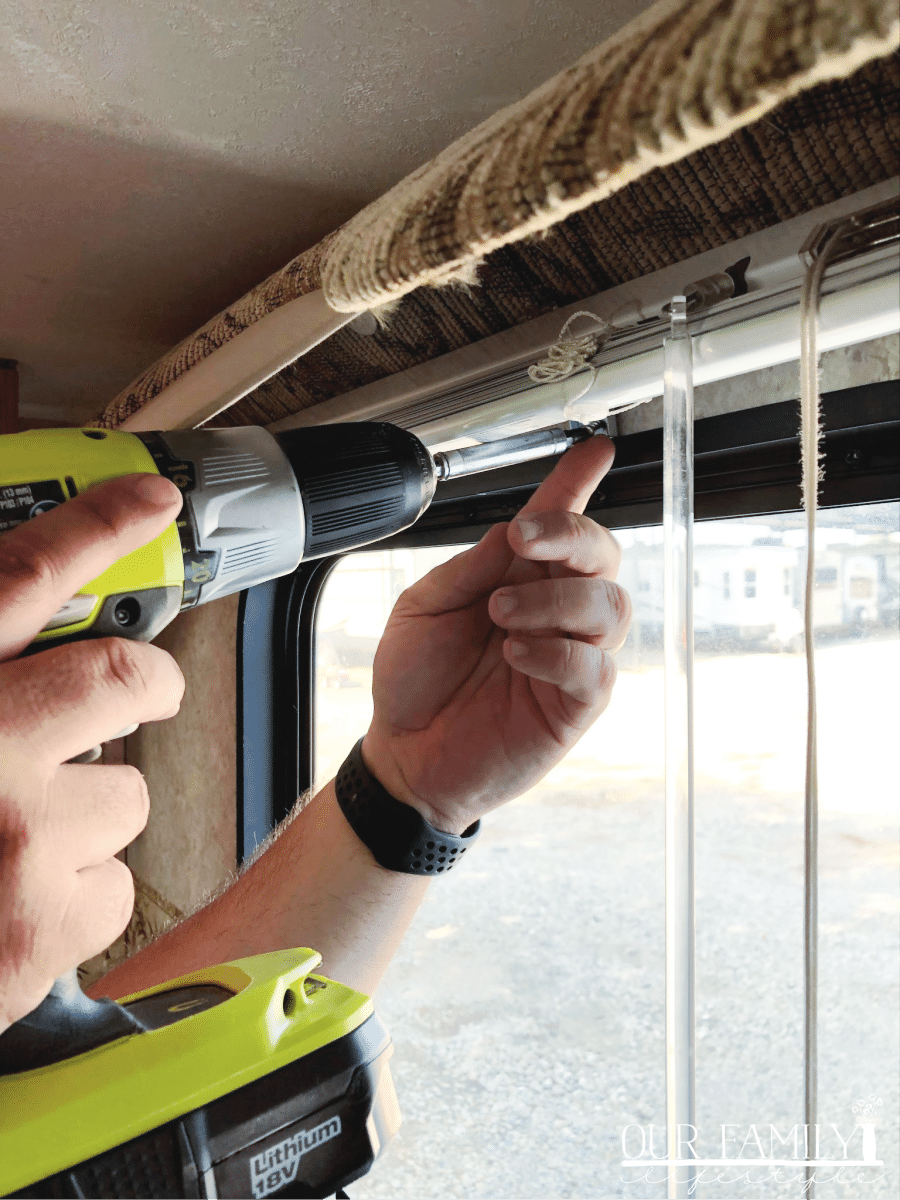
Pull up the valance to search for the screws holding it in place.
We found them just atop the window frame and along each end of the valance.
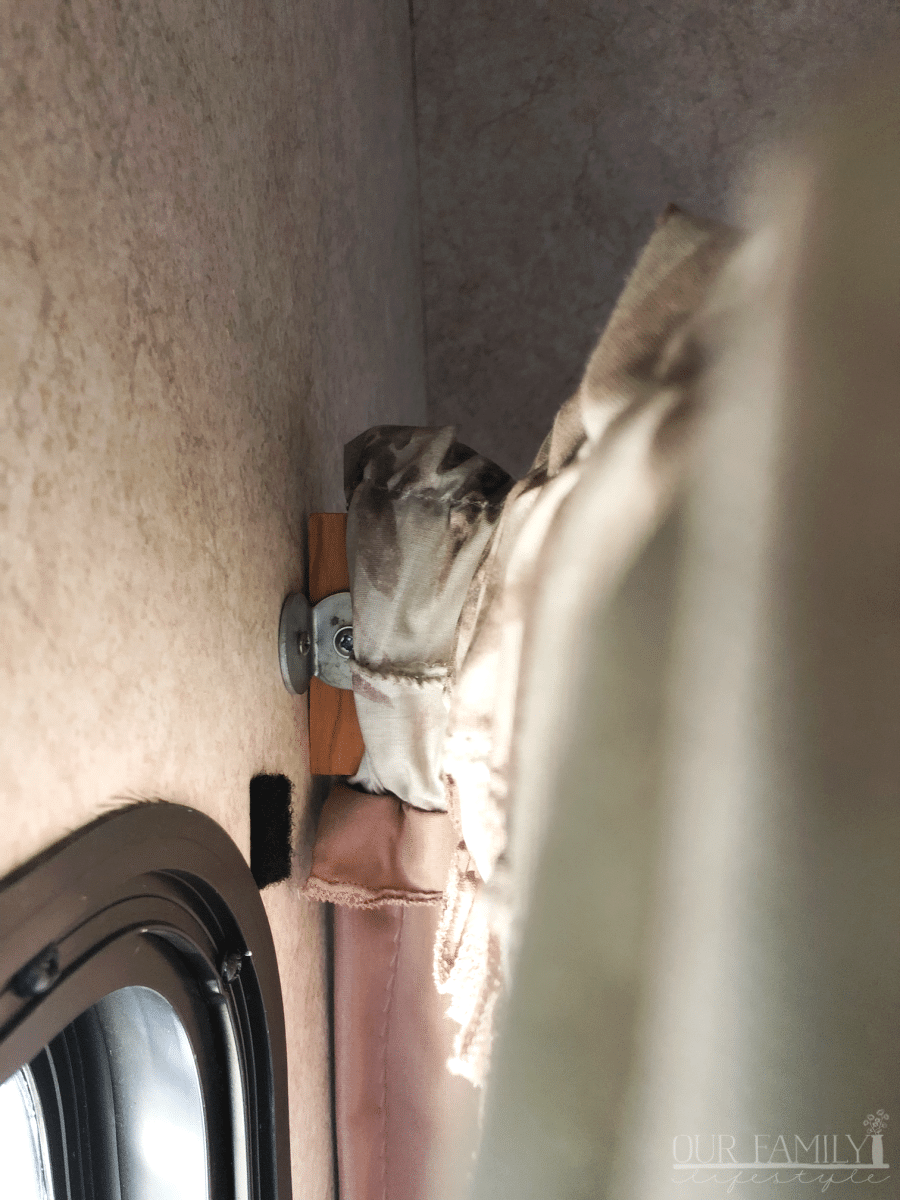
Remove them and then gently lift the valance away from the wall. (This is an easier process because the window treatments aren't attached with a hundred staples).
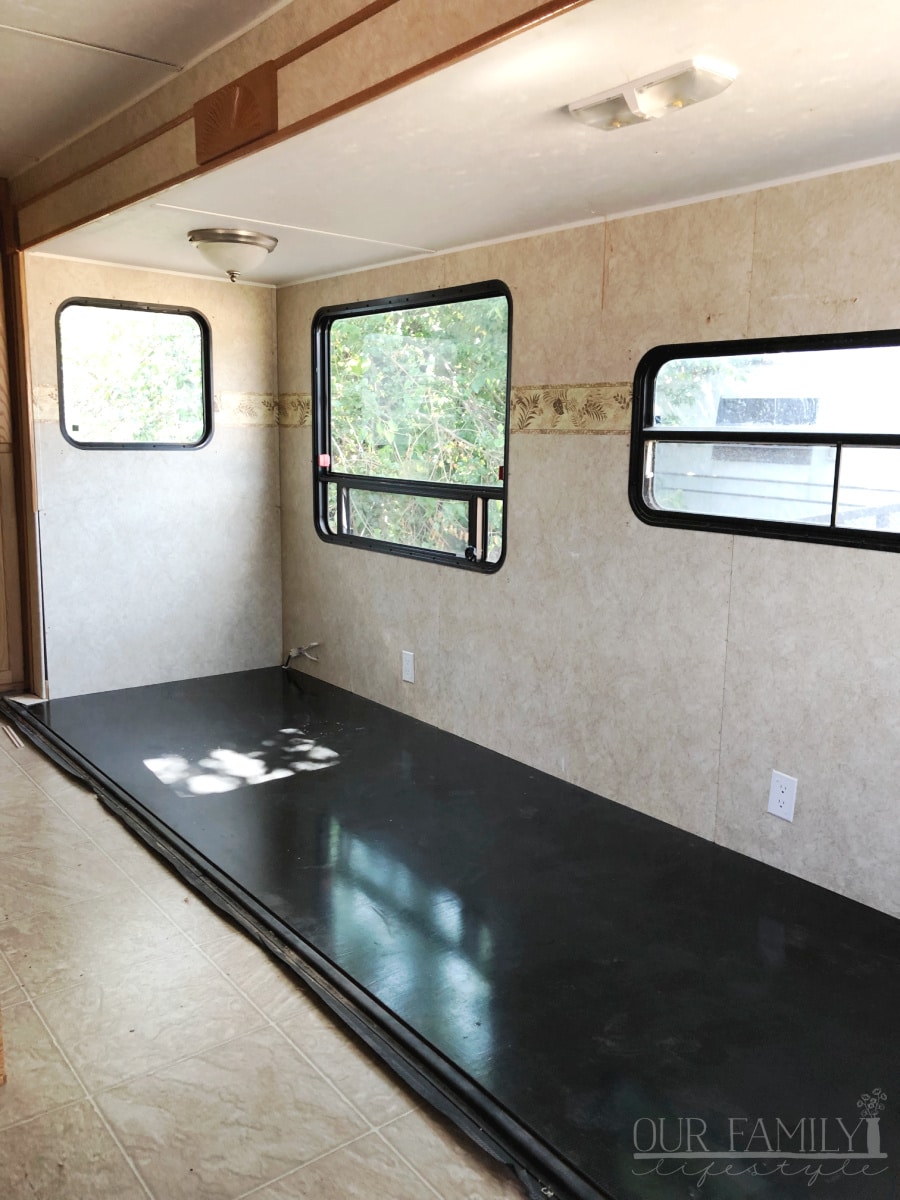
Once the furniture and other items were removed from the slide out, we could easily pull the carpet up.
By the way, within 24 hours of removing the carpet, the trailer began to smell sooooo much better! Carpet truly retains a lot of junk; odors, stains, and more.
Once that was out of the way, it was time to work on the walls.
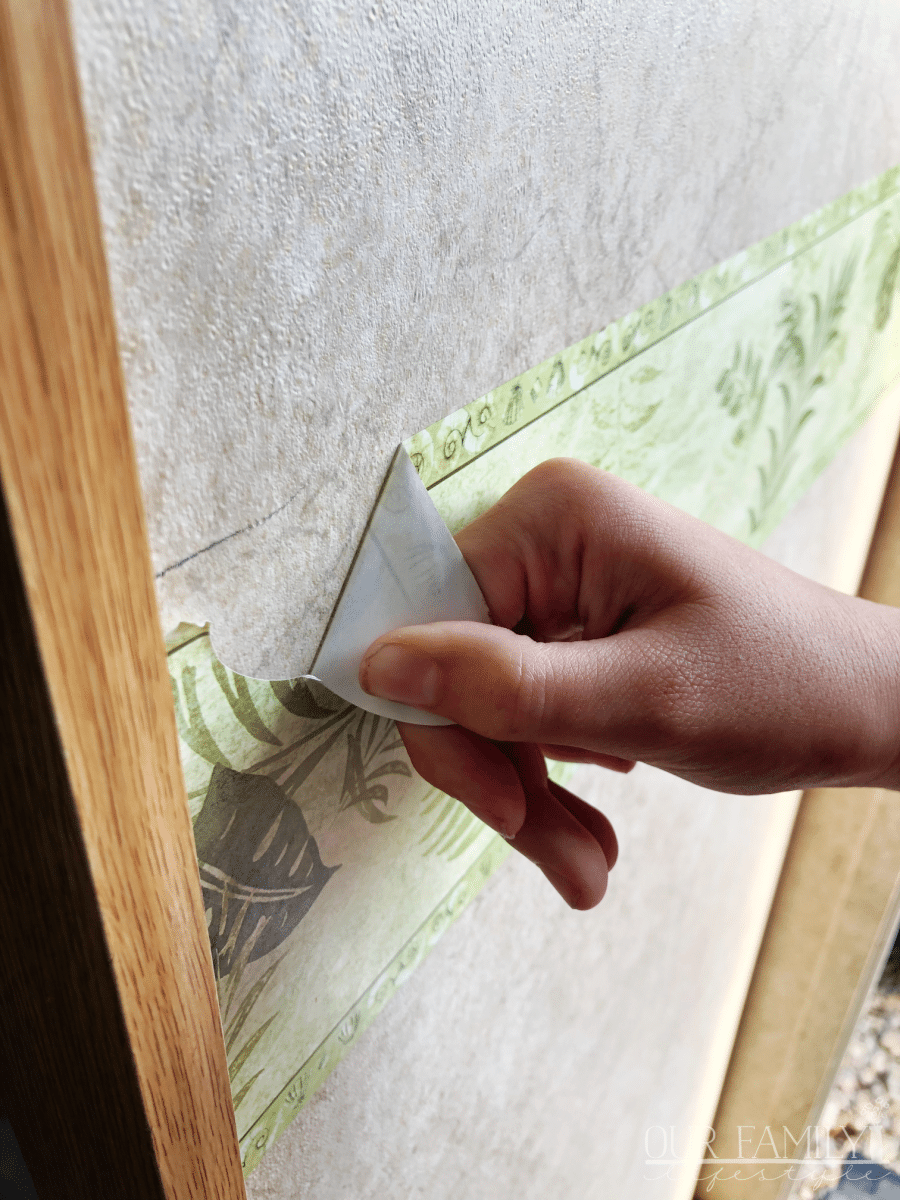
Removing RV wallpaper
Removing the wallpaper border was the first step. We could paint over the rest. Fortunately, once it started lifting, it was fairly easy to pull off.
We then scrubbed any adhesive left behind off with Goo Gone.
Because we were going to be painting pretty much every inch of the trailer, we moved on to the walls.
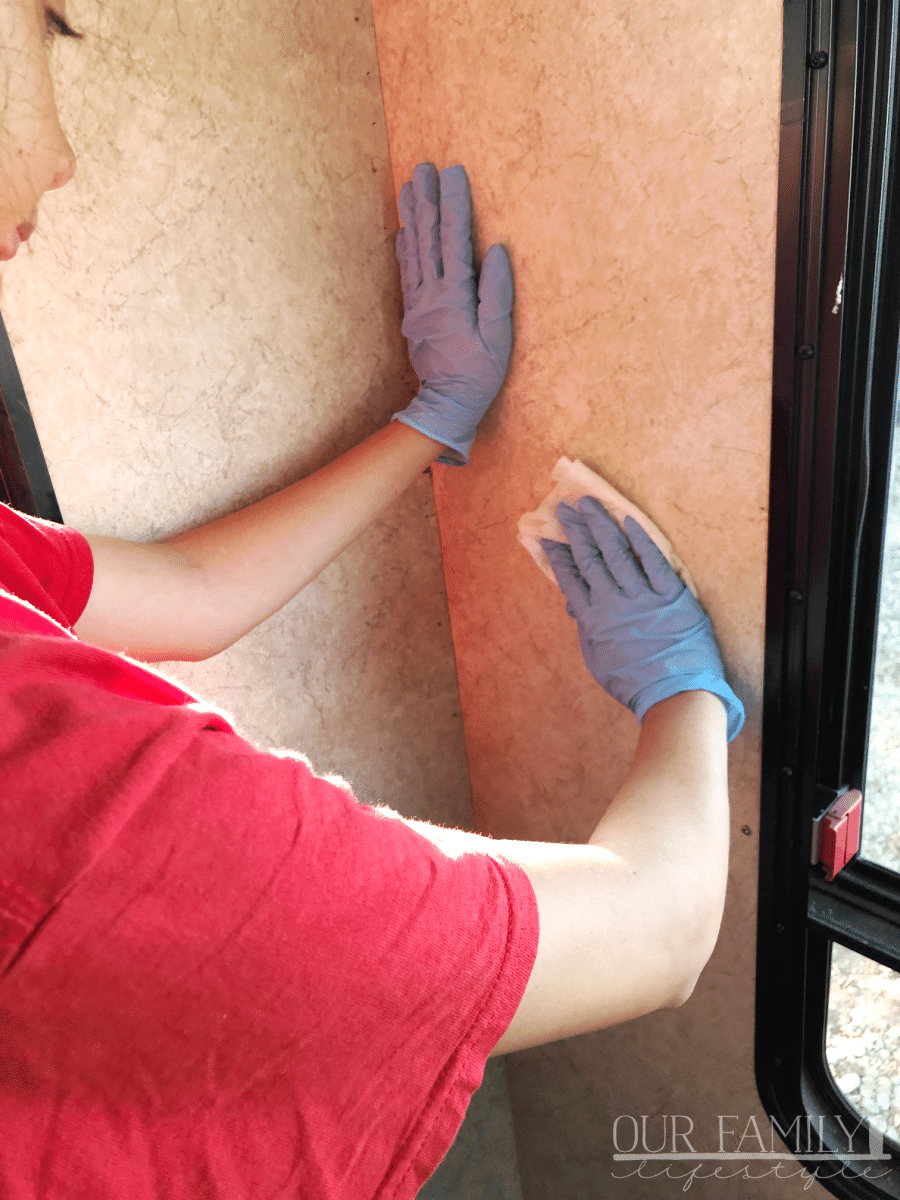
Everything in the RV had to be de-greased, scrubbed and sanded to prep for paint. As well as just to be completely cleaned and sanitized.
The trailer had been sitting unused for years.
Because we were quite literally combing over every inch of the travel trailer, it was also the ideal time to note any damage.
This allowed us to accommodate for any repairs both with our time and our budget.
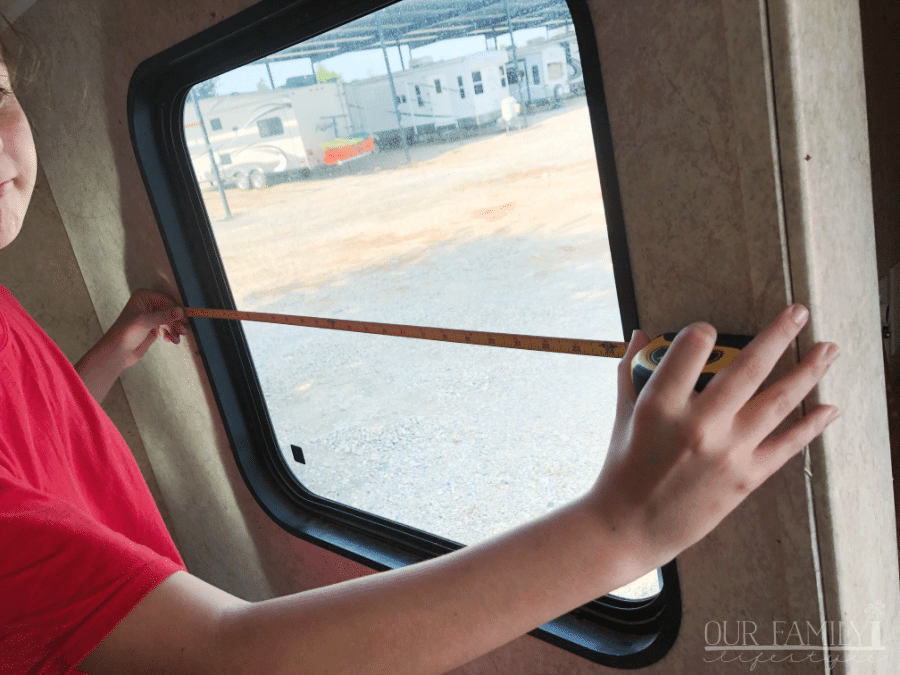
Plus, we also made measurements for items we would need to replace or otherwise be improving.
Overall, the demolition process only took us a day to complete. Things progressed quickly with Colby and I, plus Jaci, working on it.
We were excited about this part of the process, but even more eager to get started on the RV remodel. Now we had a fresh new clean slate to do that!
amzn_assoc_placement = "adunit0"; amzn_assoc_search_bar = "true"; amzn_assoc_tracking_id = "7onashoe-20"; amzn_assoc_ad_mode = "manual"; amzn_assoc_ad_type = "smart"; amzn_assoc_marketplace = "amazon"; amzn_assoc_region = "US"; amzn_assoc_title = "Shop the Post"; amzn_assoc_linkid = "21462d2e2b9b705c7feee86718ac7e5a"; amzn_assoc_asins = "B000NPPB1A,B00R1FYLWU,B00006IBNJ,B008AGWNII";