Are you the type of person that looks at items at the store and thinks, "I can make that." Because, I'm that person. My mom was a seamstress and my dad a carpenter, so I believe I come by it honestly.
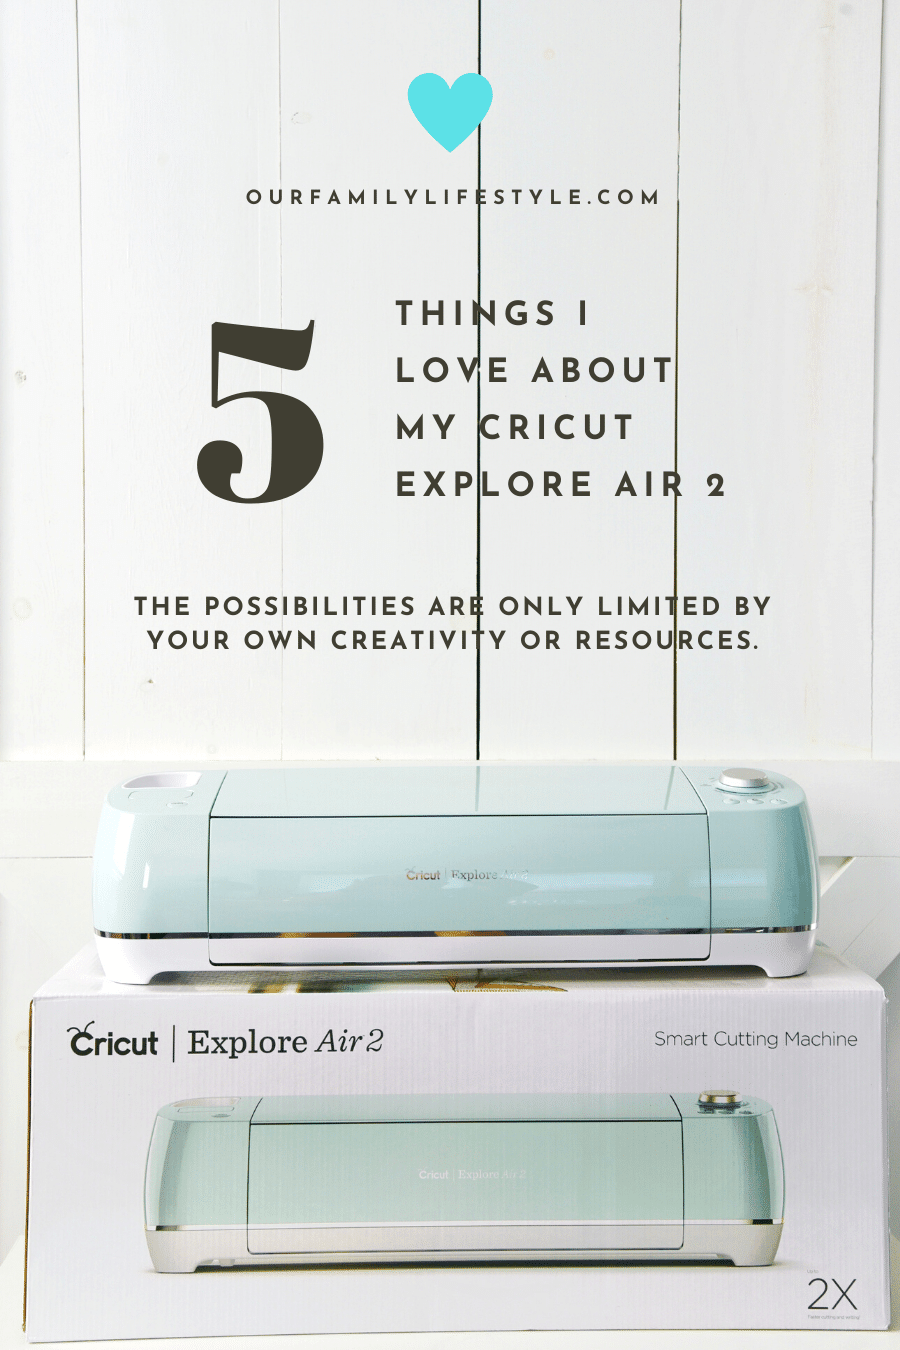
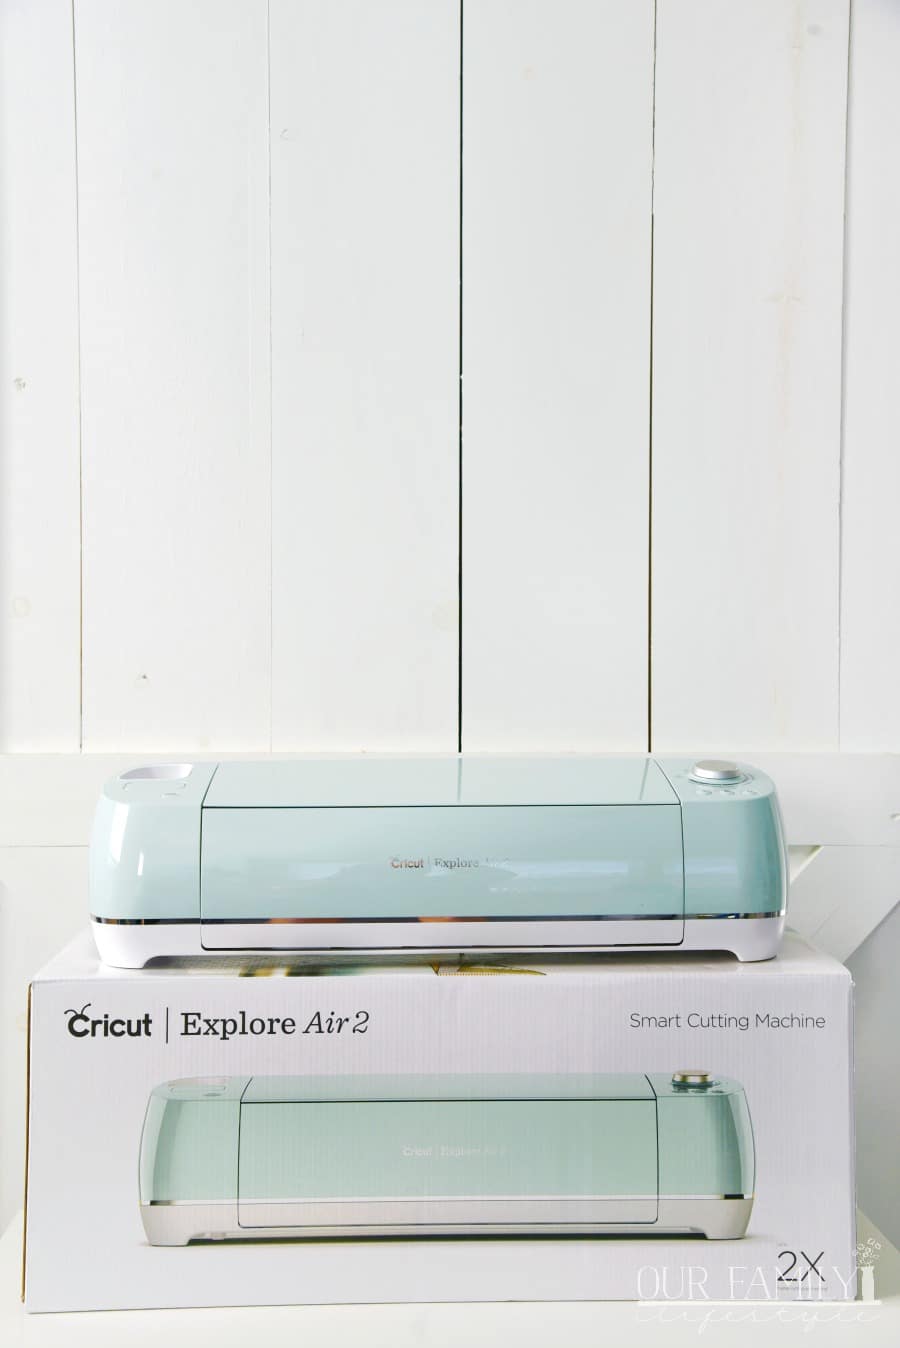
Things I Love About My Cricut Explore Air 2
In fact, for my wedding 25 years ago, I pulled out my huge desktop computer and dot-matrix printer to make my own wedding stationery. Do you know how hard it was to make a map on Paint—without Google Maps?
All that to say, my love for DIY projects goes pretty far back. The family of Cricut machines was a game-changer for me! Most recently, the Cricut Explore Air 2.
Let's talk about (just) 5 reasons I love my Cricut Explore Air 2:
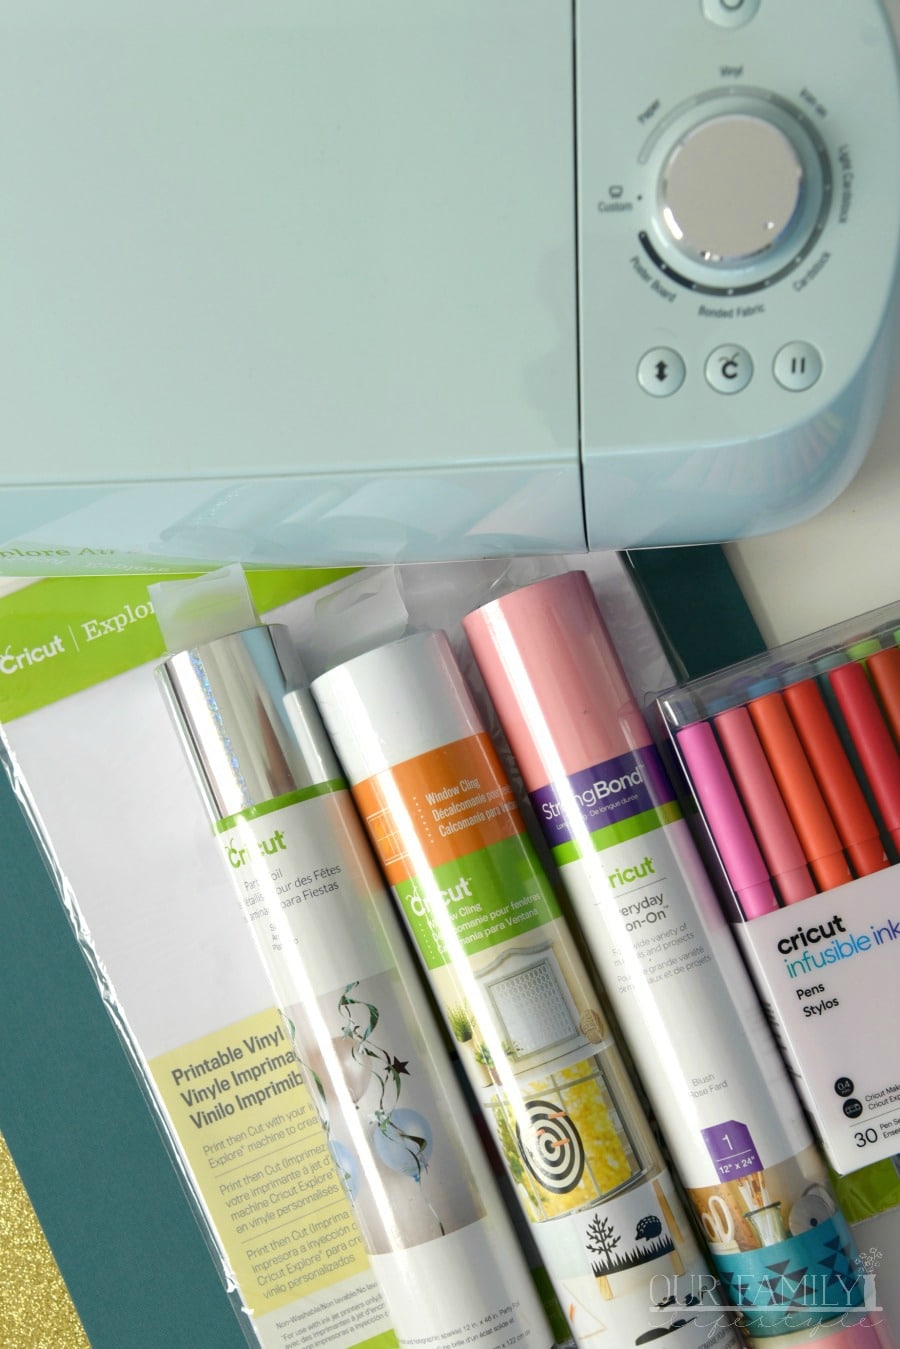
1. Cuts more than 100 materials. Almost every project I enjoy creating can be done with the Explore Air 2. It cuts everything from cardstock, vinyl and iron-on to specialty materials like glitter paper, cork, and bonded fabric. Create projects from cards to custom T-shirts to home decor.
2. Now you can do it even faster! The Cricut Explore Air 2 cuts and writes up to 2X faster than past models with Fast Mode.

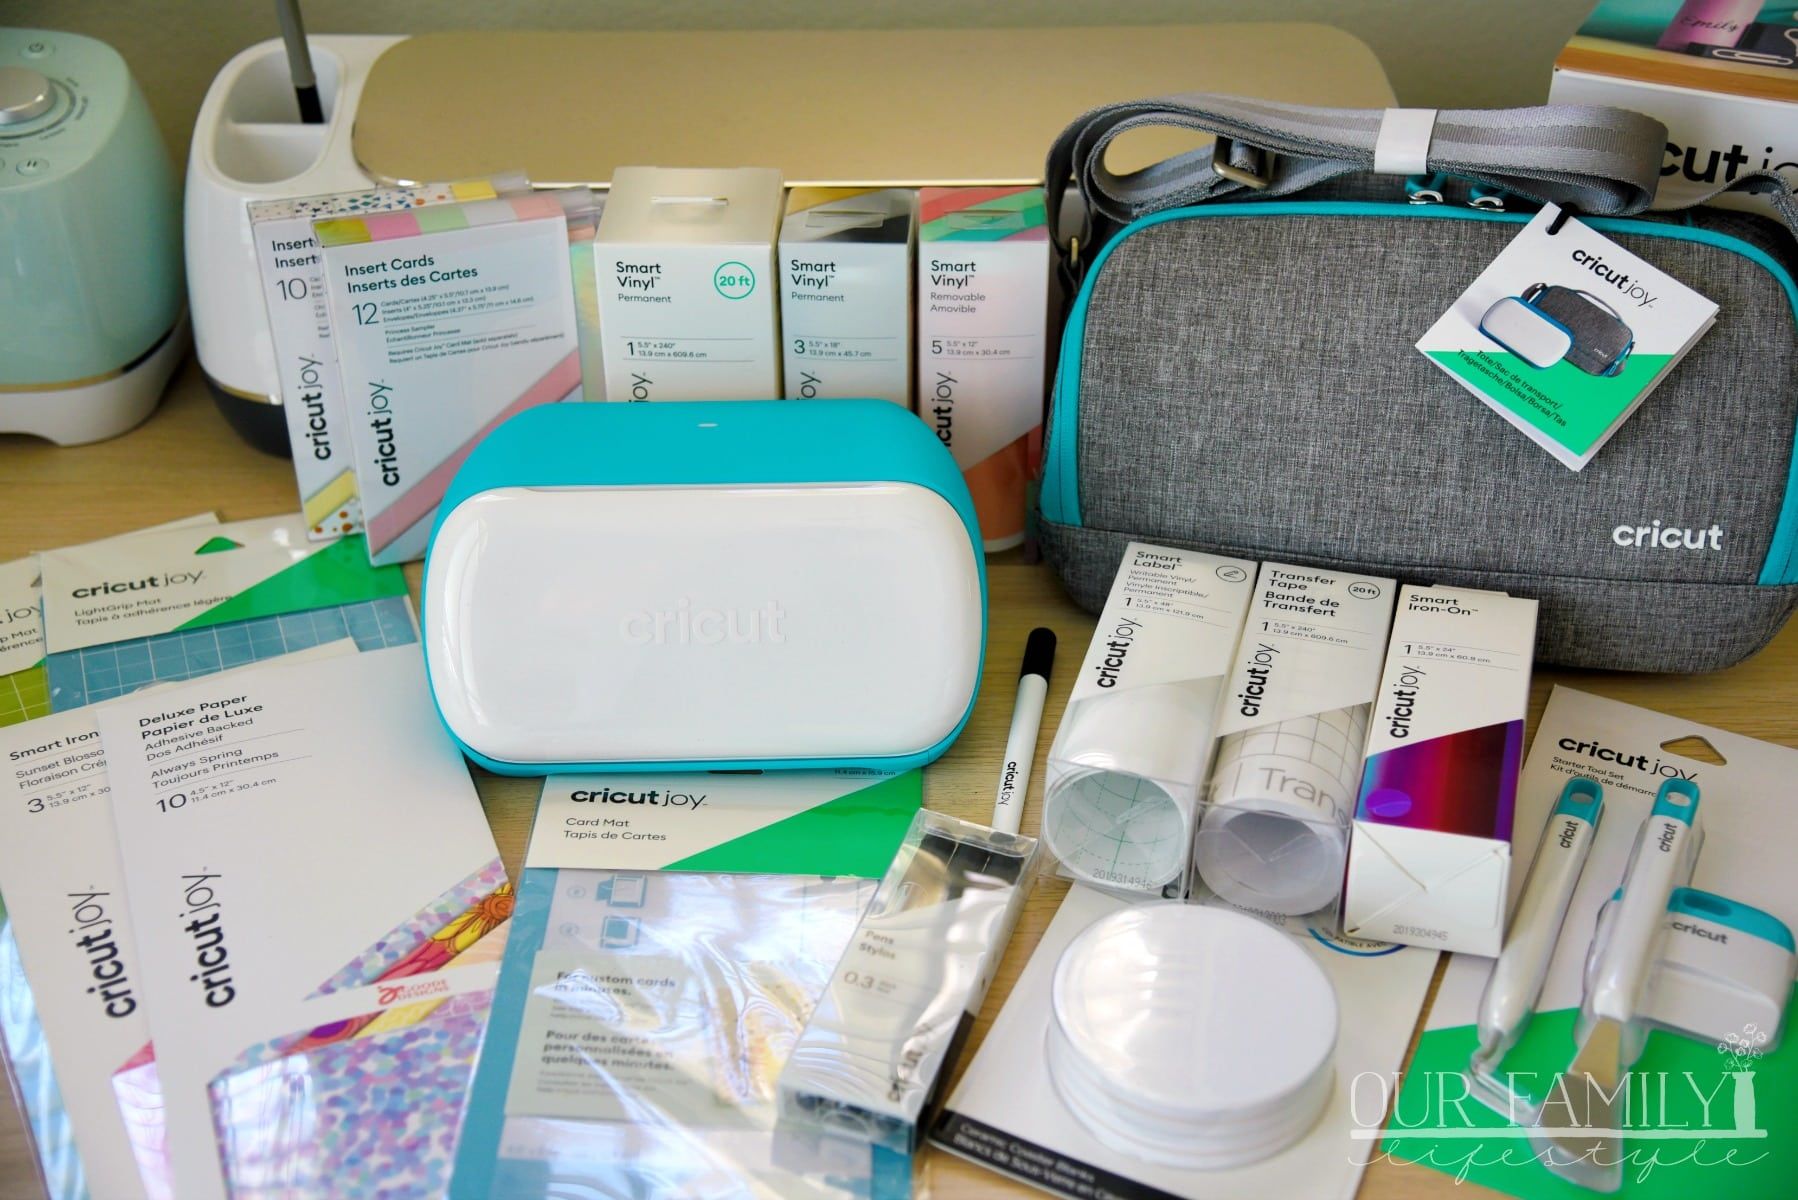
3. Not to mention, Cricut even helps you create more with thousands of images, fonts, and ready-to-make projects. Plus, new subscribers receive a free trial membership to Cricut Access™ to get started!
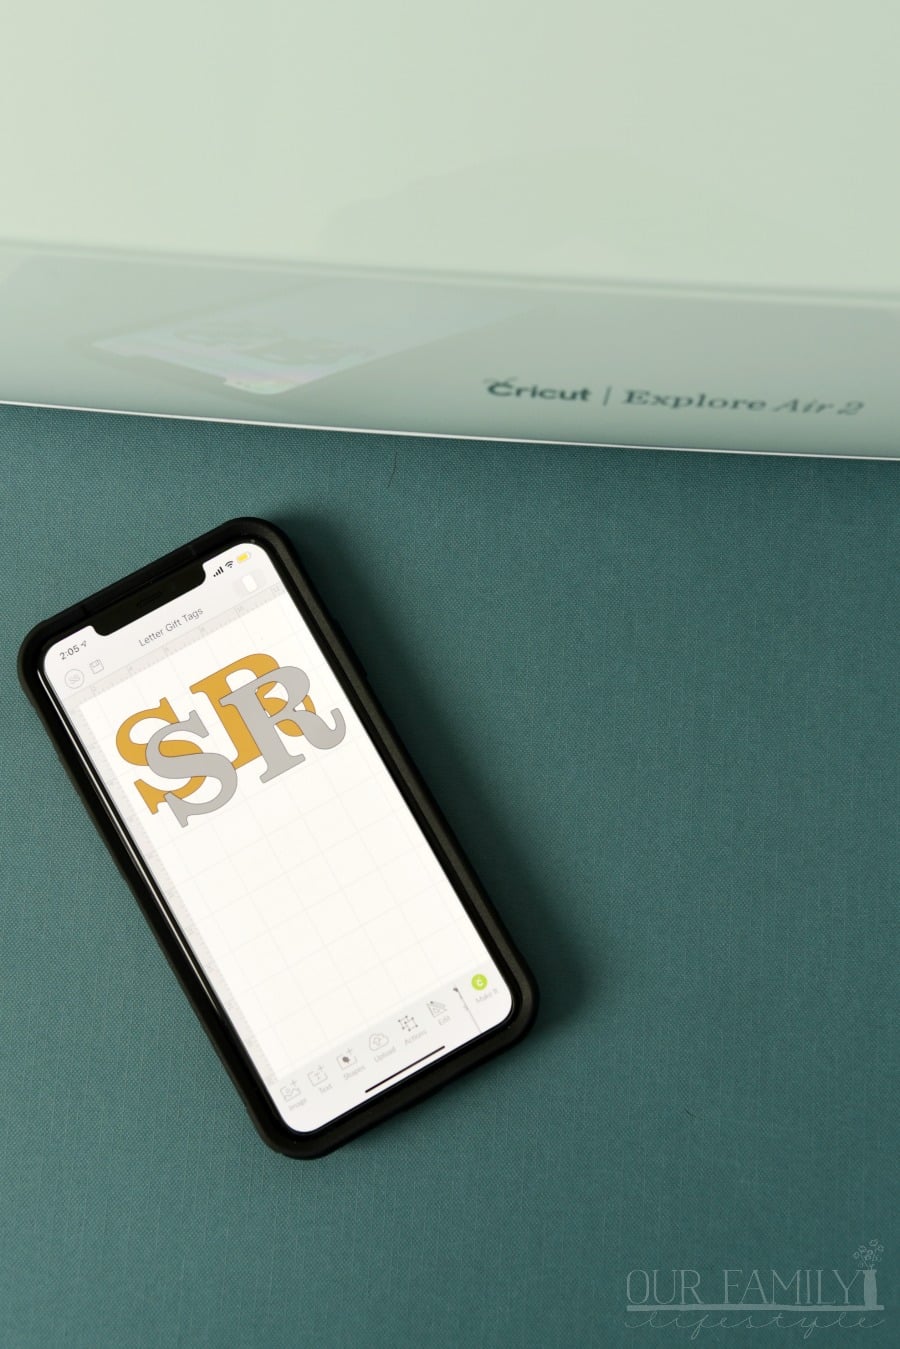
4. Designing anywhere is possible on your laptop, iPad or iPhone with Cricut Design Space®. Print and cut directly from your computer or smart device with Bluetooth® wireless technology.
5. Finally, upload your own images and fonts for free to have complete creative liberty in your designs. You can truly make each design your own.
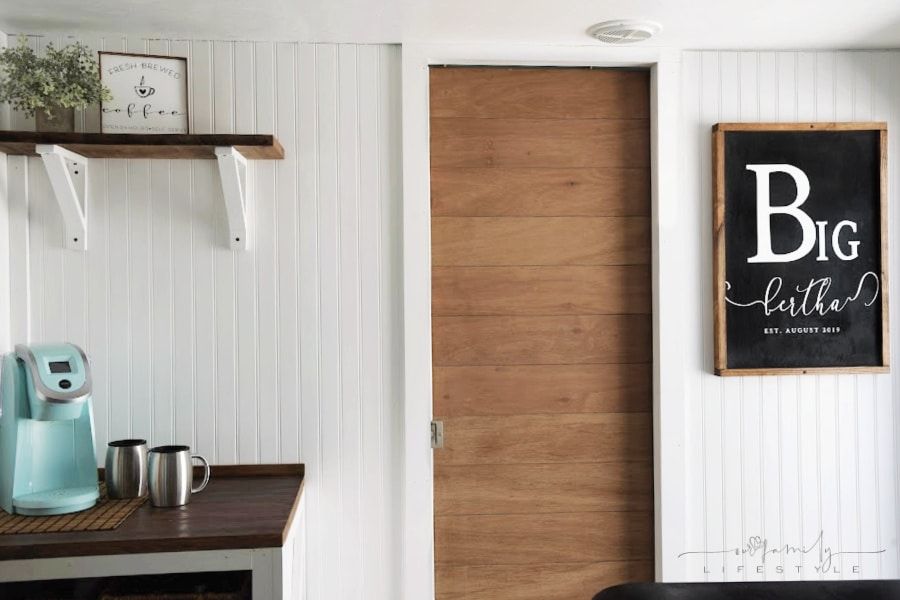
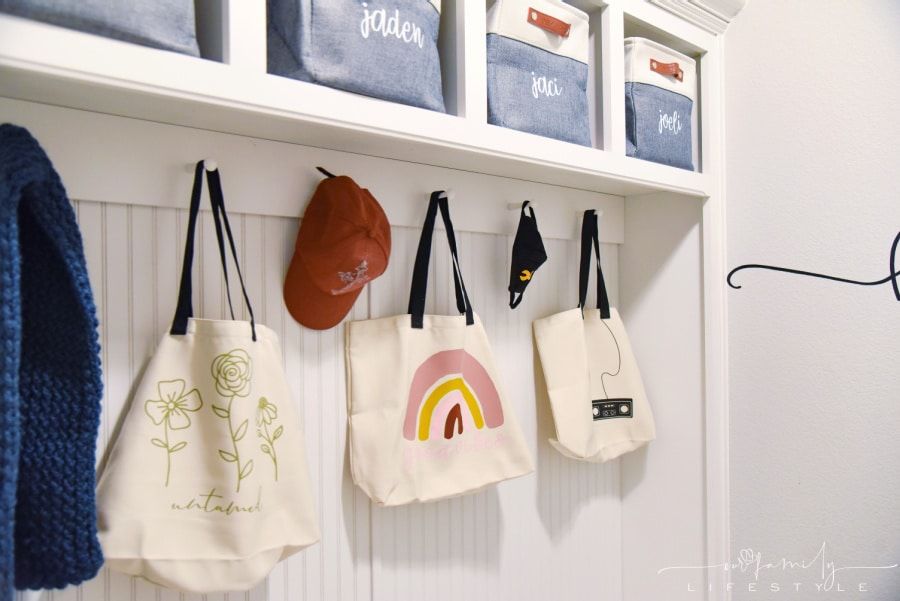
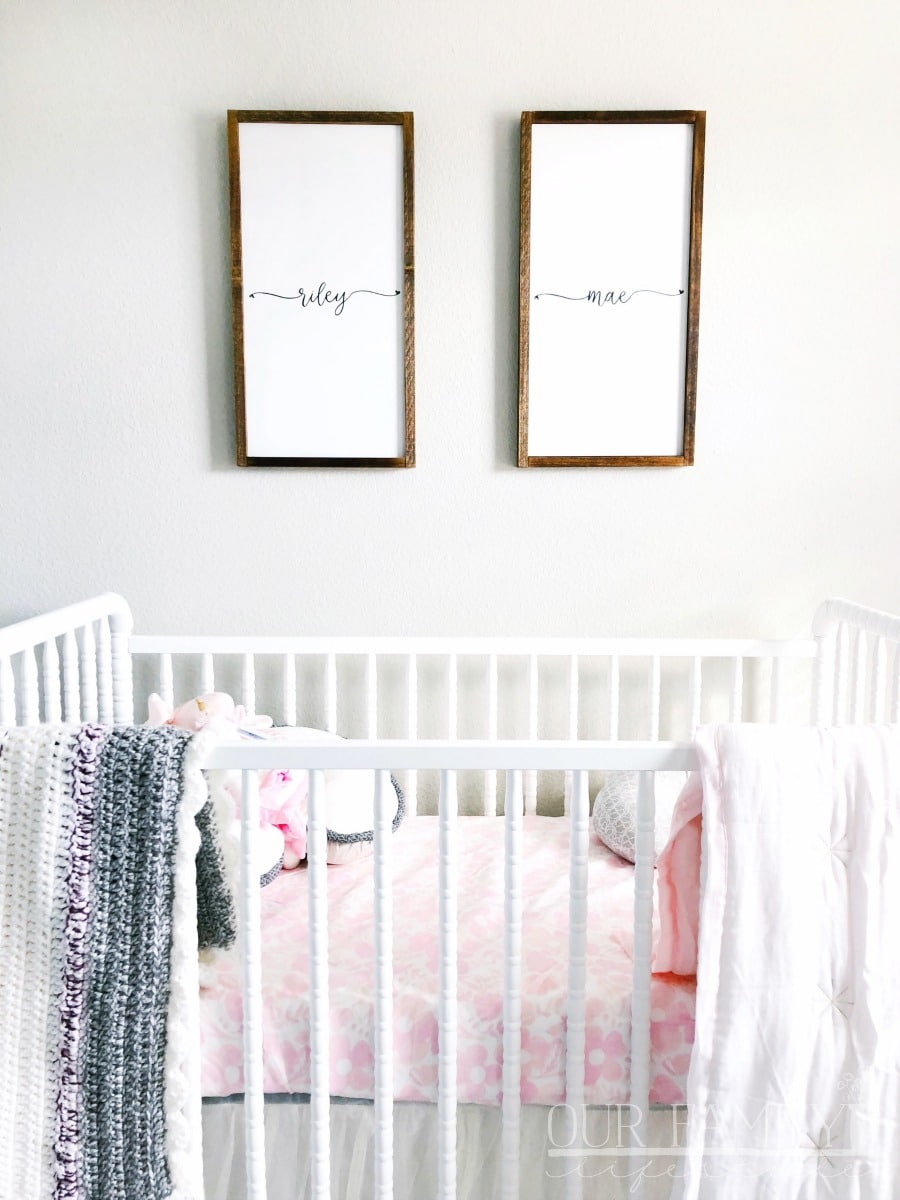
In addition to wood signs and vinyl canvas vinyl signs, I've made countless t-shirts and our Christmas stocking name tags. As well as, cake toppers, party banners, window decals, personalized mugs and more.
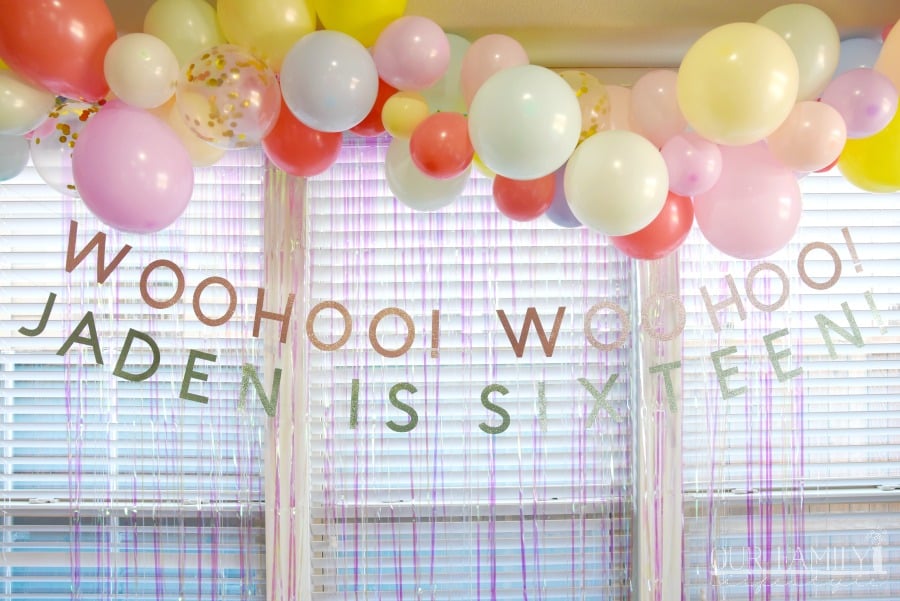
This month alone, we celebrated one daughter's Sweet 16 last weekend and will celebrate our granddaughter's first birthday this weekend. Making personalized banners for each celebration was easy.
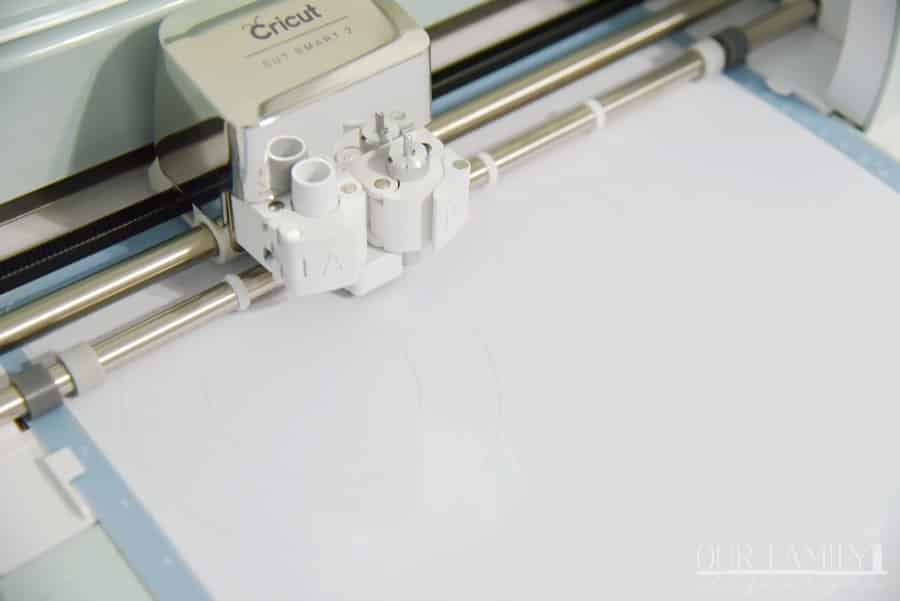
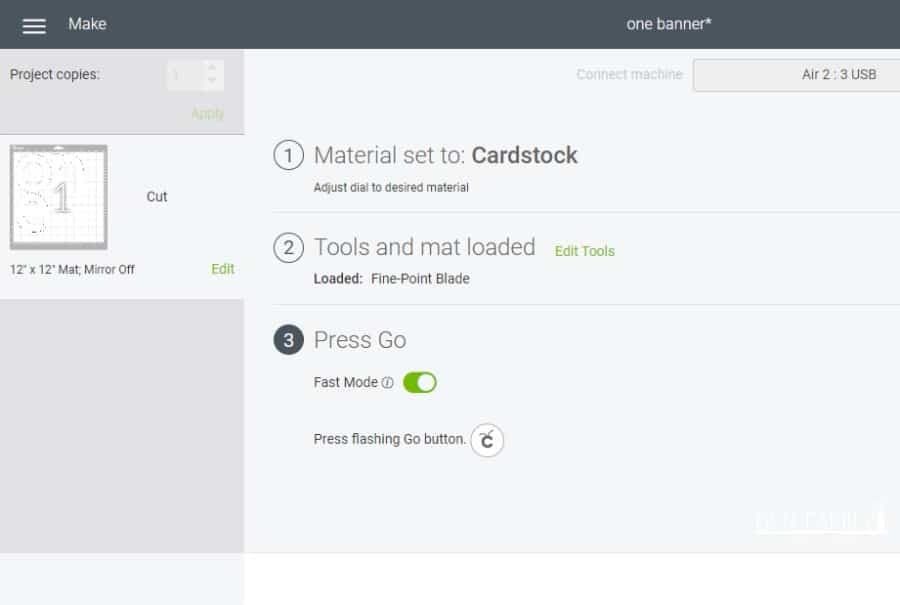
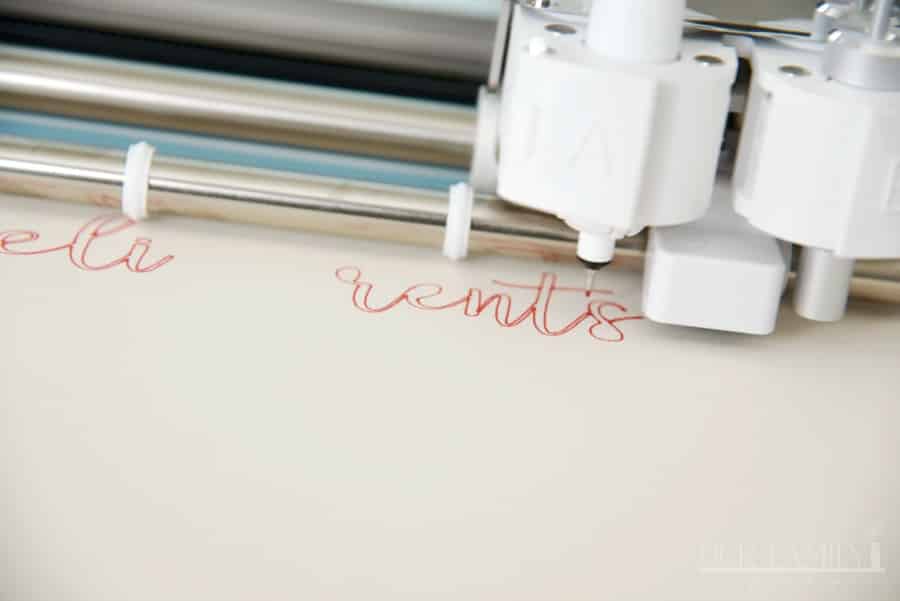
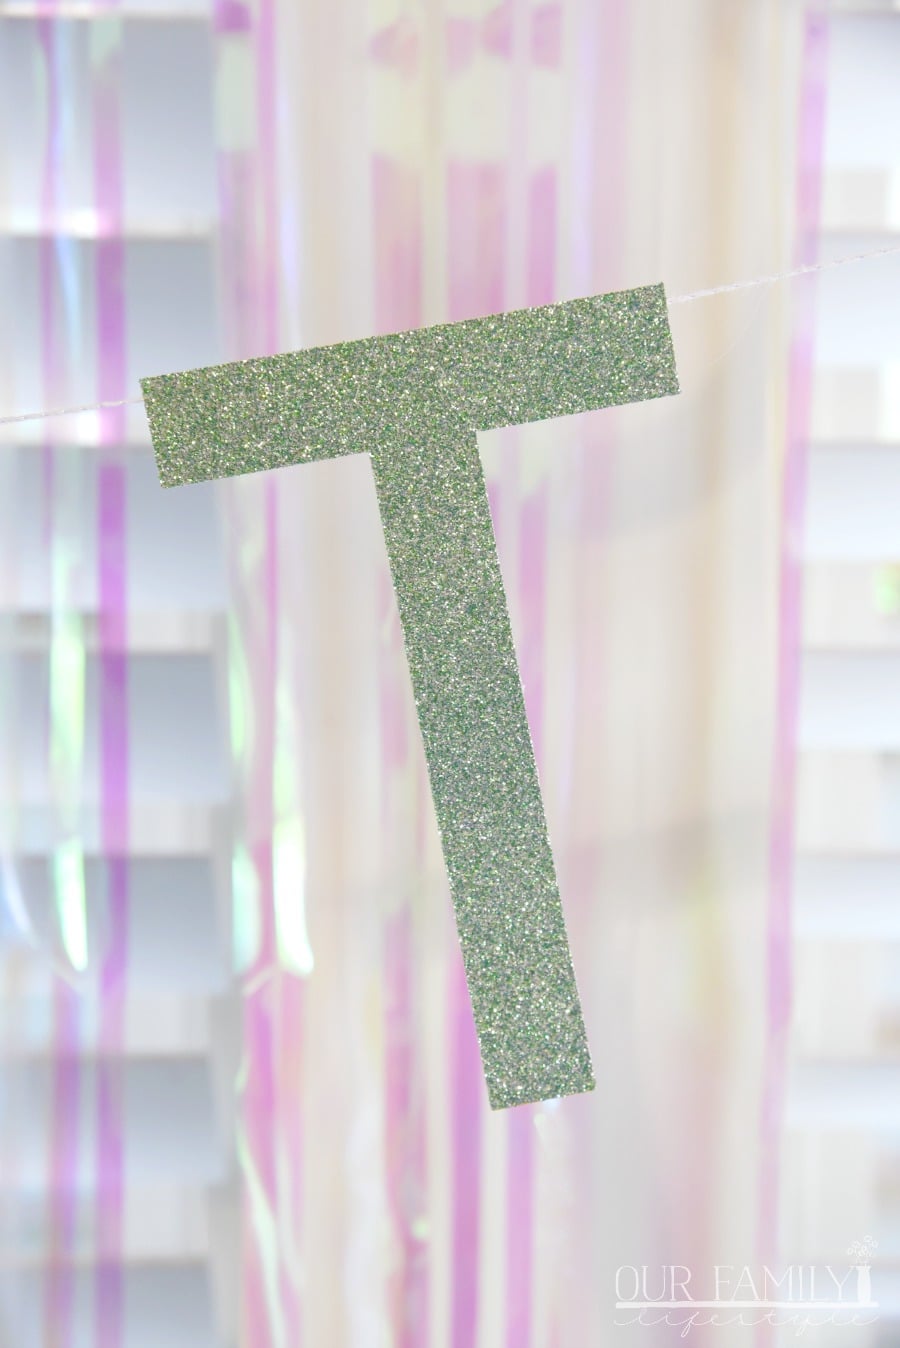
Using the Cricut Sans font at 350px, we spelled out each line of text in Cricut Design Space; then, cut each letter out on Cardstock.
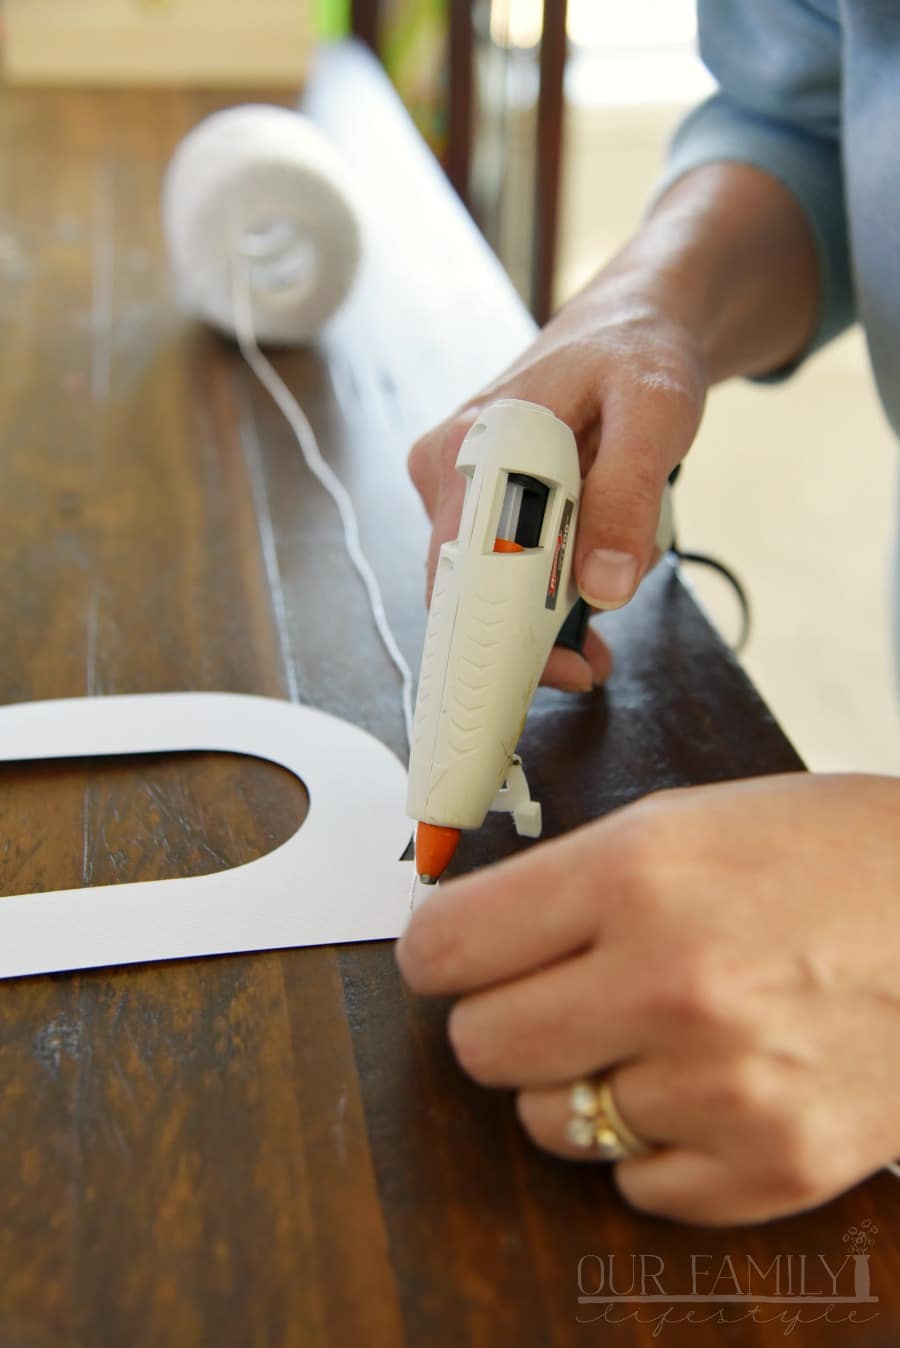
Taking a 6' piece of twine, we laid each letter out, spaced evenly, and centered on our twine. Then, after flipping the letters up over, we put a bead of hot glue along the top of each letter before carefully lying the twine across the bead.
That's it! It's truly that simple. We strung the banner into place and stood back in delight.
For our granddaughter's birthday this next weekend, we;re not only making another birthday banner, but we're also making smaller versions for both her cake and highchair. The process is simple enough to be re-sized and repeated for each new project so that each piece matches the others.
The possibilities are truly endless only limited by your own creativity or resources. But then, there's always Cricut Access projects for those looking for motivation!