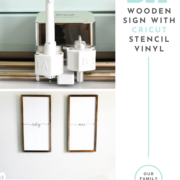
DIY Wooden Sign with Cricut Explore Air 2 + Stencil Vinyl
When we found out we were going to be grandparents, so many ideas started coming to mind on things we could make for her!
Disclosure: This is a sponsored post. All reviews and opinions expressed in this post are based on my personal view. [Learn more]
It was a whole new chapter—completely different than any before—and called for some real fun with planning.

DIY Wooden Sign
With my daughter’s input and permission, I pulled out my Cricut Explore Air 2 and got to work! I wanted to create two wooden signs with the baby’s name across them.
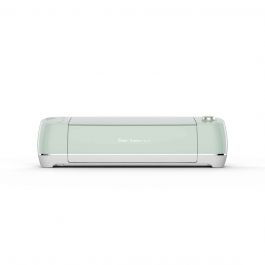
First, let’s talk about the Cricut Explore Air 2 and why it can meet and exceed many of your crafting needs:
- Cuts 100 different materials
- Up to 2X faster* cutting and writing (*Fast Mode works with popular materials including vinyl, iron-on, and cardstock)
- Double tool holder
- Easy-to-learn Design Space® software (For iOS and Android™ devices, and Windows® and Mac® computers)
- Offline Mode
- Flexibility to upload your own designs
- 50 ready-to-make projects
- Compatible with Cricut cartridges
If you have a long list of DIY projects waiting in the wings, the Cricut Explore Air 2 can help you get them done!
In my case, I love wooden signs and wanted to try my hand at one. This pair was such an important part of our new chapter, so I wanted to make them perfect.
The Cricut Explore Air 2 made that easier.
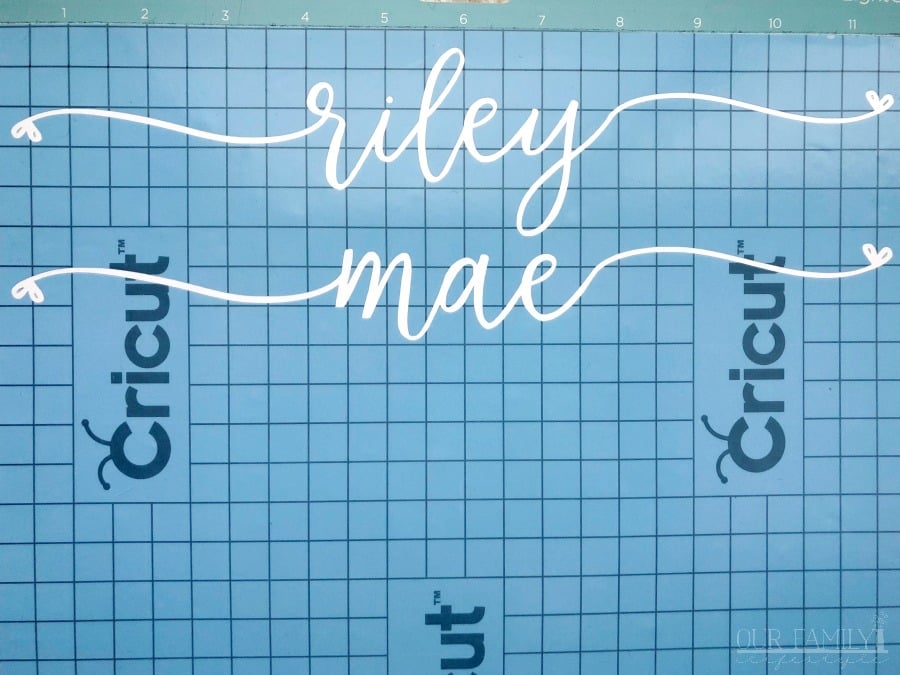
Using the Design Space® software, I uploaded my own fonts and configured the typography to the size and style I needed.
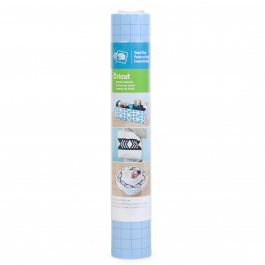
Once everything was set with the design, it was time to cut the Cricut Stencil Vinyl and get to work with weeding, painting, and peeling.
Let’s walk through the steps to make it easier to explain:
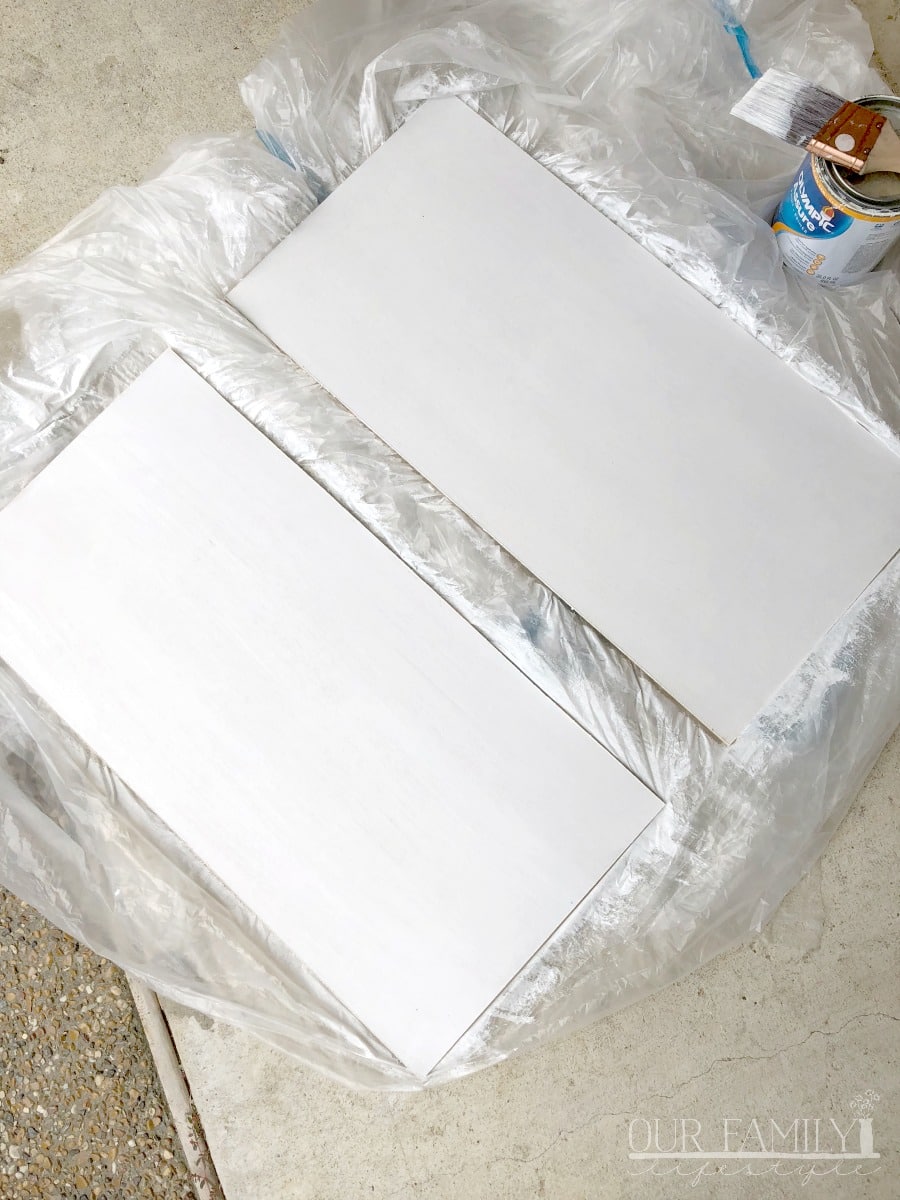
We took a piece of plywood and cut the pieces in long rectangles based on the measurements of the wall space we were covering. I painted them both white and let them dry while I cut the stencils using my Cricut.
With the fresh-cut stencil in hand, I began by reverse weeding. Fortunately, the Cricut basic tools set has all the essential tools you need to lift, weed, and burnish.
Once my stencil was ready, I placed it on my (now dry) background and painted over it with white paint.

Why? The white paint, the same one I used to paint the boards with, will try around the edge of the stencil and help to prevent runs.
Basically, it creates a seal to keep the next color where it belongs.

Once the white paint had finished drying, it was now time to paint over the stencil with the black paint. (I used chalkboard paint simply because I didn’t need much and already had it on hand).

After letting the black paint dry over the stencil, it was time for the fun part! The reveal!

As I slowly peeled the Cricut Stencil Vinyl up, I could see the signs begin to take shape and was excited about the finished project.
We added an easy box frame around each wooden sign, attached a picture hanger, and then they were ready for presenting to my daughter.

Once the signs made their way into the nursery, they looked even better than I imagined!
I’m not often completely thrilled with my finished craft projects, but these DIY wooden signs made with Cricut are easily some of my favorites!


DIY Wooden Sign with Cricut
DIY wooden signs using Cricut explore Air 2, stencil vinyl, and paint.
Materials
- Cricut Stencil Vinyl
- Plywood
- paint
- painters tape
- stain
Tools
- Cricut Explore Air 2
- Cricut basic tools set
- paint brush
- nail gun/hammer
- nails
Instructions
- Cut plywood into desired size and shape and paint your base color to allow time for drying.
- Design sign using Cricut Design Space.
- Weld design in order to keep text and images in place while cutting.
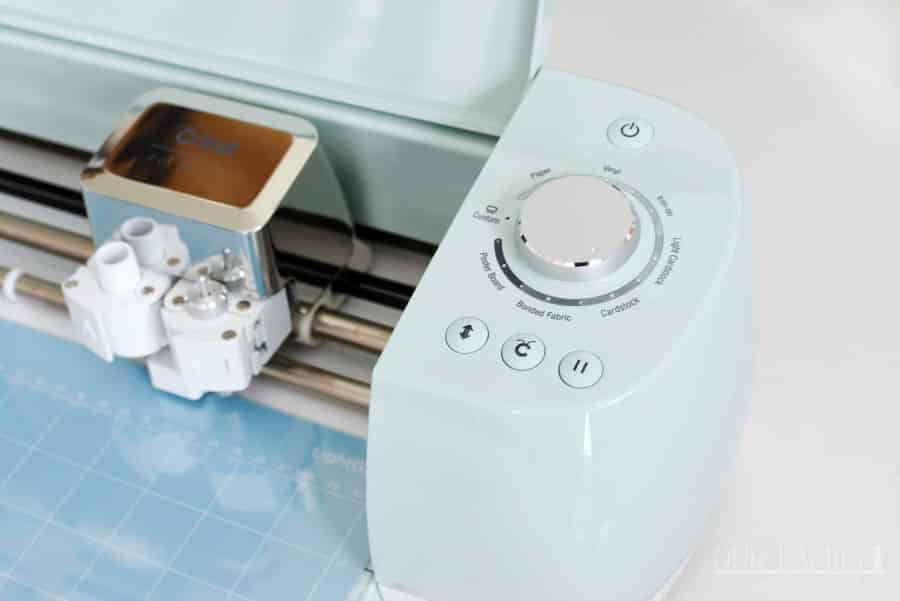
- Place vinyl on machine mat.
- Send design to Cricut Explore Air 2.
- Use weeding tools to remove letters/images from design.
- Place vinyl stencil on dry plywood and use painters tape to keep in place.
- Paint over stencil with BASE color first and allow to dry.
- Once dry, paint over stencil using your chosen color for design.
- Allow to dry and then prepare for hanging.
Recommended Products
As an Amazon Associate and member of other affiliate programs, I earn from qualifying purchases.