Do you remember when your little one took their first steps? It's a huge milestone as infants begin to transition into toddlers. And it's both stressful and so much fun!

DIY Canvas Sign
Well, we're entering that stage now with our granddaughter. She is 10 months old and has started walking short distances this week! Again, both exciting and panic-inducing!
There's the little wobble and fear of them falling and getting hurt coupled with the sad realization that they're growing so fast! Along with the joy of seeing them pass developmental milestones.
Whether you're a parent, aunt, uncle, grandparent, or friend, it's definitely something to see and celebrate!
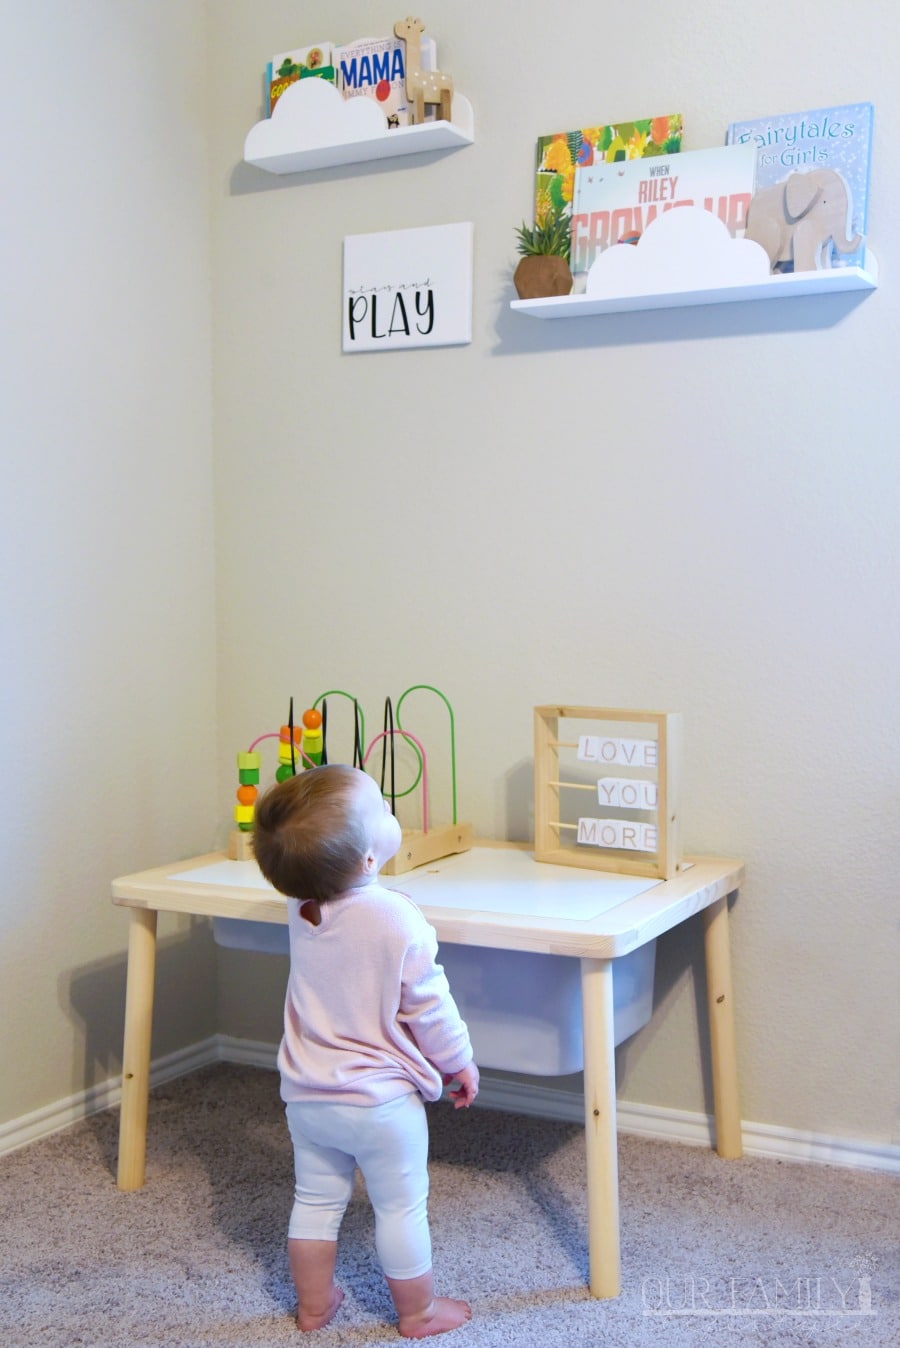
For my daughter, it means it's time to get the playroom put together! She wants to make sure her baby has a cute, but safe, place to play.
My favorite part of that plan? Decorating! Yes, of course, baby-proofing is the first step, but helping her decorate the space is my forte. And I'm honored to be asked to help!
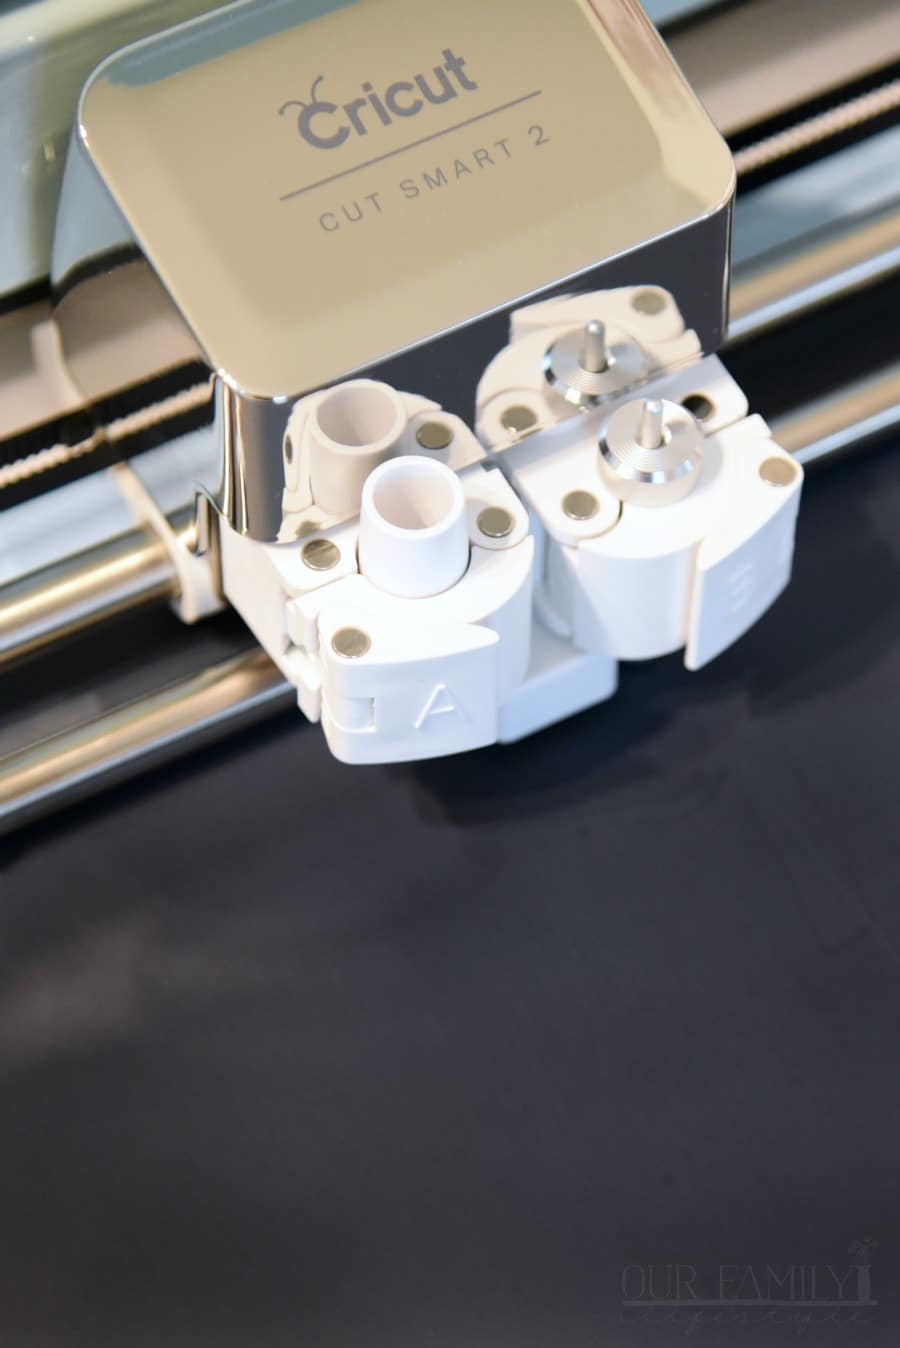
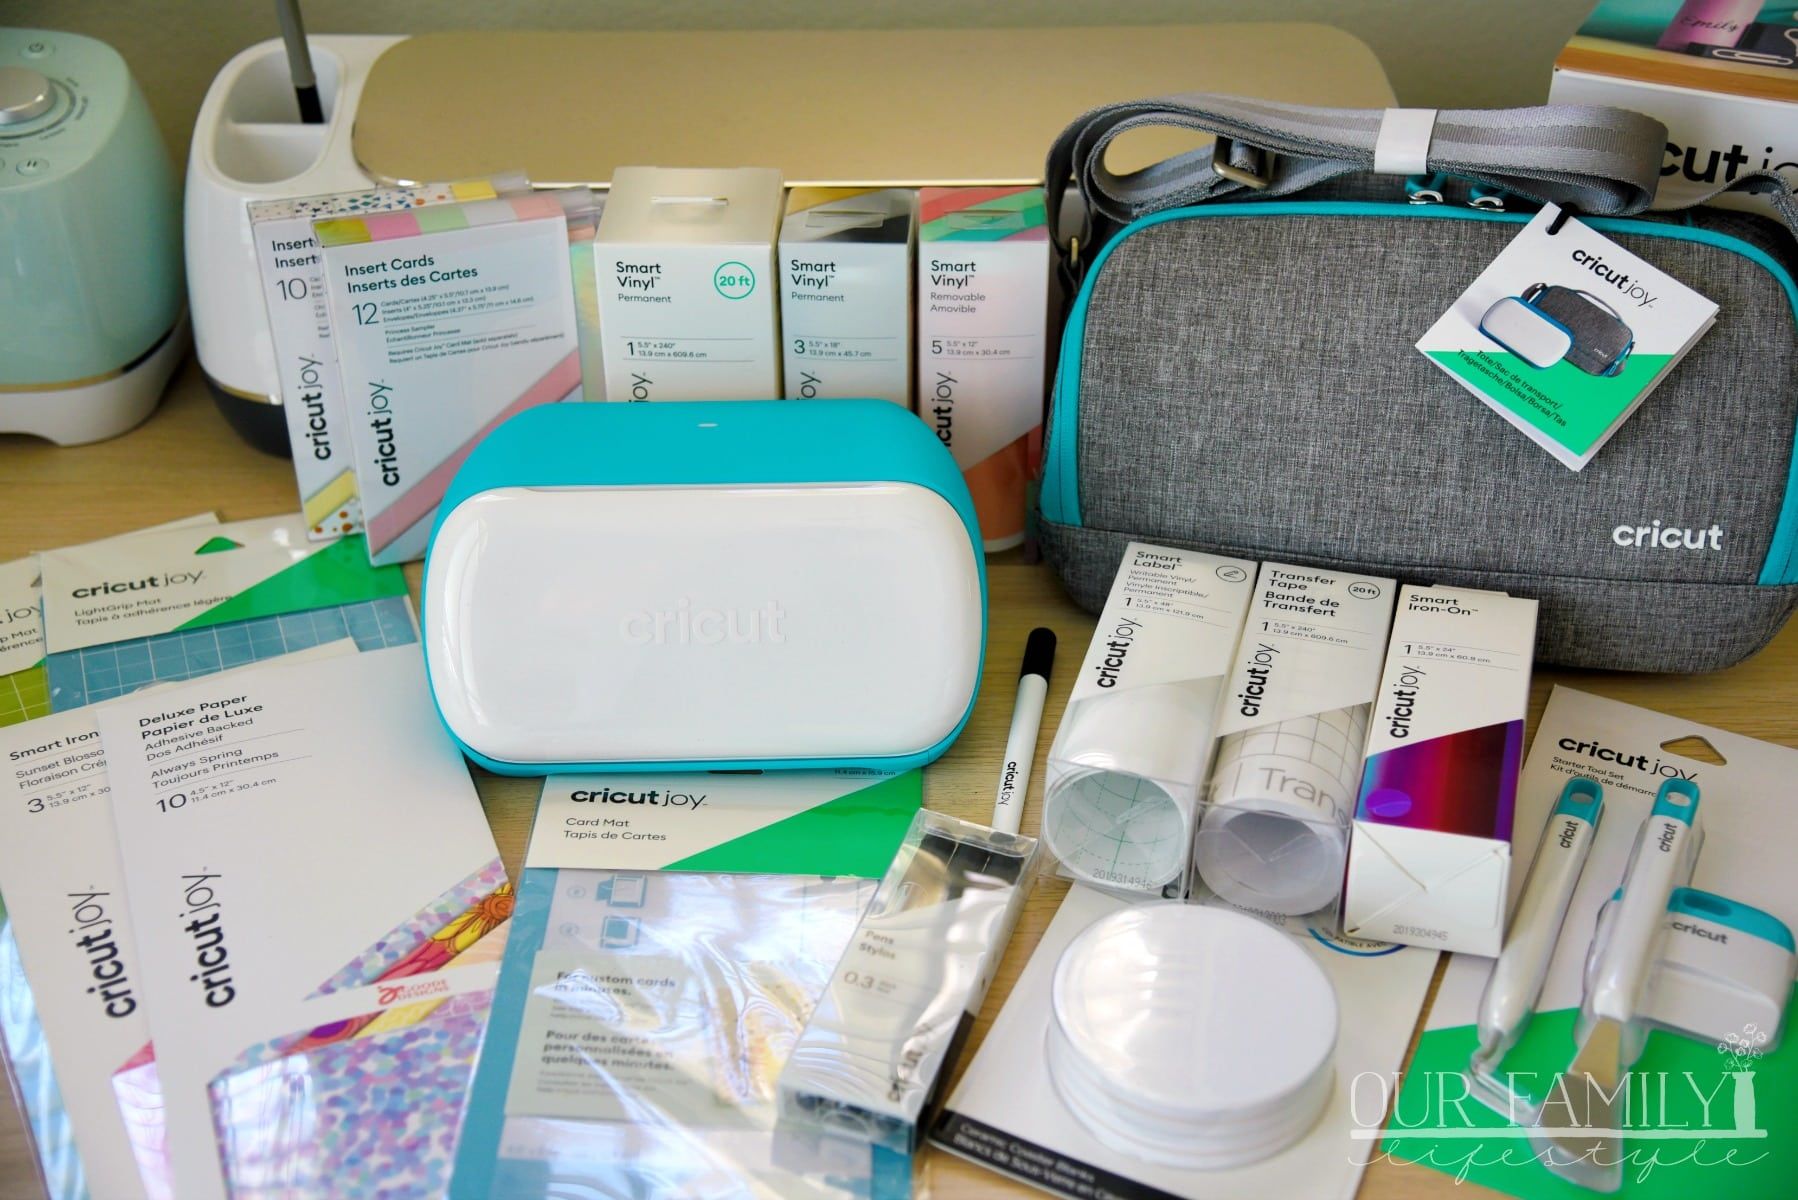
Of course, I'm going to kick off the design with my Cricut Explore Air 2! After all, I want her playroom to have it's own unique look based on my daughter's vision.
You may recall that last time we made a wooden sign using Cricut Stencil Vinyl. This time, we're going to take a little easier approach and use Cricut Everyday Iron-On with the Cricut EasyPress™ 2.
Cricut EasyPress
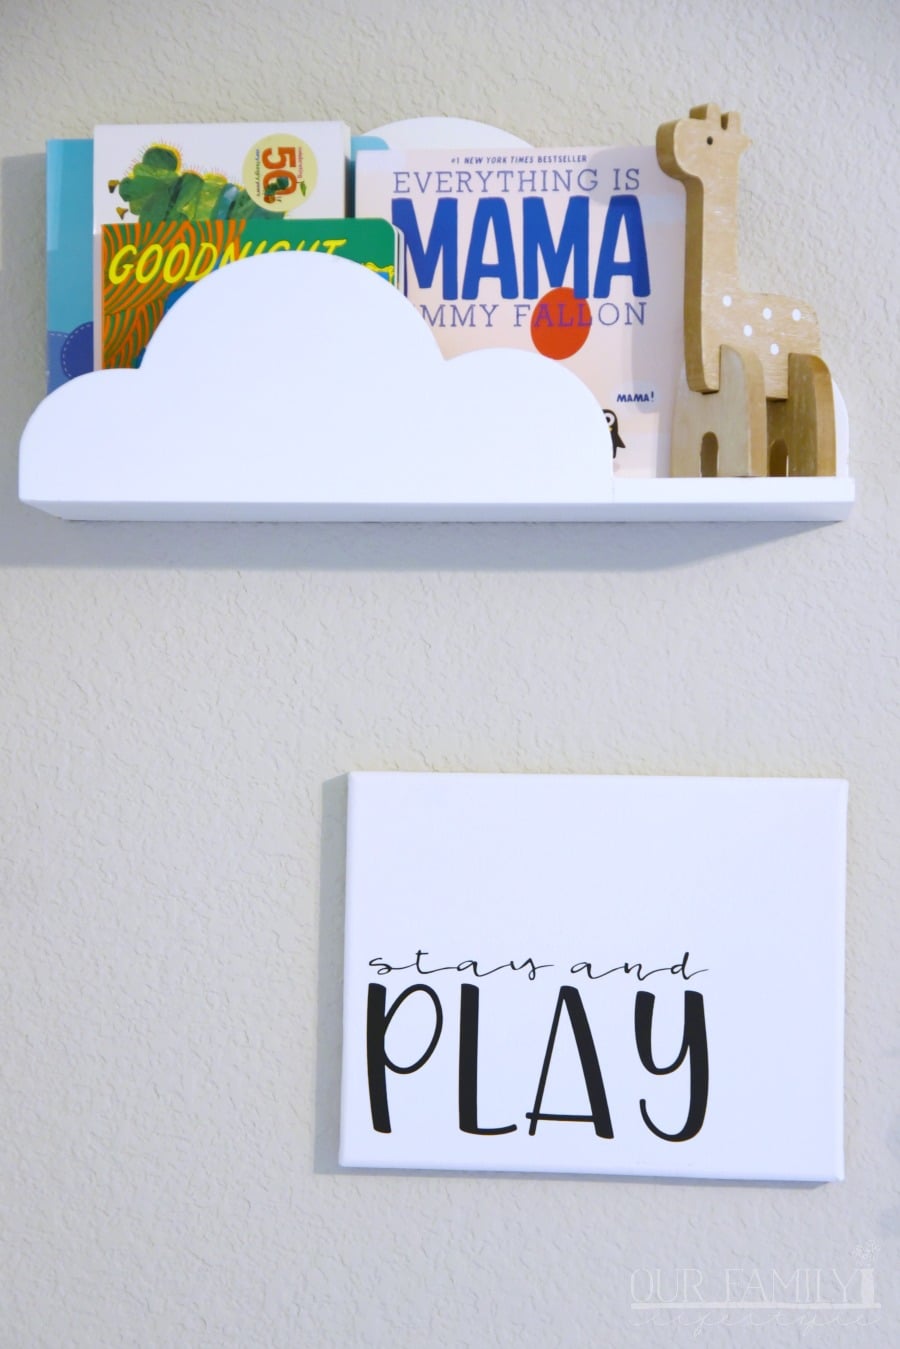
Considering this sign will be used in a child's playroom, canvas covered with vinyl seems like a great, easy-to-clean, pairing for this project!
I started with a plain white canvas and then, using its measurements, began playing around with fonts using the Design Space® software.
Utilizing the Sketchbook font paired with Felix font, I made a simple "Stay and Play" design that was easy to cut on the Everyday Iron-On Vinyl with the Cricut Explore Air 2.
Important note! Be sure to mirror your words before cutting so they come out the correct way for adhesion.
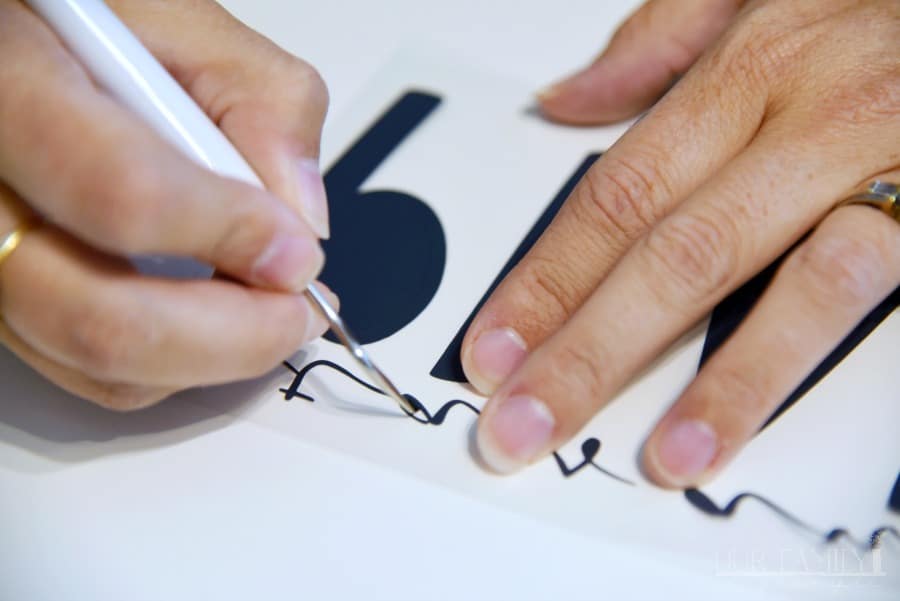
Next, weed the vinyl so that you only have the letters/words necessary for the canvas. Don't forget to take the small pieces out of the middle of letters!
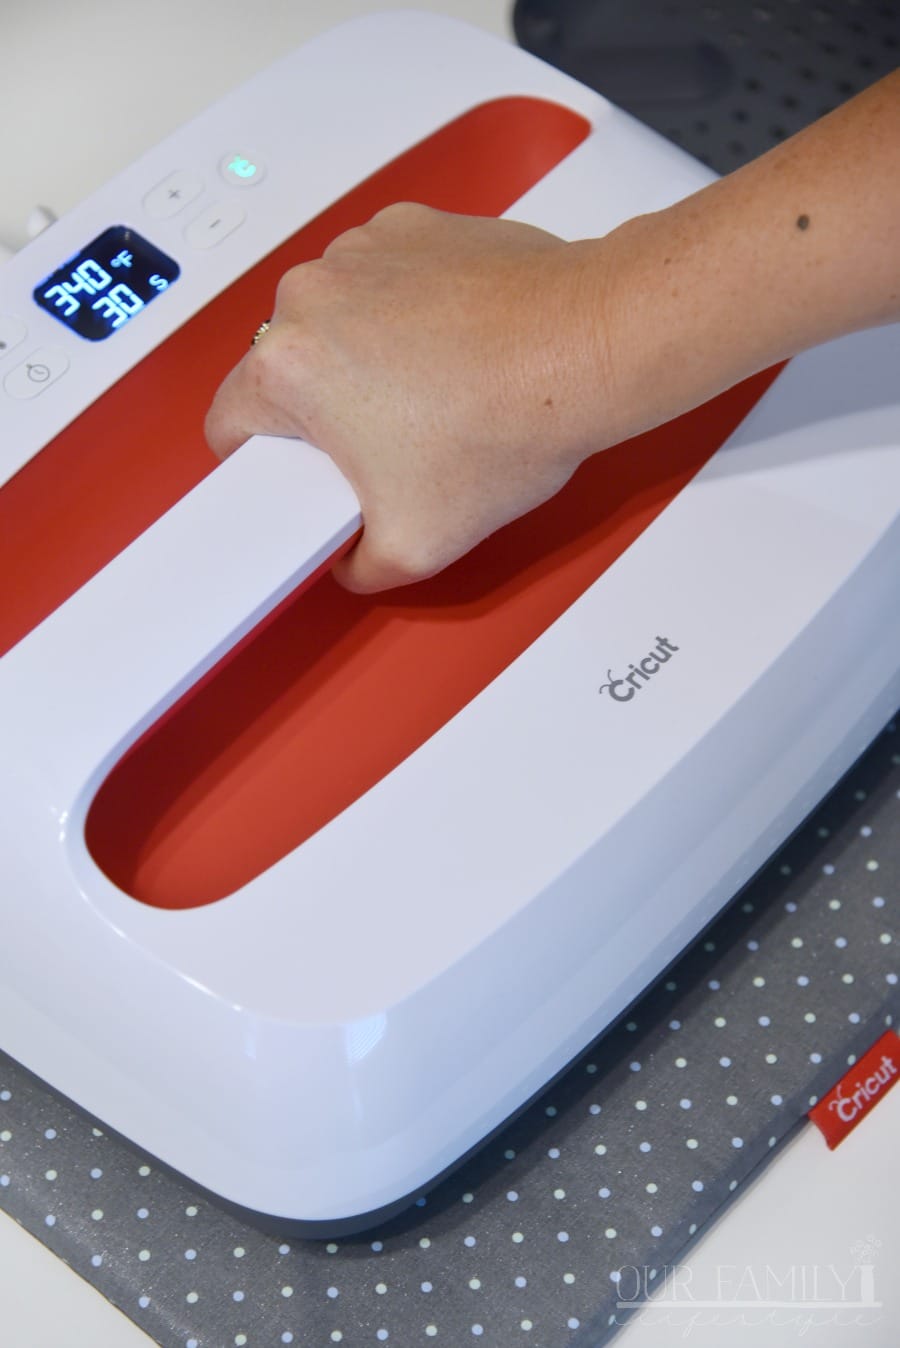
As you weed, this would be the perfect time to plug in your EasyPress and turn it on to preheat. Use the Cricut EasyPress Heat Guide to make sure you use the proper settings for your project!
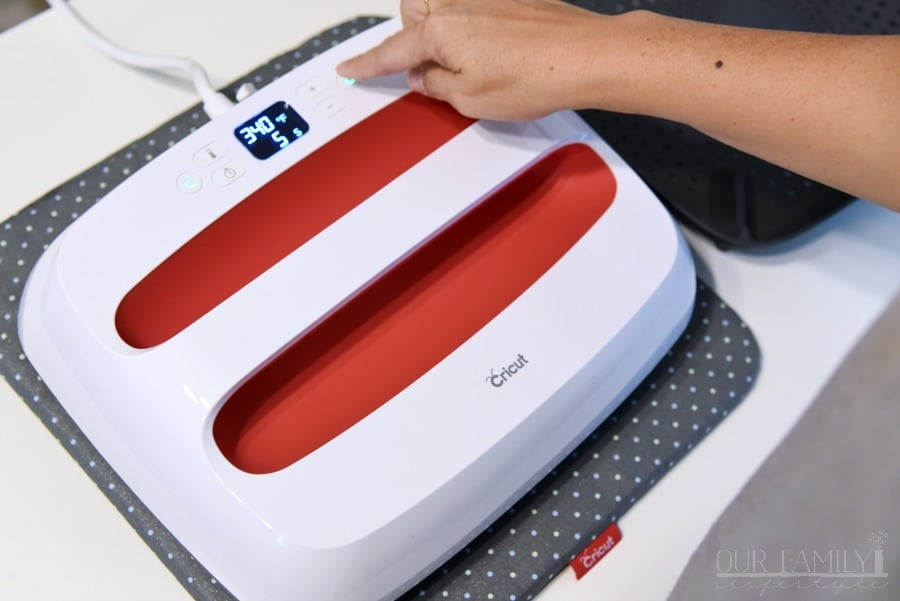
Before placing the vinyl, use your Cricut EasyPress to preheat the canvas. Once the design is in place, use the EasyPress again to heat and transfer the stencil to the canvas.
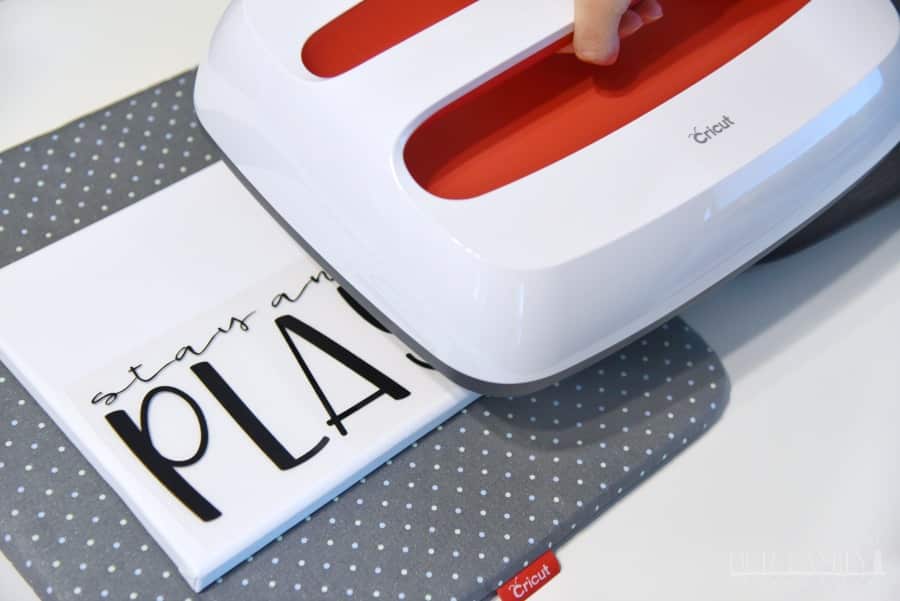
Slowly lift the clear lining to reveal your stenciled design on the canvas and you're done!
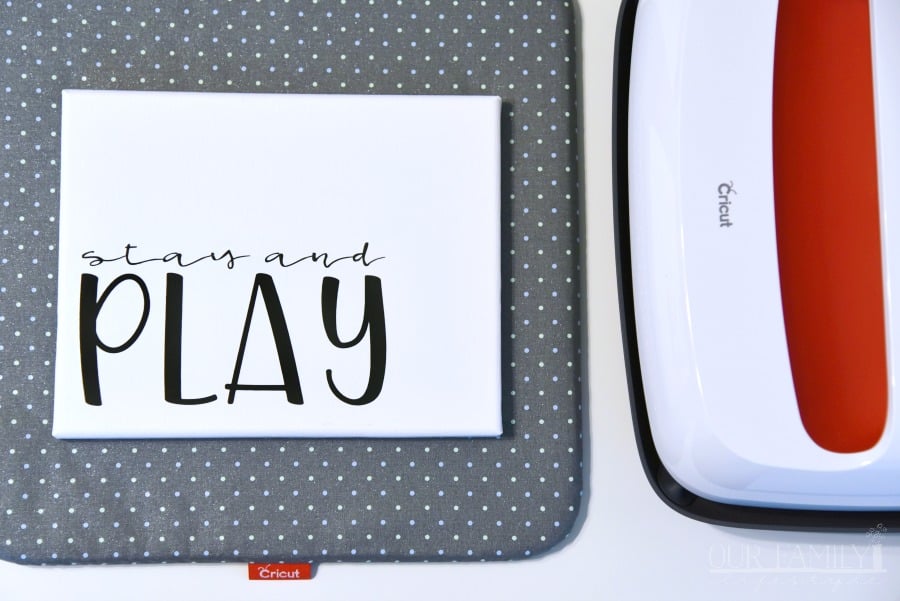
The Cricut EasyPress paired with Everyday Iron-On makes it quick and easy to make your own canvas print!
The most challenging part of the project, for me, was choosing which Cricut fonts I wanted to use! Well, that and weeding the letters.
But, using the tools and resources available from Cricut, I'm looking forward to making more of the decor for my granddaughter's playroom!
I have so many ideas:
- patterned wooden stool seat
- matching patterned pillows and canvas
- felt food
- lettered wooden blocks
- plus much more
It's astonishing when you think about how many great projects you can make for a child's nursery and playroom using the Cricut! I, for one, can't wait to see what the entire space looks like once we finish!
Keep an eye out for a larger reveal featuring more Cricut projects!