The Christmas season is easily my favorite holiday to decorate for. I have Colby climb up into the attic, as well as the garage, to pull out totes of Christmas decorations to spread throughout the house. It's so much fun and sets us up for the festive season ahead.
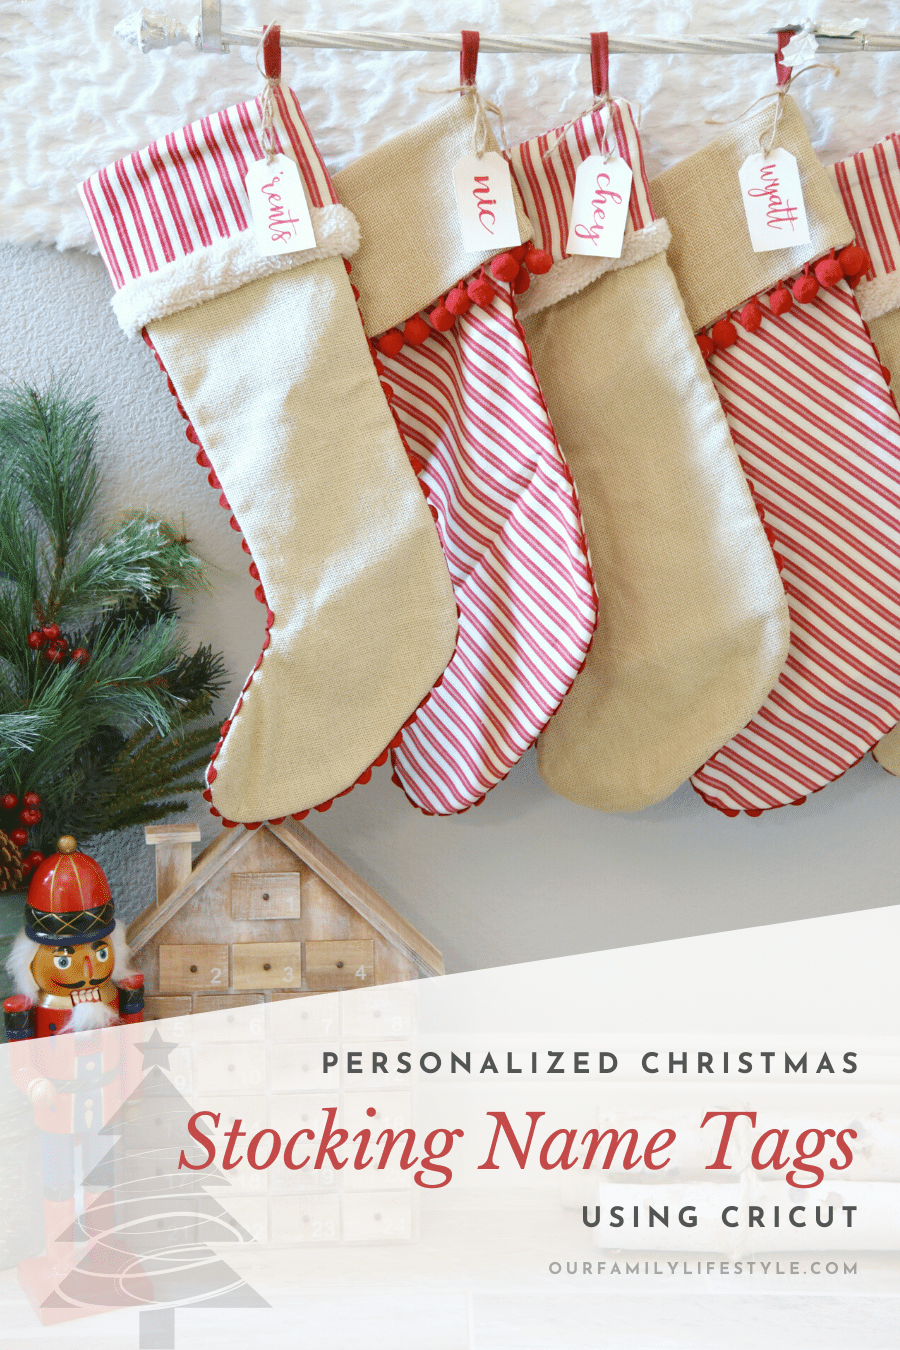
Stocking Name Tags
Last year, when I went to pull out all of our Christmas stockings, I realized that not all of our DIY name tags had made it back into the tote. Although aesthetically it wasn't a problem, it does become an issue for Santa Claus.
In fact, I used my Cricut Explore Air to make the original tags on our stockings. I found burlap tags at the store and cut each of our names from Everyday Iron-on Vinyl.
This time, we wanted to get our stockings hung up and were not able to find the matching burlap tags for the other four name tags we needed.
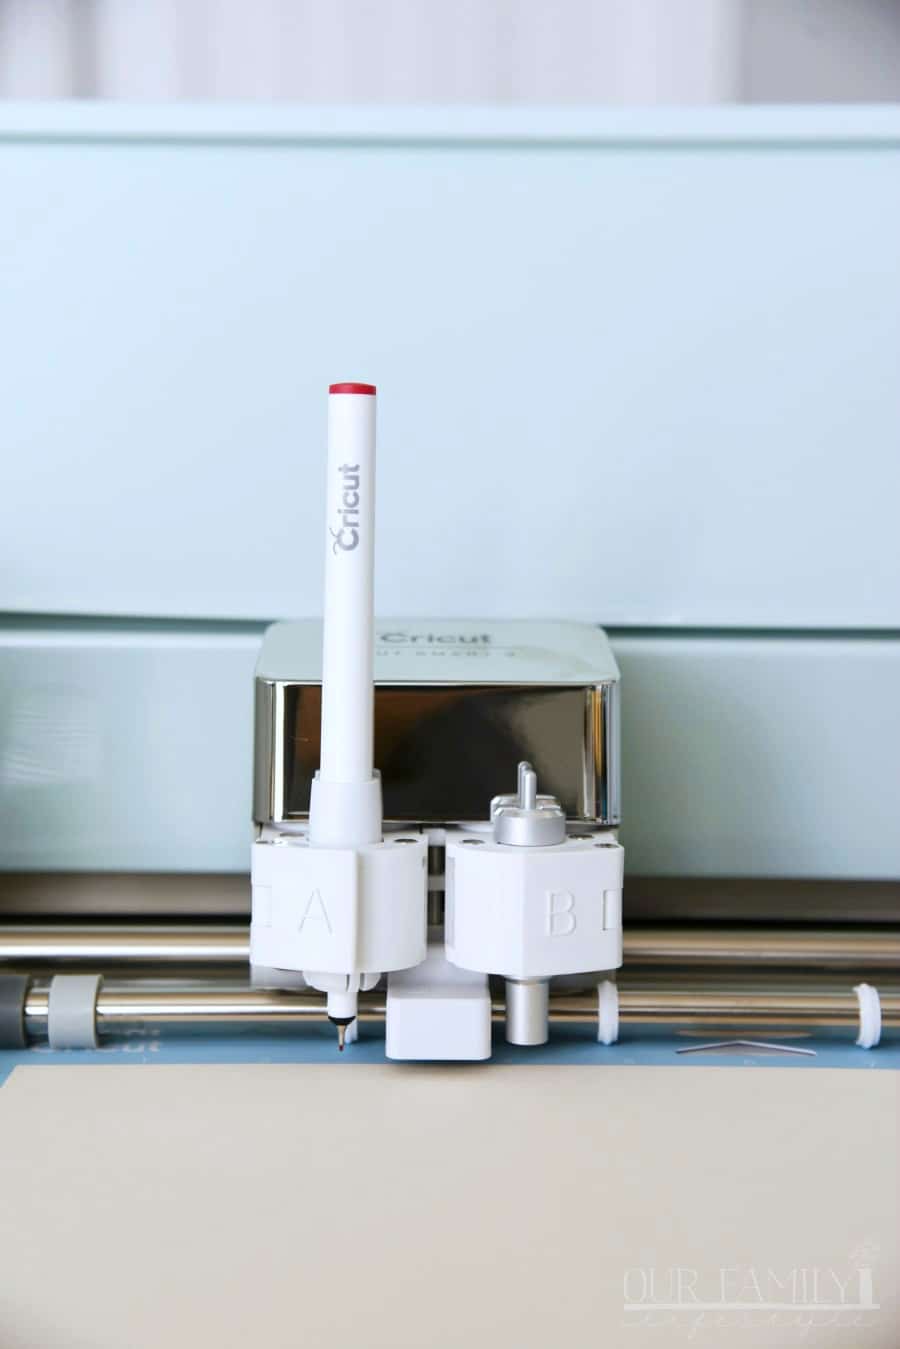
No problem! I had my new Cricut Explore Air 2, Cricut Cardstock, and the Cricut Ultimate Pen Set. This seemed like the perfect combination of supplies to make some simple personalized Christmas stocking name tags.
Beginning with a tag shape on Cricut Design Space, I was able to have a base for my stocking name tags. The more challenging part was finding a font.
Well, challenging only because I can never just pick one. I love typography! But, once I narrowed it down and chose a font, the rest was easy.
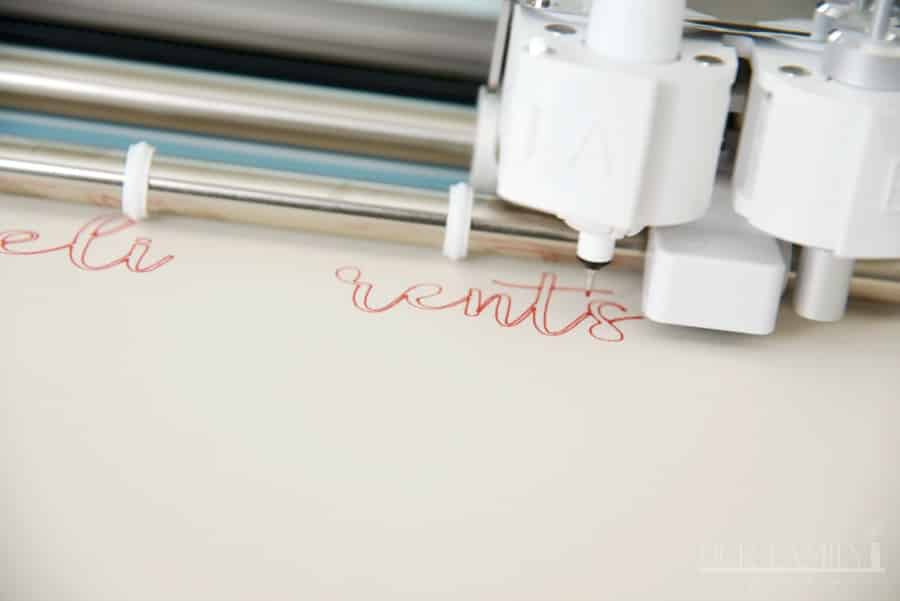
Ensuring that I could cut and draw the name tags at the same time, the tag was a cut layer and the names were draw layers. After properly placing the name on the tag base, I attached both before sending to the Cricut Explore Air 2.
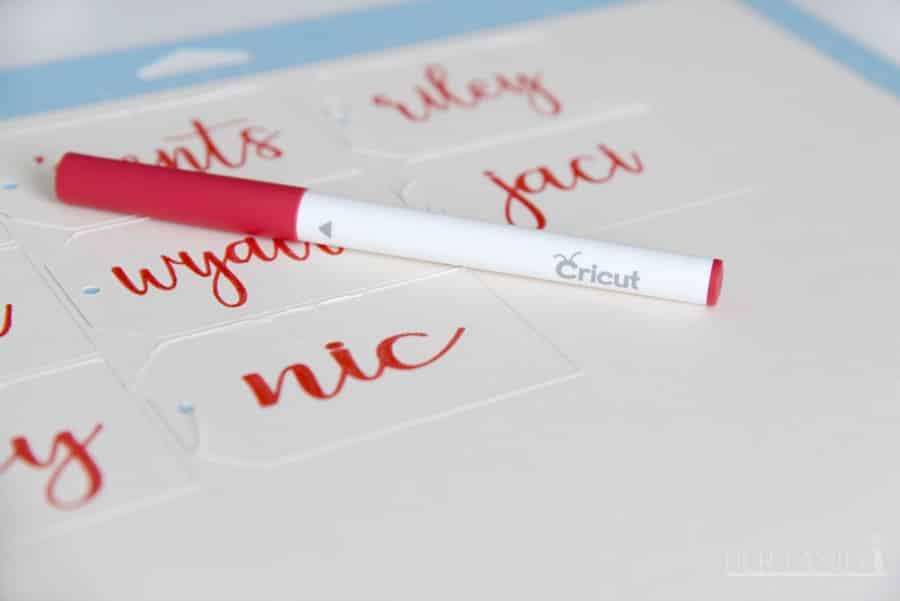
Next, I dialed the Explore Air 2 to cardstock and inserted my Red Cricut fine-point pen. Then, I simply had to push a button and the Explore Air 2 did the rest!
Once the stocking name tags were cut and drawn, I used the pen to continue filling in the letters (some fonts and pens do completely fill in the letters).
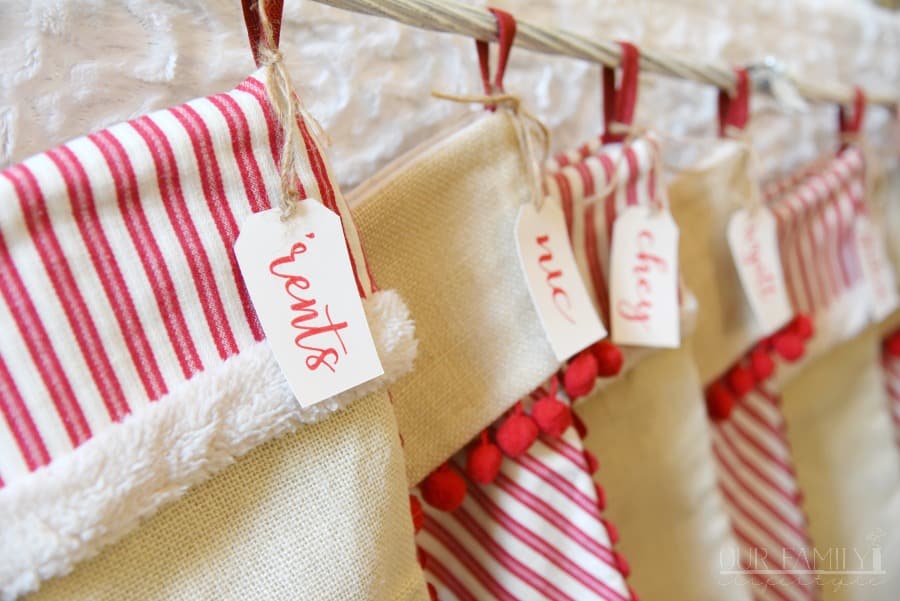
Then, I carefully removed the name tags from the Machine Mat, tied some pre-cut jute twine to the tags, and tied them to the stockings accordingly.

It took less than 30 minutes to complete—once I decided on a font. Considering the amount of Christmas decorations I still had to put around the house, it was incredibly helpful to be able to get these done so quickly and easily.
This is a sponsored conversation written by me on behalf of Cricut. The opinions and text are all mine.
var ts=document.getElementById('ti-pixel-tracker'); var axel = Math.random() + ""; var num = axel * 1000000000000000000; var ti=document.createElement("img"); ti.style.display="none"; ti.src="https://tracking.tapinfluence.com/trk/4aOxn/syYir/p.png?p=ywYDq" + String.fromCharCode(38) + "i=0jiIs" + String.fromCharCode(38) + "ord="+ num + String.fromCharCode(38) + "s=" + encodeURIComponent(document.referrer); ts.parentNode.replaceChild(ti,ts); JSON.stringify({"program_id":"a5516c1a-de27-11e9-9665-0604a9fe185a","post_id":"aeca2498-e3a5-11e9-834d-0604a9fe185a"});[mv_create key="67" type="diy" title="Personalized Stocking Name Tags" thumbnail="https://www.ourfamilylifestyle.com/content/images/2026/01/family-stockings-name-tags-1.jpg"]