A clutter-free home is essential for maintaining a clean and organized living space.
Having a clutter-free home reduces stress, improves productivity, and creates a sense of calm and tranquility.
To achieve a clutter-free home, it is important to declutter regularly by removing items that are no longer needed or used.
Utilizing storage solutions such as bins, shelves, and baskets can also help keep belongings organized and out of sight.
Additionally, implementing a system for maintaining cleanliness, such as dedicating a specific time each day for tidying up, can prevent clutter from accumulating.
With a clutter-free home, you can enjoy a more peaceful and efficient living environment.
Steps to a Clutter-Free Home
Home organization is a step-by-step process. It will take more than a day or even a week to get everything to a manageable level, but once you do it, staying organized is so much easier.
Maintaining a consistent routine is crucial in keeping your home organized.
Dedicate a few minutes each day to tidying up and putting things back in their designated places.
By incorporating small tasks into your daily schedule, it becomes much more effortless to stay on top of clutter and prevent it from piling up again.
Additionally, regularly reassessing and decluttering your belongings can help you maintain a streamlined and organized living space.
Remember, a little effort each day goes a long way in reaping the benefits of an organized home.
Here are 6 steps to a clutter-free home that we are doing our best to learn:
- Start with the high-traffic areas. The living room and kitchen are usually the two most used rooms in the house.
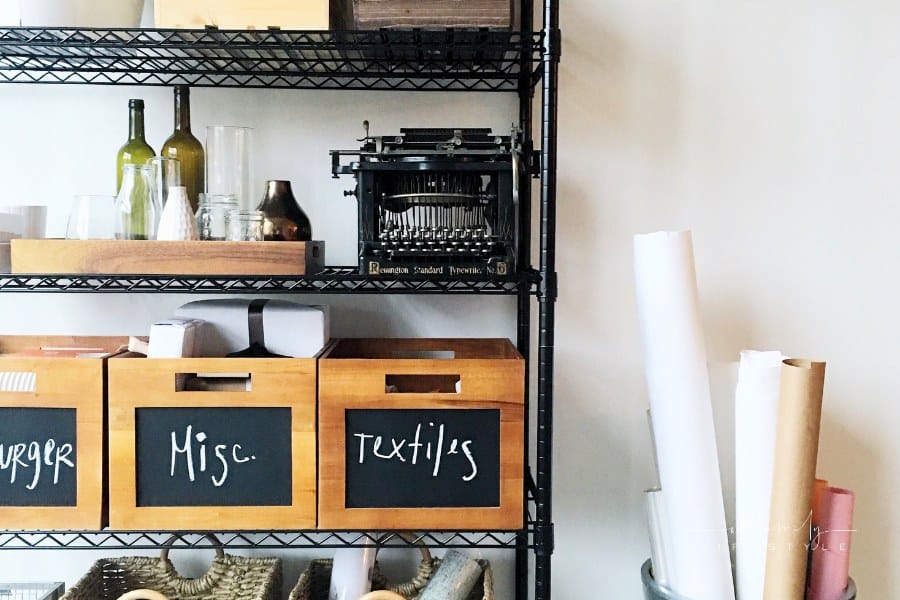
Everything gets dropped on a counter or the couch in these two places. Concentrate on getting everything set up the way that you like it before moving on to another room. - Use storage containers. Over the years, the style of storage containers has upgraded to be pretty as well as functional.
Instead of storing containers in stacks in the garage, purchase ones that match your décor in each room and integrate them so that no one would even notice they were being used for storage. - Divide items into categories. You can use heavy duty trash bags or cardboard boxes for this part.
Everything that you find can go into one of 4 piles: KEEP, THROW AWAY, GIVE AWAY or RELOCATE. Items that will stay in that room are to keep.
Things that you don't need or are broken can be thrown away. Clothes or furniture still in great condition can be donated and scheduled for pickup by a local charity.
Anything that belongs in another room can be labeled for relocation and moved once you get to that room. This is a great way to purge rooms as you go. - Remove everything from drawers and cabinets. Yes, this is a time-consuming process. But, it is easier to start with an empty space and fill it instead of simply pushing things around.
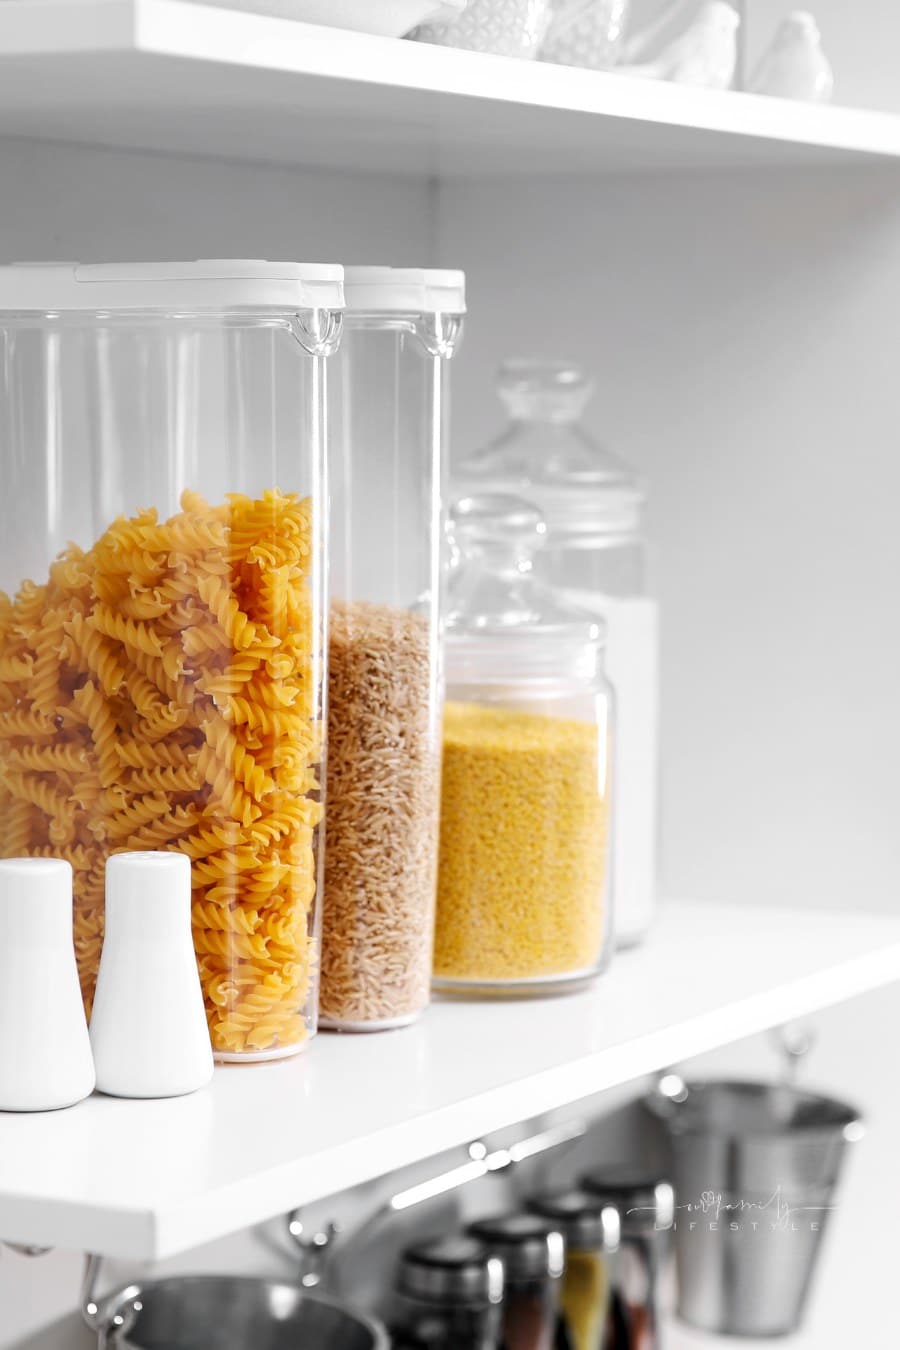
If you line things up on the counter, someone else can help by putting the items in some type of order. Teamwork makes the dream work! - Make use of all of your available space. In the kitchen, for example, small appliances or extra containers can be stored on top of the cabinets provided they do not extend all the way to the ceiling.
That gives you extra storage or counter space. Also, use the top of the refrigerator for dry foods or other items that may need to stay out of reach of the kids.
In the bedroom, shoes and winter clothes can go into flat storage bins that can then slide easily under the bed or the dresser. Get creative and be smart about your choices. - Label your containers. Use tape and a Sharpie or a label maker, if you have one, to identify the contents of your storage containers. Avoid writing on the actual container in case they are reused and the contents are changed.
Labeling also makes for easy identification if you decide to sell or give away a container of books or something. You won't have to open each container to locate them. Plus, such as in our pantry, it helps everyone else learn what goes where.
Organizing your entire house takes time. But, once it is done, returning everything you use to its proper place will maintain that same level of organization.
And oh how it helps to cut down on the stress level in the house! You will not be sorry you took the time to do it!
And if you REALLY want to take it to the limits, you NEED to read The Life-Changing Magic of Tidying Up. It definitely changed my life!