Fall Picture Frame Wreath Craft Using Arrow Fastener
My dad has always been handy with a set of tools. I grew up watching in fascination as he made simple pieces of wood come alive.
This post may contain affiliate links, which means I’ll receive a commission if you purchase through my links, at no extra cost to you. We are a participant in the Amazon Services LLC Associates Program, an affiliate advertising program designed to provide a means for us to earn fees by linking to Amazon.com and affiliated sites. [Learn more]
My mom was the same with fabric. I fell in love with the idea of creating, I just never seemed to do it with the ease they did.
Now, thanks to Arrow Fastener, I at least have the tools.
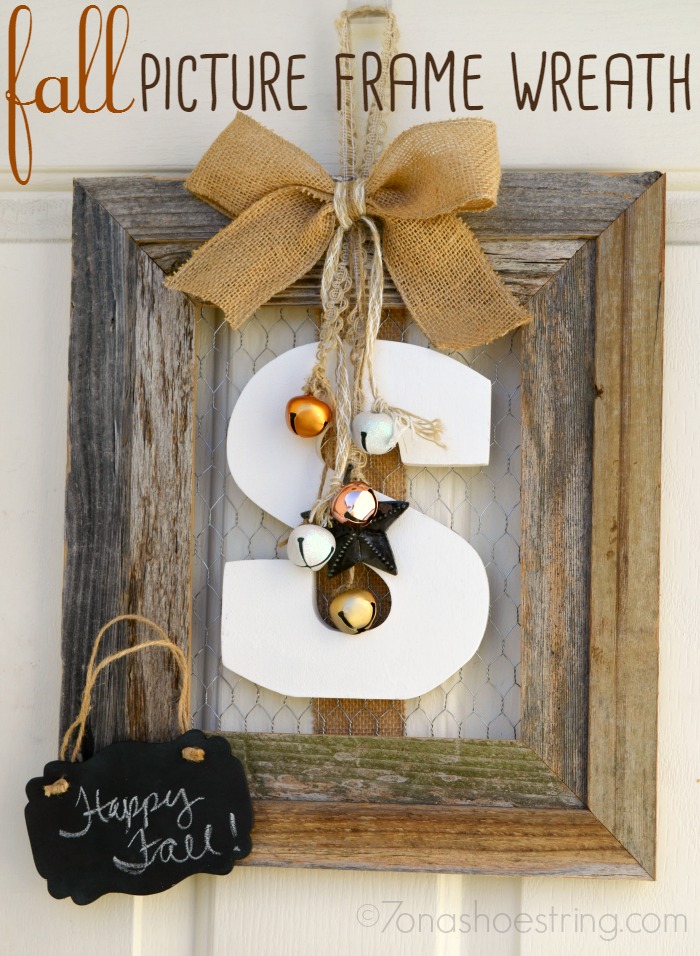
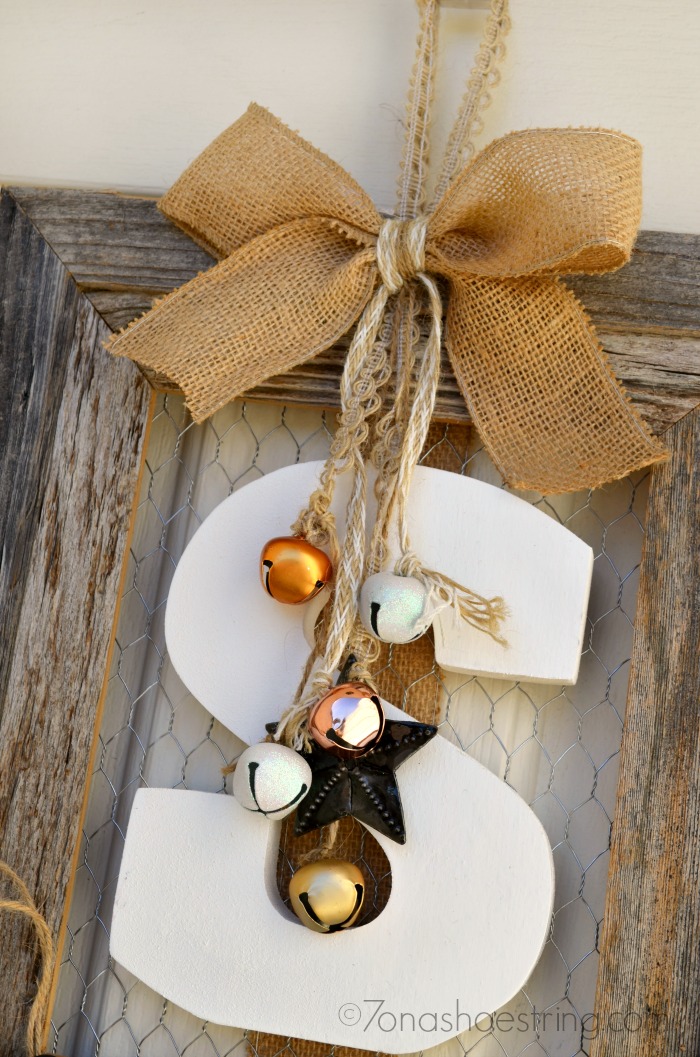
Fall Picture Frame Wreath
I must admit though, I have to start out small and grow into bigger ideas. But my fascination with the from Arrow is real, Y’all!
I was so excited to pull it out of the box. My head was spinning with every craft I have pinned over the past year or so. You know you have one of those boards too!
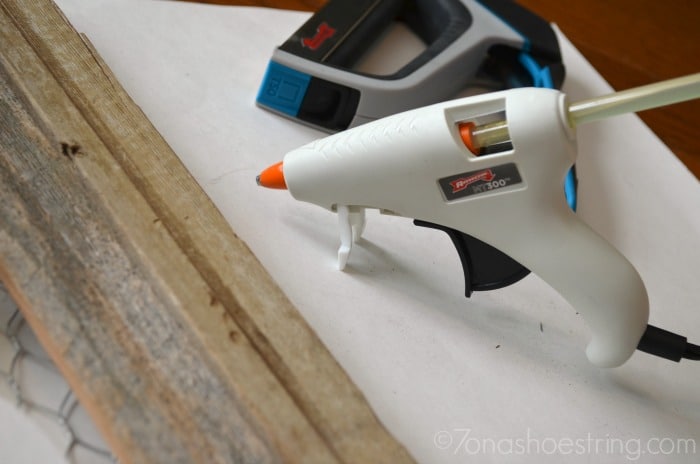
One stapler and a glue gun were just what I needed to get the creative juices flowing.
Yet, as I said, I have to start slow so I can learn to properly use the tools and then the possibilities are endless!
With the holiday season upon us, I decided we needed a “wreath” of sorts to hang on our door.
At present, we only have one for Christmas. I see all of the fabulous ideas that include interchangeable embellishments for every season.
I knew this was the route I wanted to go.
We walked around the craft store for 2 hours browsing and brainstorming.
We (my daughters and I) had a concept in mind but needed to decide on the elements.
Overall, we were pretty pleased with how it turned out!
Supplies:
- Frame of your choice (I picked a wood frame, no paint or stain)
- Letter of your choice (again, I picked wood)
- Paint (optional: for painting frame, letter)
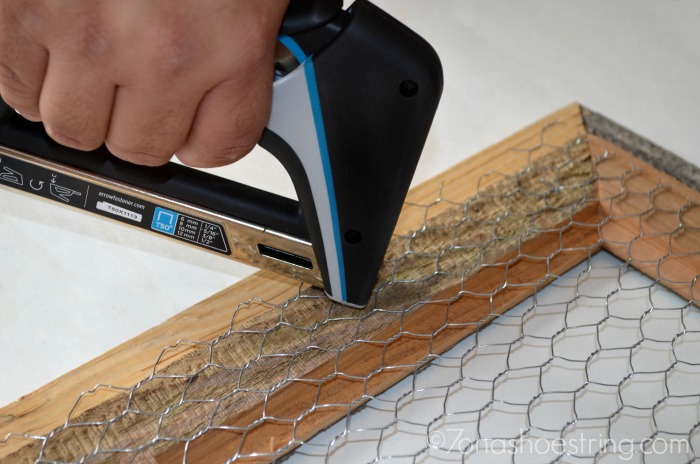
- TacMate™ T50X Manual Stapler
- Staples
- MT300™ Glue Gun and sticks
- Burlap
- Chicken Wire
- Embellishments
Directions:
- First things first, paint anything you need to be painted. You need to give it time to dry so you can staple and glue everything into place.
- Next, decide on where you want all of your pieces to go. I wanted the letter “S” to be the centerpiece of my wreath, so I had it hang right in the middle of my frame.
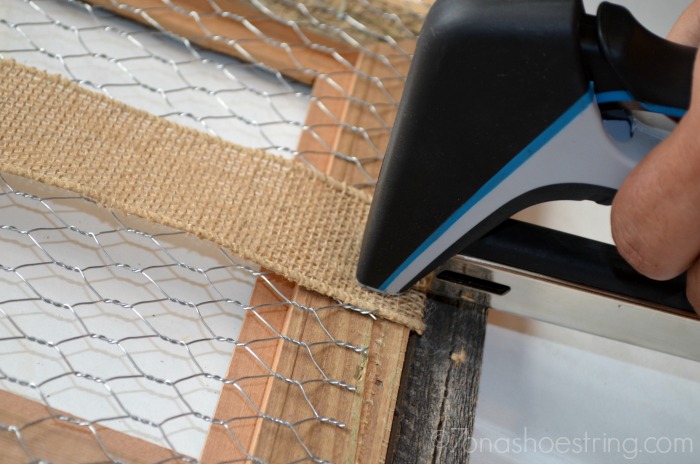
- Let’s use that TacMate™ T50X stapler! Staple the chicken wire to the back of the frame. (pictured above)
- Using the MT300, glue a large piece of burlap ribbon to the back of the frame from top to bottom.
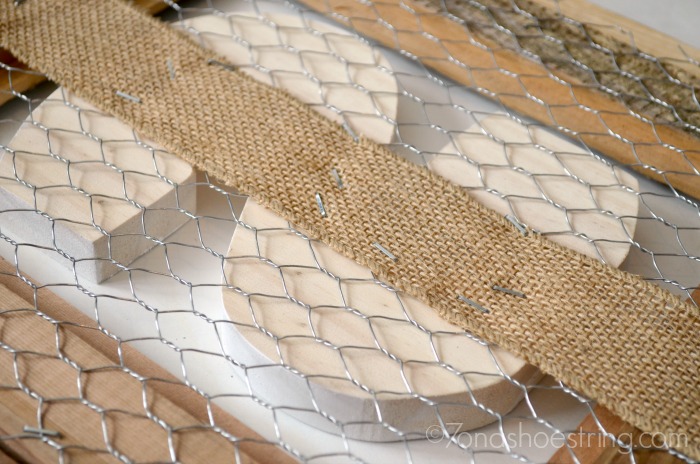
- Staple the letter to the chicken wire and burlap ribbon across the back. (pictured below)
- Now it is simply time to embellish. With various sizes and colors of ½ inch burlap ribbon, make a bow and tie bells to adorn the front of the wreath.
- Using the glue gun once more, hot glue a small chalkboard to the corner to write seasonal messages.
You can really take creative liberty here based on your tastes and decoration availability.
I am hoping to actually change the decorations out based on seasons. Change the color of the bells. Perhaps find a new ornament based on the holiday.
Little changes can make a big difference while it’s hanging on our front door.
Now, I can’t wait to move on to bigger plans!
I have always wanted to try a fabric-covered headboard for our oldest daughter. We have chairs that need to be reupholstered.
As I said, the possibilities are endless! I have my own powerful staple gun ideal for DIY’ers such as myself.
Now my newest obsession is simply finding a new project!
What are you going to make next?
Post originally published on October 17, 2014