One of the most impactful yet cost-effective ways to breathe new life into your child's bedroom is with a fresh coat of paint.
It's not only a way to spruce up the space but also a chance to introduce a fun, creative element that your child will love.
This article will guide you through the process, provide helpful tips, and help you avoid common pitfalls.
Why Choose to Repaint?
A child's bedroom is their sanctuary—a space that reflects their personality and interests. As your child grows and evolves, their bedroom should too.
Perhaps they've outgrown the baby pastels, or maybe their love for neon green isn't quite as strong as it once was.
Or, they are finally big enough for those bunk beds they have been asking you about!
Repainting allows you to transform the room in sync with your child's changing tastes, creating an environment where they feel comfortable and at ease.
Choosing the Right Color
When it comes to selecting a color for your child's bedroom, there are several factors to consider.
The right hue can transform the ambiance, making the room feel inviting and personalized. Here's how you can make an informed choice.
Understanding Your Child's Preferences
Before you head to the paint store, chat with your child to get them involved in the project.
- What are their favorite colors?
- What mood do they want to evoke in their room?
- Would they prefer a calm and soothing atmosphere, or something bright and energetic?
Their input is valuable and makes the process more enjoyable and inclusive.
Considering the Room's Function
Remember that a bedroom is primarily for sleeping. It's worth considering softer, calming shades if your child has trouble winding down at night.
Blues, greens, and neutral tones can be great options. If the room also serves as a study area, you might want to consider colors that promote concentration, like soft yellows.
The Influence of Color Psychology
It's also worth taking color psychology into account.
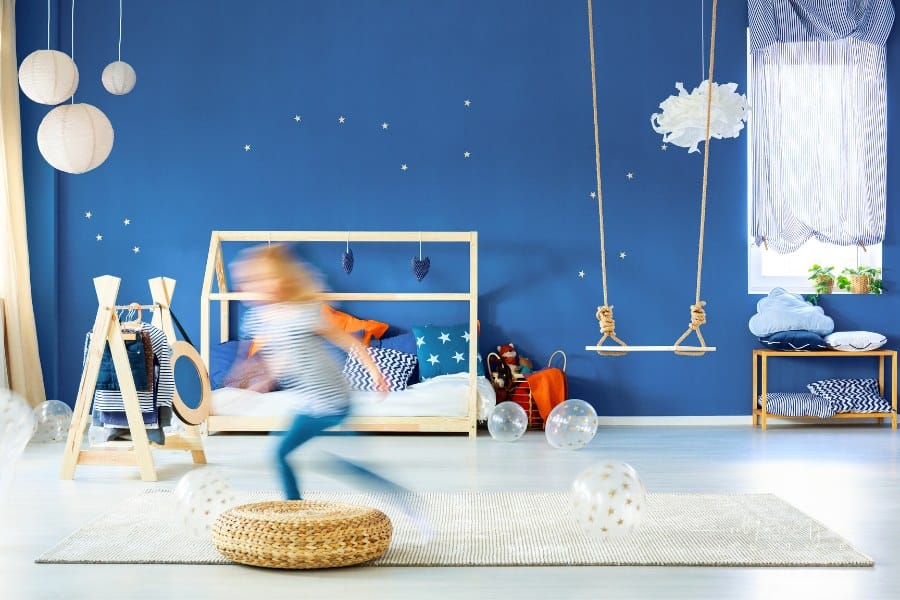
Cool colors like blues and greens are known to be calming, while warm colors like red and orange are stimulating.
Pinks can be soothing, and yellows can encourage happiness and creativity.
Preparation is Key
Once you have your color selected, it's time to prepare for the painting process. A well-prepared room is vital for a successful paint job. Let's dive into the specifics.
Room Preparation
Before the painting begins, the room needs to be prepared. This includes removing or covering furniture, taking down wall decorations, and protecting the floor with drop cloths.
You'll also want to clean the walls to ensure the paint adheres properly.
Selecting the Right Tools
Choosing the right painting tools can make the process smoother and ensure a professional-looking finish.
For larger surfaces, rollers are more efficient, while brushes work better for edges and corners. And don't forget painter's tape for clean lines.
The Painting Process
Starting the painting process can be both exciting and slightly daunting, especially if it's your first time.
But fear not – with careful planning and a step-by-step approach, you'll find it easier than you might think. Let's start with the initial step of this process, which is priming.
Priming
Priming the walls can ensure the true color of the paint shines through, especially if you're going from a darker to a lighter shade. Some paints come with a built-in primer, saving you this step.
With the primer applied, it's time to move on to the most transformative part of the process - the painting itself. Here's how to ensure you get the most out of your chosen color.
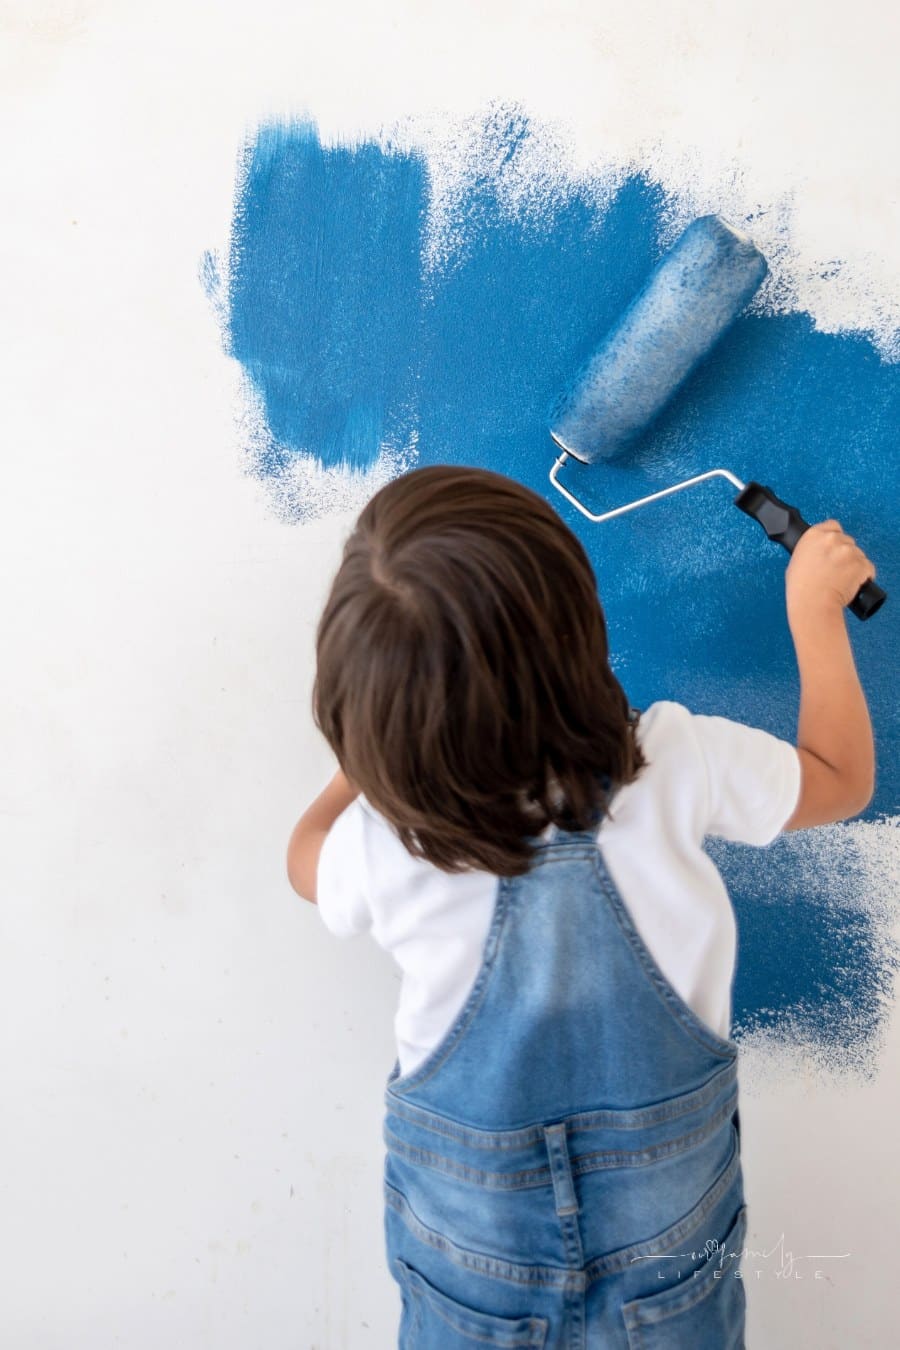
Painting
Once the primer is completely dry, it's time to move on to painting. The technique you use can greatly affect the outcome, so here are some tips to achieve the best results.
Start by stirring your paint thoroughly. This ensures the pigment is evenly distributed, providing a consistent color throughout the room. You might also find it helpful to pour the paint into a roller tray for easier access.
When you begin painting, start at one corner of the room and work your way across to maintain a 'wet edge.' This technique helps to avoid visible lines caused by paint drying at different times.
For walls, it's recommended to use a roller for the majority of the surface. For edges and corners where a roller cannot reach, use a brush. Remember, patience is key.
Two thin coats of paint are usually better than one thick one. Apply the first coat and let it dry completely, which could take a few hours or more depending on the paint and environmental conditions. Then, apply a second coat for a smooth, uniform finish.
By following these steps, you'll be well on your way to achieving a professional-looking paint job that both you and your child will love.
Clean-Up
Once the painting is done and dried, you can remove the drop cloths and tape, then relocate the furniture back to its place.
Getting Professional Help
If the idea of DIY painting seems daunting, hiring professional painters could be a wise choice.
Experts like Advanced Painting not only provide excellent painting services but can also give you advice on colors and finishes that would work best for your child's bedroom.
Conclusion
Incorporating fresh paint into your child's bedroom is a wonderful way to revitalize the space and make it feel uniquely theirs.
Whether you choose to do it yourself or hire professionals, this change can spark joy and create an environment that nurtures your child's growth and development.
So, grab those color swatches and let the transformation begin.