
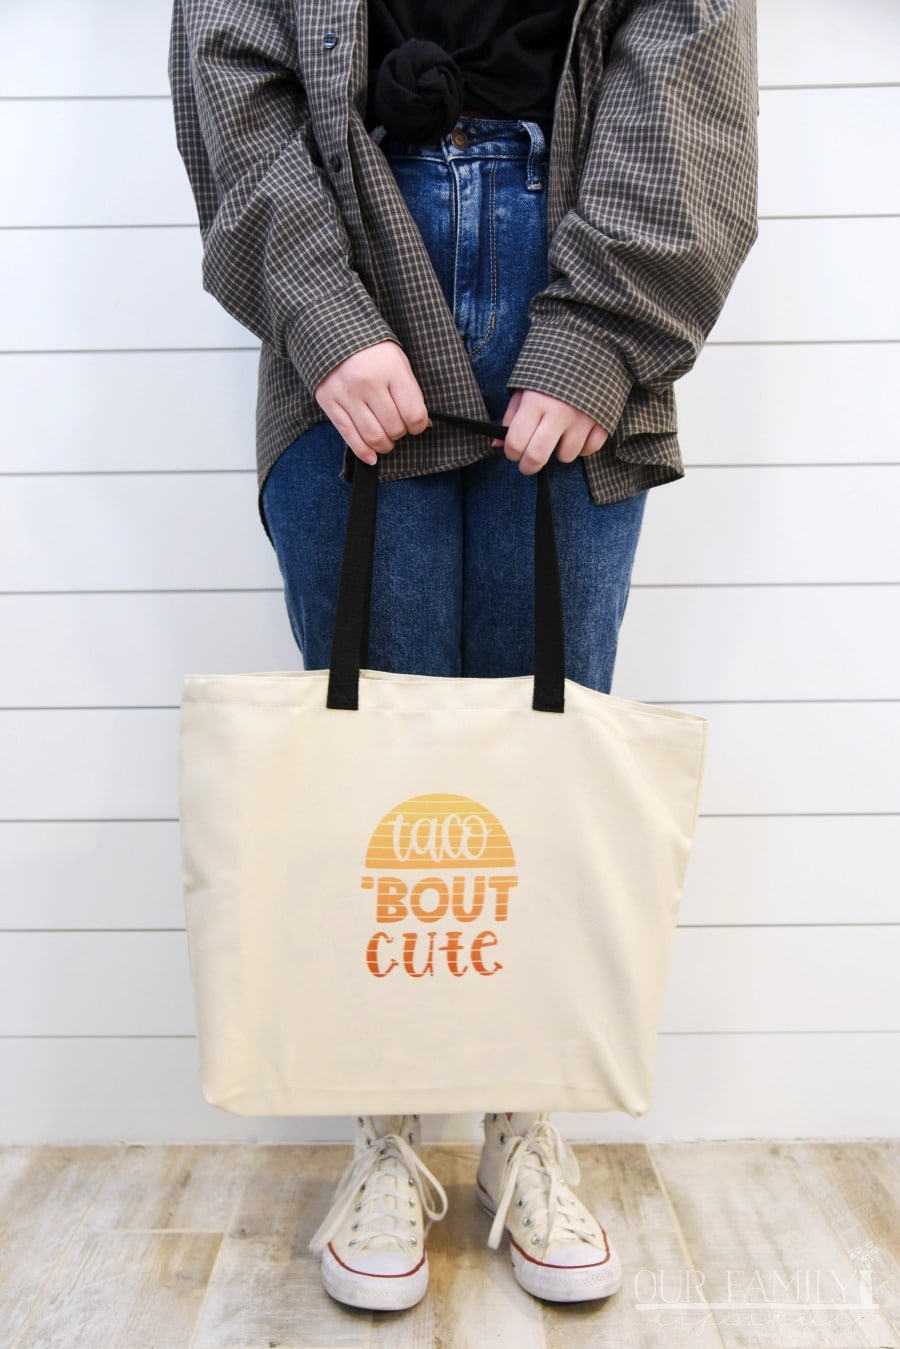
Let’s Taco ‘Bout Cricut Infusible Ink Tote Bags


When I first heard about Cricut Infusible Ink, I was intrigued. Having really only created Cricut crafts with vinyl, this sounded like a fun new concept.

Cricut Infusible Ink
After successfully working completely through the entire Infusible Ink process, I was almost convinced this was the coolest crafting thing ever.
I say “almost” mainly because I have commitment issues. Not because the it was a challenge. So, let’s taco ’bout how to use Cricut Infusible Ink.
First, why “taco ’bout” it? Good question!
Through my partnership with Cricut, I was asked to “pay it forward” by spreading awareness about Hunger and Homelessness.
If you’ve followed my blog at all, you would know that, as a family, we’ve been serving the homeless for years.

We gather donations of clothes, purchase items, make toiletry bags to pass out, and prepare meals to serve. We then head downtown and set up near the local soup kitchen.
Over the year we’ve met so many great people and heard countless heart-wrenching stories. These people have become our friends.
Therefore, this was an easy partnership to consider. It’s a cause so very close to my heart.

Feeding America is a nationwide network of food banks and the nation’s leading domestic hunger-relief charity.
The Infusible Ink tote bags we’re making will be donated to a local food bank to provide joy to those arriving to pick up groceries, along with the top 10 items that food banks need:
- Canned meat & chili
- Canned vegetables
- Canned fruit
- Pasta sauce
- Non-perishable snack items for children (i.e. granola bars, juice boxes, applesauce)
- Macaroni & Cheese
- Low-sugar cereals
- Peanut Butter
- Instant Oatmeal
- Toothbrush & toothpaste
And, tacos? Well, because T A C O S.
When browsing Cricut Design Space for ideas, I came across a couple taco designs that were too good to pass up. Therefore, I decided to make a trio of Taco Tote Bags.

What is Cricut Infusible Ink?
Before we get into how to use Infusible Ink, let’s about what Infusible Ink is.
Cricut Infusible Ink makes it possible to achieve pro-level, personalized heat transfers on T-shirts, tote bags, and more—at home. Basically, it infuses your design into the project.
It’s not an additional layer of material over the initial project, it bleeds into the canvas becoming part of the product.
The Infusible Ink system includes Infusible Ink Transfer Sheets in a variety of solid colors and patterns and Infusible Ink Pens & Markers to design your own transfer sheet.
Additionally, Cricut has a variety of compatible Infusible Ink blanks that includes T-shirts, tote bags, and coasters. Today, we’re using the tote bag blanks.
The full list of materials includes:
- Infusible Ink Transfer Sheets
- Tote Bag Blanks
- StandardGrip Machine Mat
- LightGrip Machine Mat
- EasyPress Mat
- Heat Resistant Tape
- Basic Tool Set
- Everyday Iron-on Vinyl
- Cricut Transfer Tape
This is, of course, in addition to the Cricut Explore Air 2 and EasyPress™ 2, as well as Cricut Design Space.
In fact, that’s where you start. Design Space. I used three taco designs easily found by searching “taco” on Cricut Access images.
Next, I made the determination to create each tote bag using a different method: (1) vinyl only, (2) Infusible Ink only, and (3) vinyl + Infusible Ink.

Everyday Iron-On Vinyl Tote Bag
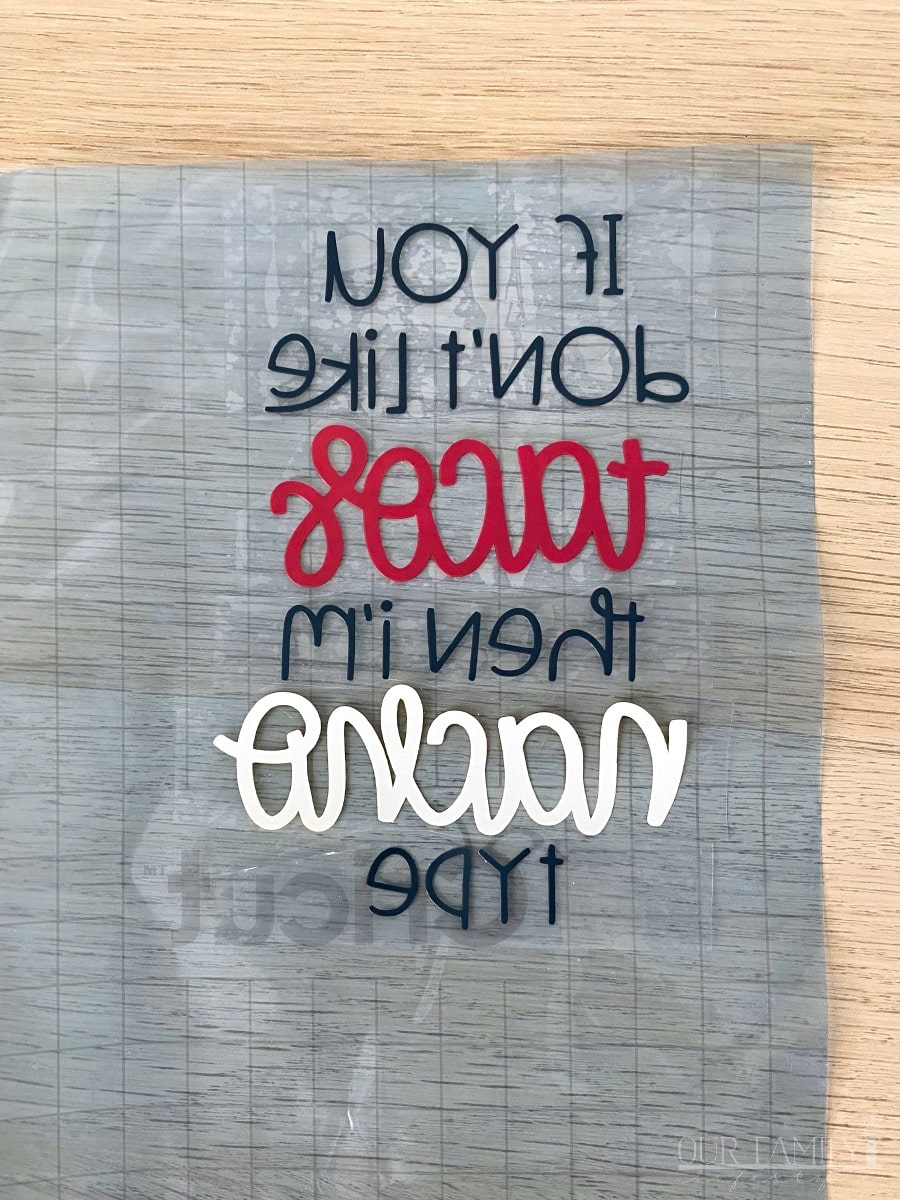
Create your project in Cricut Design Space and prepare your mat for cutting. The Everyday Iron-On Vinyl must be mirrored before cutting and the vinyl goes shiny side down on the LightGrip Machine Mat.
After cutting, weed your project from the liner.
I used three vinyl colors, black, red, and yellow, requiring three different cuts; therefore I used Cricut Transfer Tape, to keep the design together.
Preheat the EasyPress 2 according to the Cricut Heat Transfer Guide, and then, accordingly, preheat your tote bag after inserting an EasyPress Mat inside.
After letting the tote bag cool, position your vinyl design and, again, use the EasyPress 2 to adhere the vinyl to the tote bag.

Allow the bag to cool before peeling! And done!

Infusible Ink Tote Bag
With your design ready to go in Cricut Design Space, you’re set to move to the next step.

With Infusible Ink Transfer Sheets, use a StandardGrip Machine Mat and position the Transfer Paper liner side down. The design will be face up.
Set your Explore Air 2 to “Custom” and set your material in Design Space to “Infusible Ink Transfer Paper.”
Make sure your design is mirrored and push go.
A few important notes about Cricut Infusible Ink:
- Make sure there is no moisture on your hands when handling Infusible Ink Transfer Sheets.
- Always use a lint roller on your blank to clean the surface of debris before transferring your design.
- Place a piece of cardstock between the layers of your tote bag, or other blank, and EasyPress Mat in order to prevent ink bleeding through.
- Carefully follow the Cricut Heat Transfer Guide.
- Do not reuse butcher paper after completing an ink transfer.
- Hold the EasyPress steady and still when applying the transfer (this is when the Heat Transfer Tape comes in handy).
- Be sure the butcher paper and EasyPress fully cover the entire design when applying transfer.
One more tip for handling Cricut Infusible Ink, the traditional weeding process you’re used to doesn’t work with the thicker material of Infusible Ink.

Use the cracking technique rather than traditional weeding. This technique is done by gently rolling the transfer sheet to “crack” the pieces off the liner.
Then you can use your fingers to weed the individual pieces.

Now, as mentioned above, insert both the EasyPress Mat and a piece of cardstock into your tote bag and use a lint roller to clean the surface.
Then, cover your blank with butcher paper (included with Infusible Ink Transfer Paper) and preheat.
Once cooled completely, position your Infusible Ink design on the blank, cover with butcher paper and use EasyPress 2 to heat the design at 385°F for 40 seconds.
IMPORTANT: Do not move the EasyPress 2 during the heat transfer process.
Again, after the project has completely cooled, remove, first, the butcher paper and then, slowly, the liner and design.
It should come right up, but, if not, use tweezers to gently remove the design.
You now have a smooth, perfectly infused, professional-looking ink design on your tote bag blank!

Everyday Iron-on Vinyl + Infusible Ink
Now that you understand the process behind both techniques, the next step is how to combine the two.
The important fact to remember during this design process is the order in which the two materials need to be used.

First, cut, position and transfer the Infusible Ink part of the design onto your blank and let it cool completely.
Next, after cutting and weeding the Iron-on Vinyl, be sure to adjust the EasyPress 2 for the new material. (This is an important step in order to keep as little additional heat over the Infusible Ink as possible).
Also, before heating the vinyl, make sure to once again cover the entire project with (a new piece of) butcher paper. It also needs to be larger than your EasyPress’ heating surface area.

Once the vinyl is properly layered around the Infusible Ink (use Heat Transfer Tape, as needed), gently set the EasyPress 2 over the project and press lightly for 30 seconds.
Wait until completely cooled and peel back both layers to see your finished design.
IMPORTANT: Be careful of any ink that may have bled through to the butcher paper during the additional heating process.
You’ve done it! You’ve completed three Cricut Infusible Ink tote bags utilizing three different heat transfer techniques.

Best of all, you can now donate tote bags to your local food bank too!
Not sure where your closest food bank is?
Visit feedingamerica.org to find a food bank near you. And don’t forget to take some canned foods and other items listed above along to donate as well.
This is a sponsored conversation written by me on behalf of Cricut. The opinions and text are all mine.