Cookbook Photography: Capture the Delicious Details

A cookbook is a special way to represent the culinary art, making people eat the delicious masterpieces with their eyes first before bringing these dishes to their own kitchens.
The role of captivating imagery in cookbooks cannot be overrated. Visuals evoke the senses, tempt the palate, and invite readers to dive into the culinary journey within the pages.
Knowing how to take pictures of food, you can transform simple ingredients into a feast for the eyes.
In this article, we explore how to style, light, and capture your culinary creations in a way that ignites taste buds and brings your dishes to life.

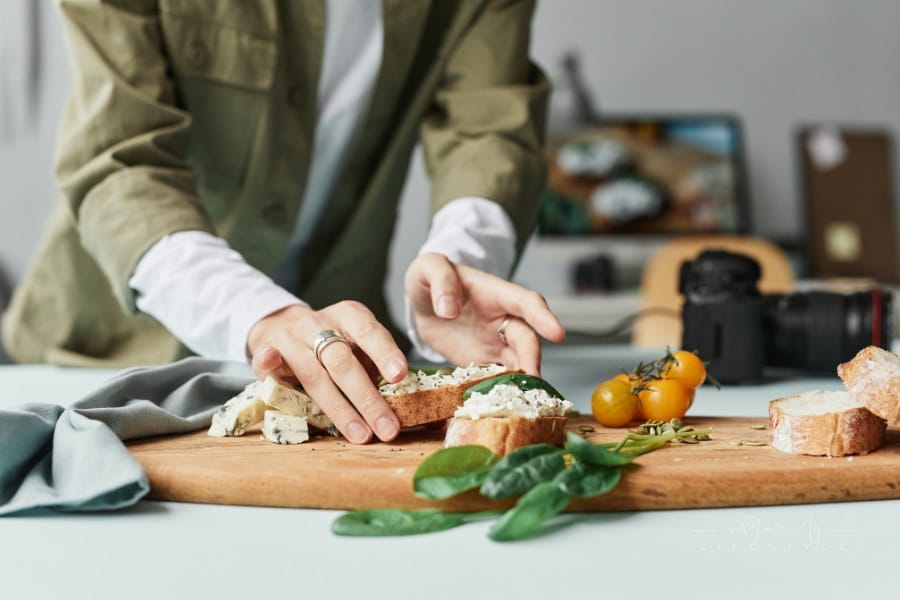
How to Stage Food for Photography
The primary aspects of food styling are colors, textures, and compositions. Start by choosing ingredients that look fresh and vibrant.
Consider balance and contrast when choosing a plate and additional props (utensils, napkins, tablecloths, etc.). A dash of a contrasting color can make the dish pop, so add a sprinkle of herbs to your dish.
Try to showcase the best features of your gastronomic creations. For instance, if you photograph a burger, you might strategically stack it to show off all the layers, from the juicy patty to the fresh lettuce and ripe tomato.
A mist of water can make vegetables look freshly washed, and a brush of oil on meats can create a succulent appearance.
Feel free to rearrange elements mid-shoot if something needs to be fixed. The process is dynamic, and what looks good to the eye might need adjustment through the lens.
Be patient, pay attention to details, and leave more room for experiments.
Capturing the Perfect Shot
Camera Settings and Lenses
Seeking the best way to photograph food, start with selecting a gear and adjusting it properly. For starters, choose a lens with a wide aperture (low f-number).
It can beautifully blur the background and make your dish stand out sharply against a soft, nondescript backdrop.
This technique highlights the textures and details of the food. Use it to draw the viewer’s focus exactly where you want it.
Prioritize the manual setting mode for your camera. It provides better control over aperture, shutter speed, and ISO.
A slower shutter speed is especially useful in low-light conditions. However, images may turn out blurry, so use a tripod and image stabilizing techniques for clear shots.
ISO should be kept as low as possible. It makes images less grainy and enhances their quality.
Lighting
Natural light, with its soft, diffused quality, is preferable. However, the quality of natural lighting depends on factors that are beyond human control.
If you do not want your picture quality to rely on the time of the day or weather conditions, consider integrating artificial light sources into your workflow.
With the right equipment, such as softboxes and LED panels, you can mimic the softness and directionality of natural light.
Composition
The Rule of Thirds is fundamental, but food photography is a case in which you should be bold in breaking the rules.
Use symmetry to showcase the patterns or when capturing from above. Use negative space to let your dish shine without distraction.
Movement adds life and realism, whether it is capturing the action of pouring a sauce, a sprinkle of a garnish, or steam rising from a hot dish.
Each dish has an angle that best highlights its qualities, whether the intricate layers of a cake or the height of a stacked sandwich.

Edit Food Photos
When you edit food photos, start with basic adjustments — contrast, exposure, and saturation. These adjustments can significantly affect the general appeal of your gastronomy in photos.
For example, experiments with a contrast enhancer can make the colors pop while adjusting the saturation can enhance the natural hues of your ingredients.
Adjust the white balance. Match the colors of your photo with the real-life colors of the culinary masterpiece; the picture does not appear artificial.
Enhance texture and detail, balance highlights and shadows. It is especially important for foods with intricate details, like the crumb of a cake or the gloss on a piece of fruit.
Techniques such as dodging and burning, which lighten or darken areas of the image, can draw attention to the most important parts of the dish.
Cloning and healing tools allow you to remove any unwanted blemishes or distractions from the background,
Using layers and masks in your editing software can offer even greater control. These editing techniques can be particularly useful when you want to adjust the background independently from the dish or vice versa.
Conclusion
The creation of captivating cookbook photography is a multifaceted process that demands attention to detail, a creative eye, and a passion for the culinary arts.
Anyone can produce stunning images by mastering the art of food styling, understanding the nuances of lighting and composition, and applying thoughtful editing techniques.
Perfect food photos showcase culinary masterpieces and tell a compelling story. This journey through the lens invites readers to explore, taste, and celebrate the art of food, one photograph at a time.