There's something to be said for suburban life. Some good. Some bad. I really think it depends on the suburb you live in, maybe? Or, perhaps it's all about the neighbors.
I'm leaning more towards the neighbors. That and the innate need for privacy that some of us have.
Me? The introvert?
I like to have privacy when I'm in my backyard.
Outdoor Privacy
In fact, it's why, for the past 14 years, we've lived in a home that doesn't back up to another yard.
The first home backed up to green space and was the corner lot of a cul-de-sac.
The next house was a short walk to the lake with nothing but Corps of Engineer property behind us.
Therefore, when we began building our current house, we purposefully paid for a premium lot with no houses behind us.
Our home backs up to a pond.
That, again, is on purpose.
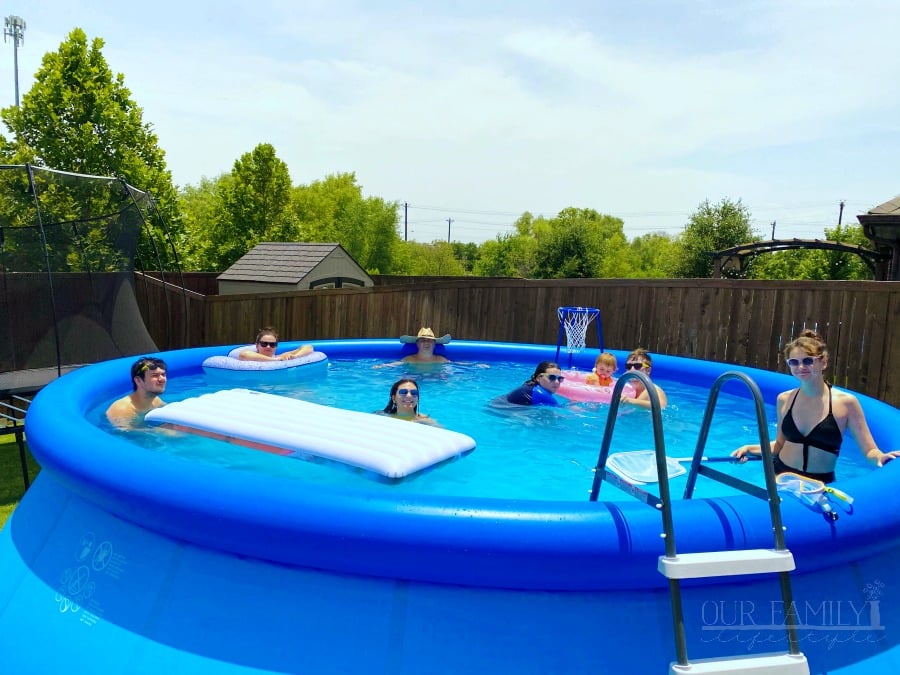
But, this year, since we added the swimming pool to the backyard, I really wanted to make sure we maintained some privacy.
At least from our neighbors to the north.
They like to grill on their back porch, which faces our back porch. Giving them a direct line of view straight across our yard to the pool.
And we can see him staring over the fence at us at times.
With teenage girls, not to mention my own swim suit insecurities, I decided that simply wouldn't do.
We needed a privacy wall of some sort.
Colby, being the incredible husband is, simply told me to give him a list of supplies and we would make it.
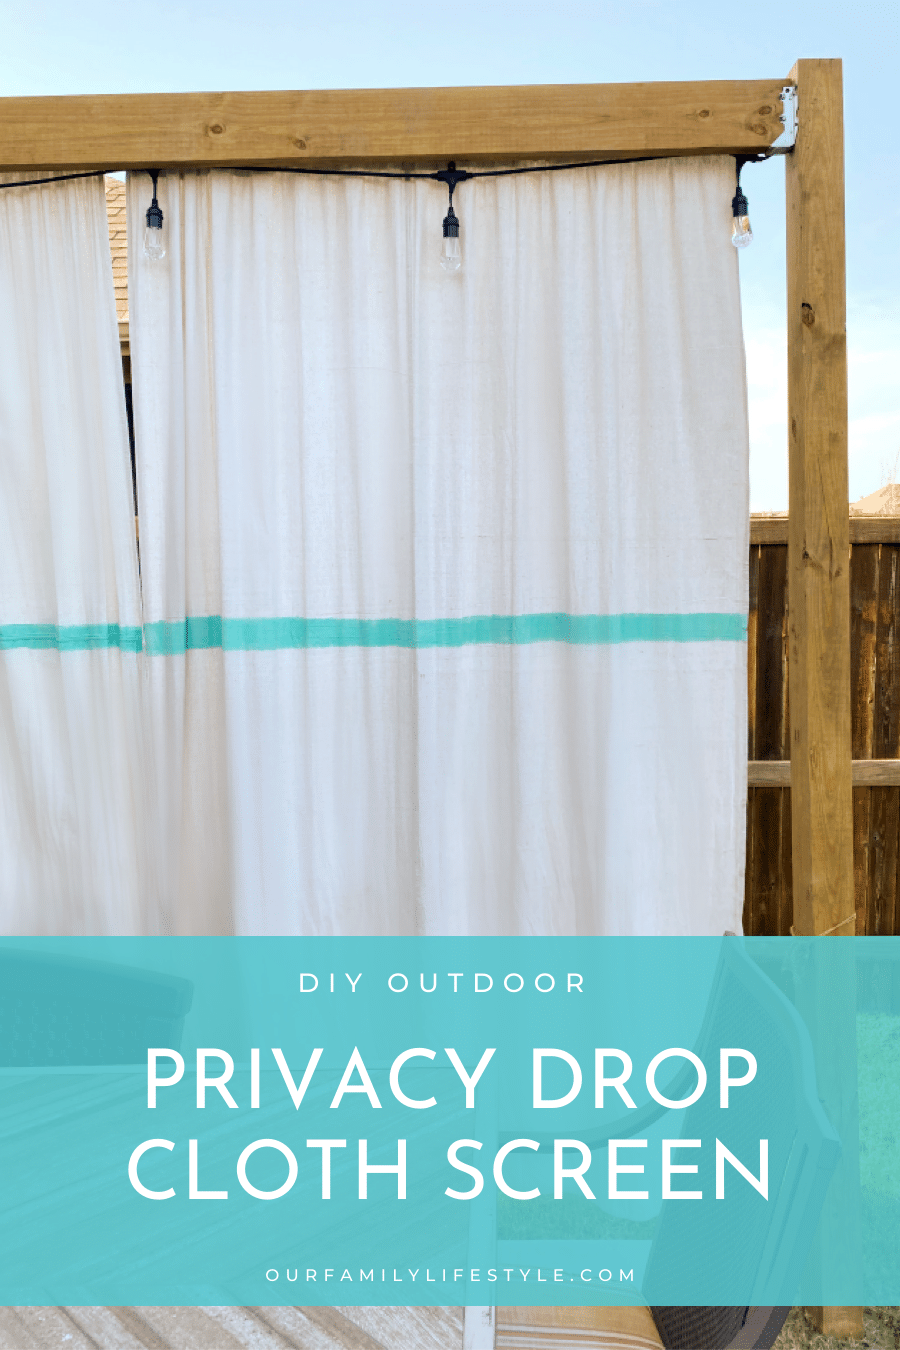
Ready to get started and see how we made an outdoor privacy drop cloth screen? On a budget?
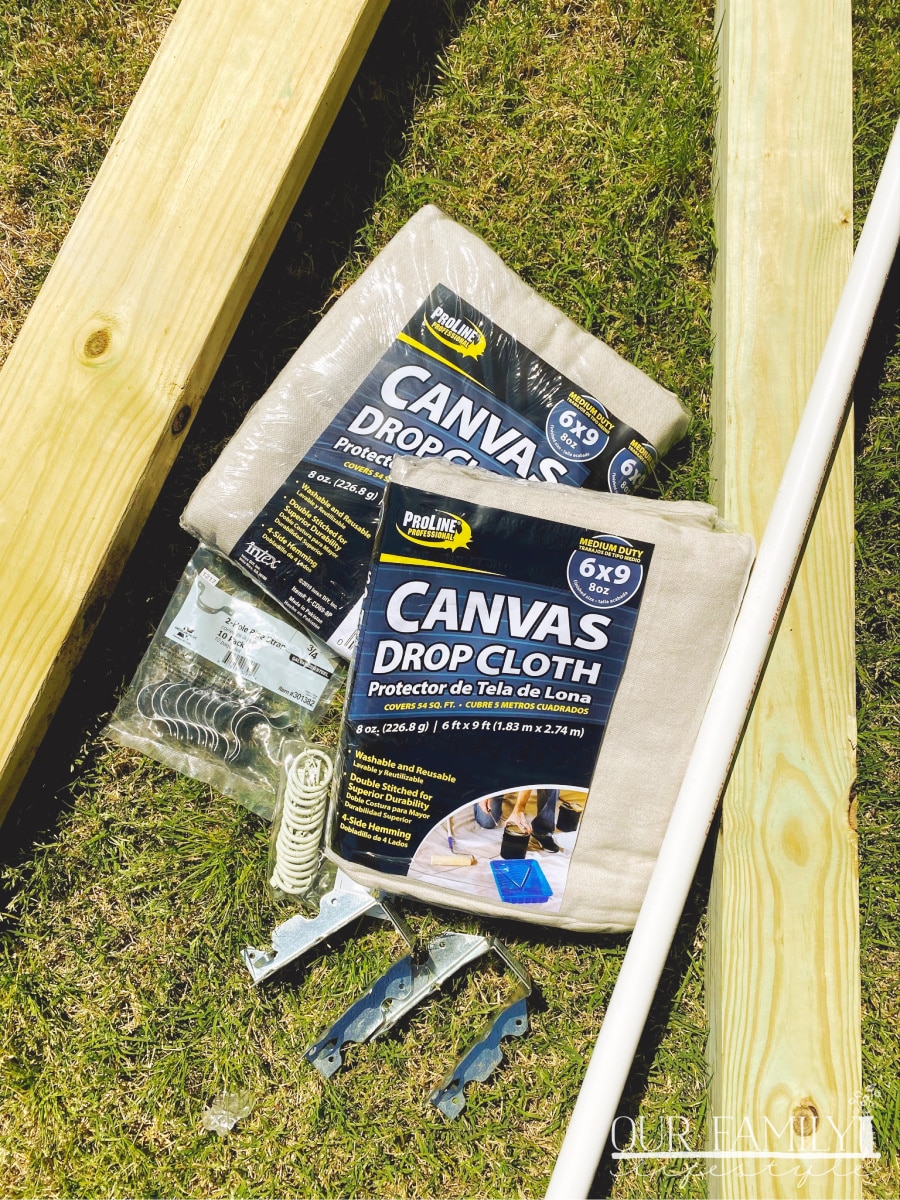
First, the supply list I gave him:
- 2 (two) 6’ x 9’ canvas drop cloths (size may vary based on your needs)
- 1 (one) 2" x 8", 10' long for header
- 1 (one) 4"x4", 12' long (we attached other end to house, you may need two)
- 2 (two) joist hangers
- 1 (one) 12' long ¾" diameter PVC pipe
- 3 (three) 1" strap clamp hangers (diameter depends on PVC pipe; number depends on length of your header)
- 1 (one) 1"x2" cut to width of header for securing clamps
- 2 ½" wood screws
- Stain (optional based on the look you want to achieve; we used MinWax Early American)
Next, putting it all together. Get ready for too many pictures!
Now, this process can look different for you depending on where you're putting the privacy screen.
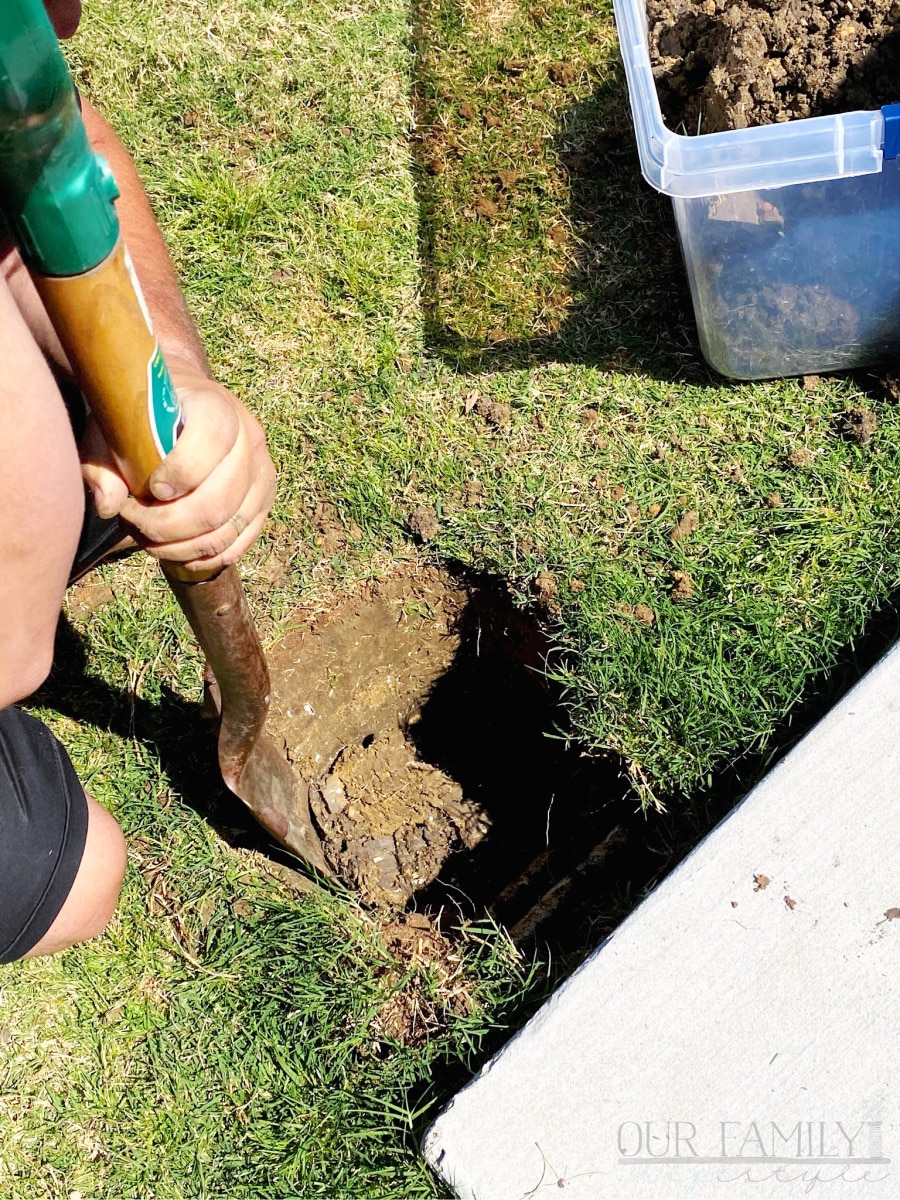
We decided to dig a hole for the one 4"x4" we were using; but decided not to set it with concrete. We weren't sure we wanted it to be a permanent fixture.
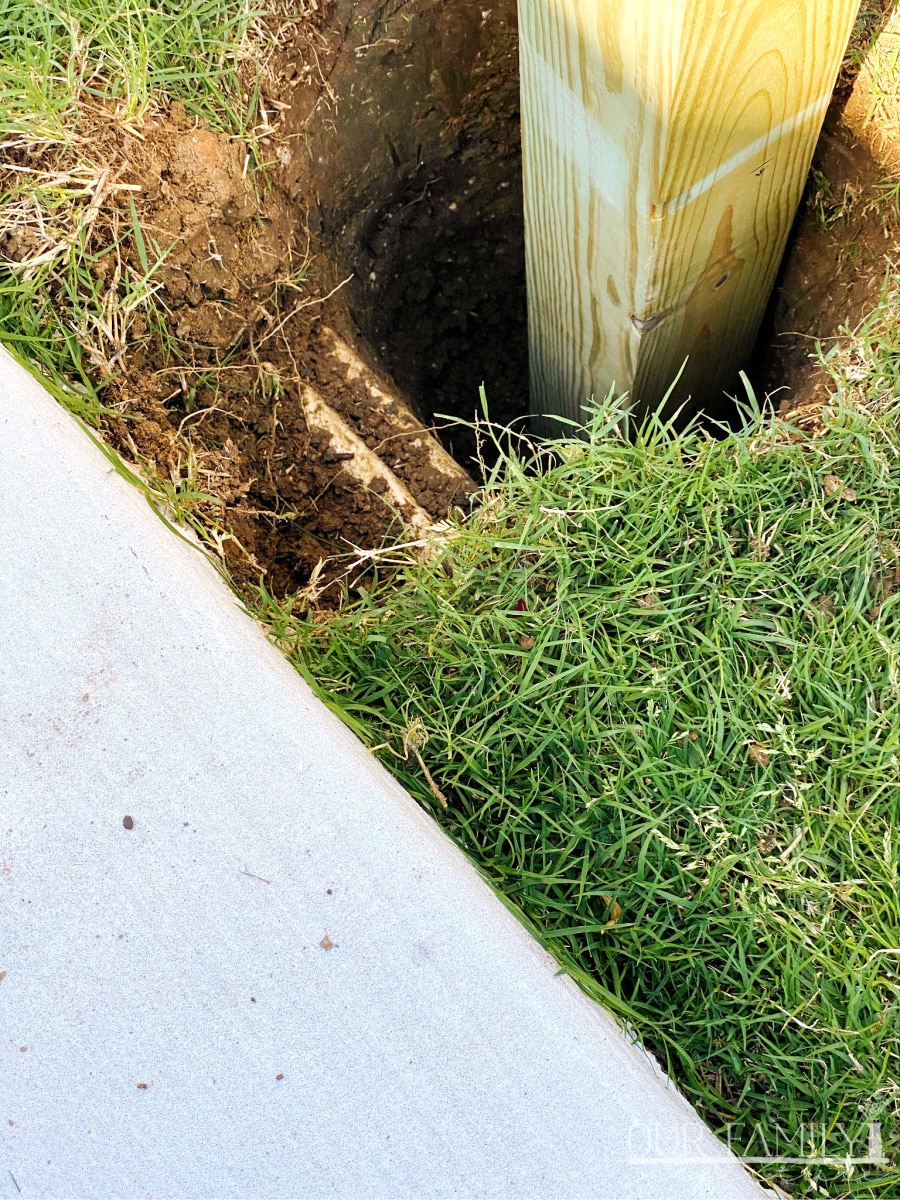
But, we did want to make sure it stayed put.
Therefore, we dug down a few feet and dropped the pole in.
PRO TIP: Make sure you check for pipes, etc. prior to digging. Breaking something would definitely put you over budget!
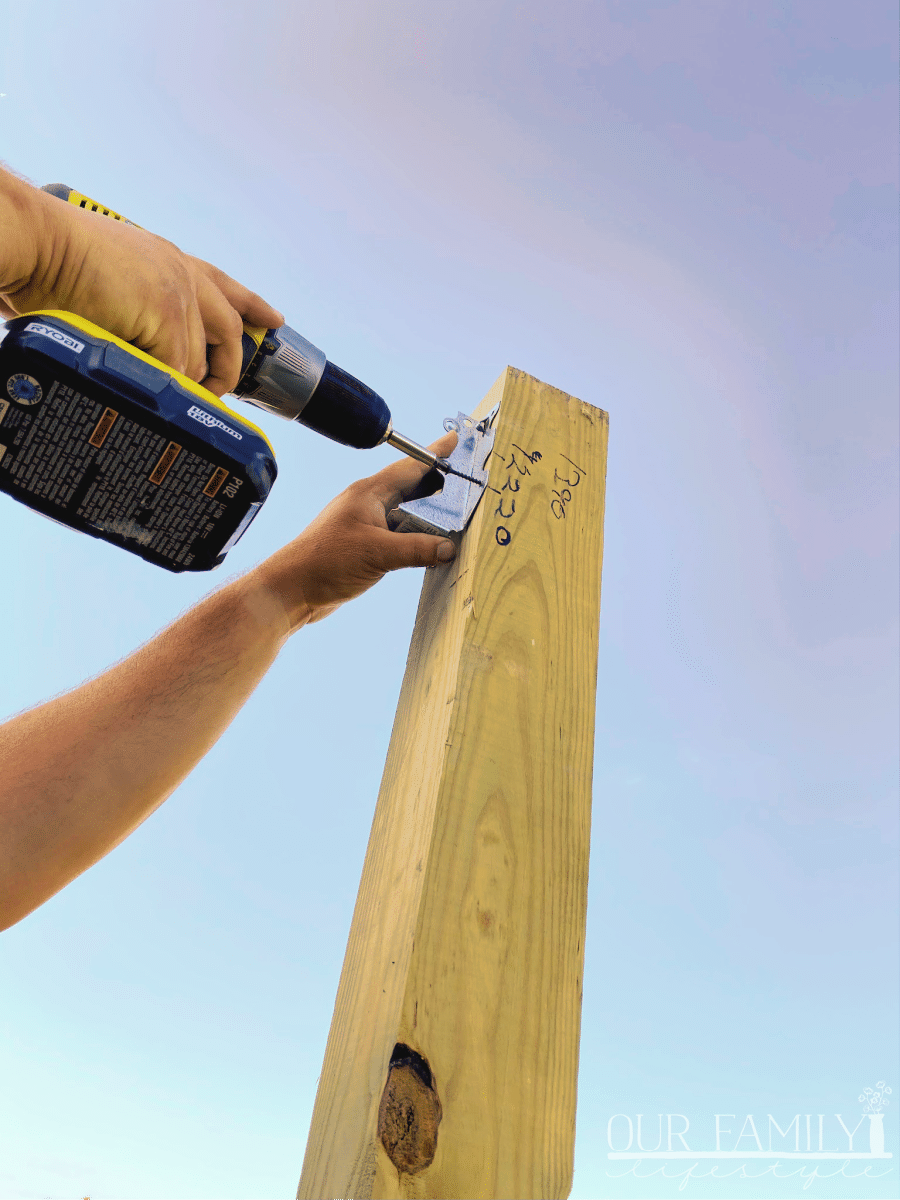
Add your joist hangers to the 4"x4" pole(s). We added one to the pole and the other to the column of our back porch.
PRO TIP: Be sure to buy joist hangers that are equal to the size of the lumber you buy.
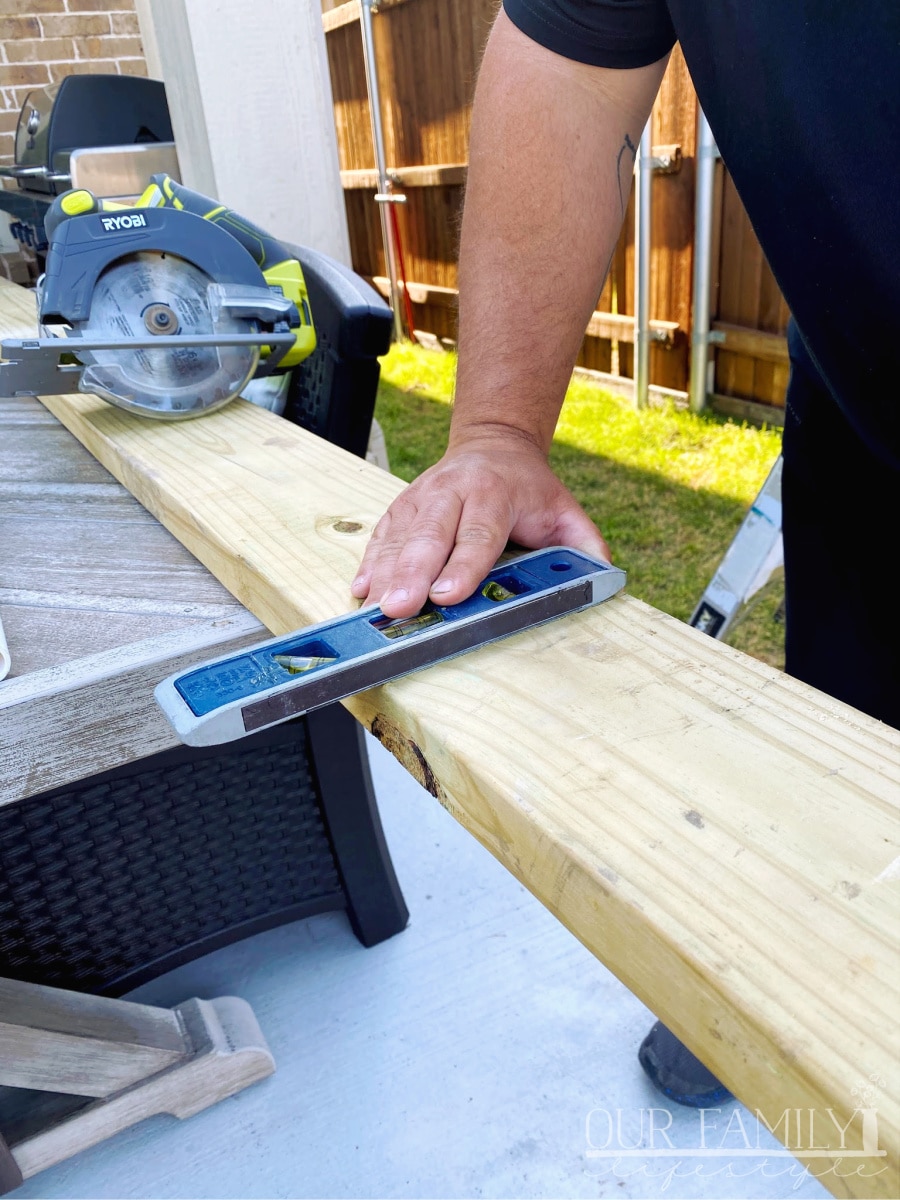
Time to measure!
First, we measured the board to get it's actual length, then found the middle.
We wanted to use three clamp hangers to hold the PVC pipe in place; one in the middle and one on either end.
Depending on the length of your header, this may vary.
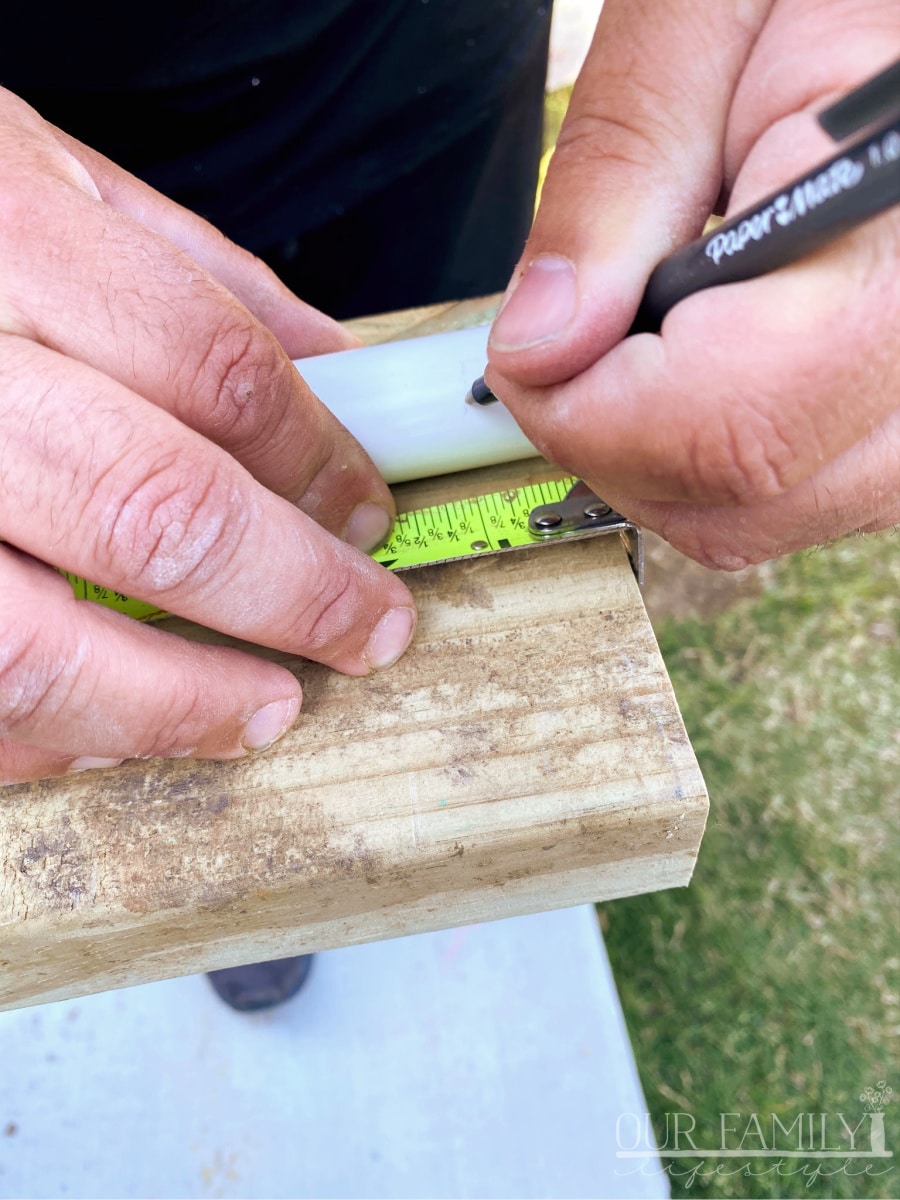
*Please excuse the mud on the header. It was leftover from the pool project and had been lying in the grass for a bit.
Once we determined where we wanted to the PVC pipe to go, we had to measure and cut it.
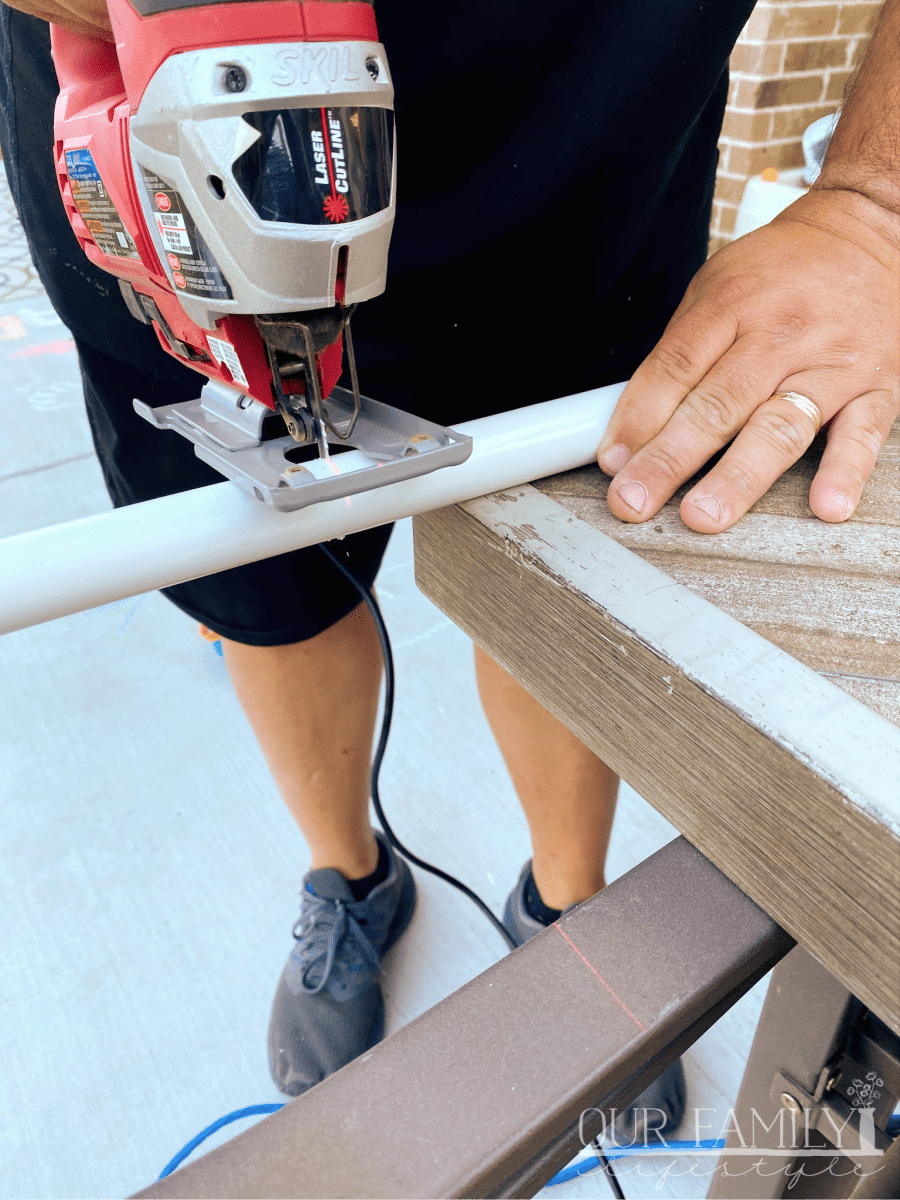
A jigsaw worked well on cutting the PVC pipe.
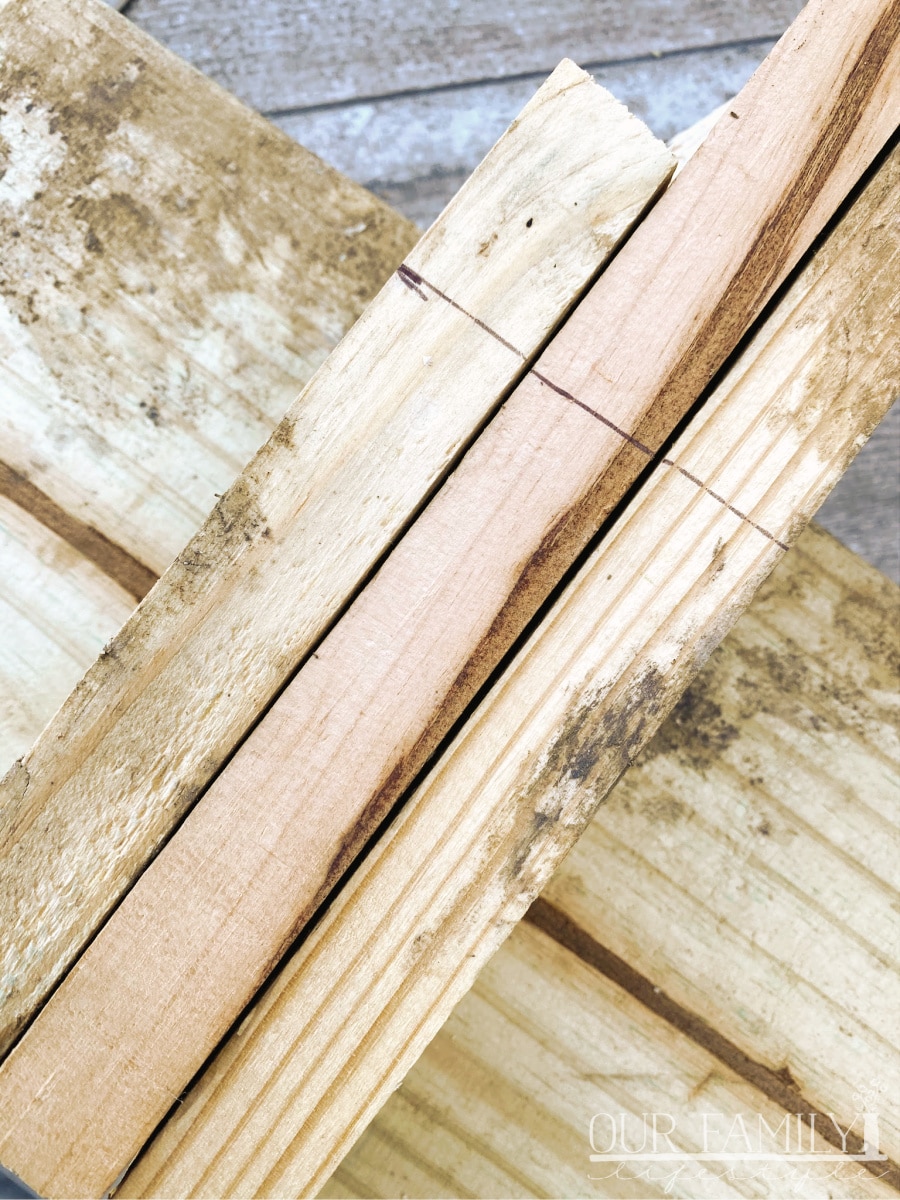
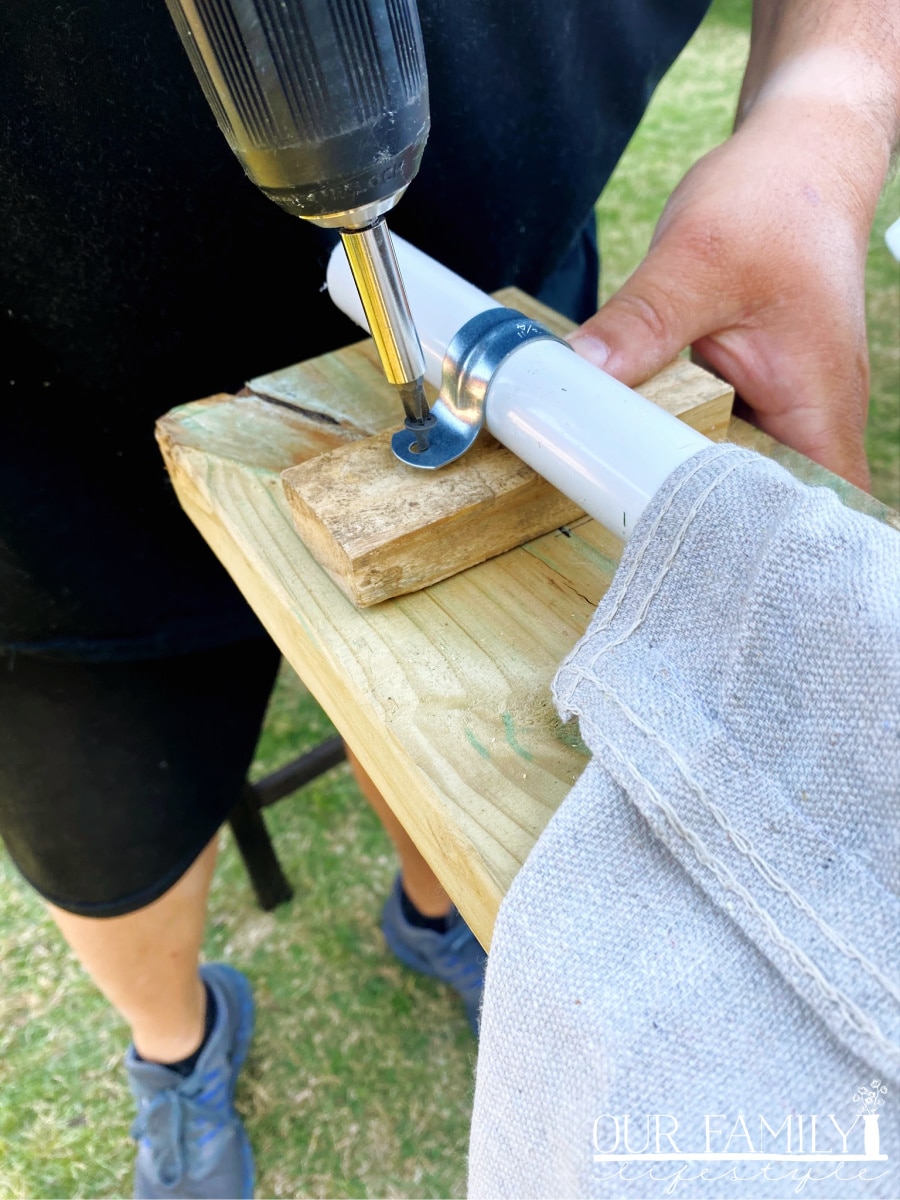
Because we wanted to make sure there was plenty of room for the drop cloth curtains to open and close, we attached the clamp hangers to a piece of 2"x2" that ran the width of the header.
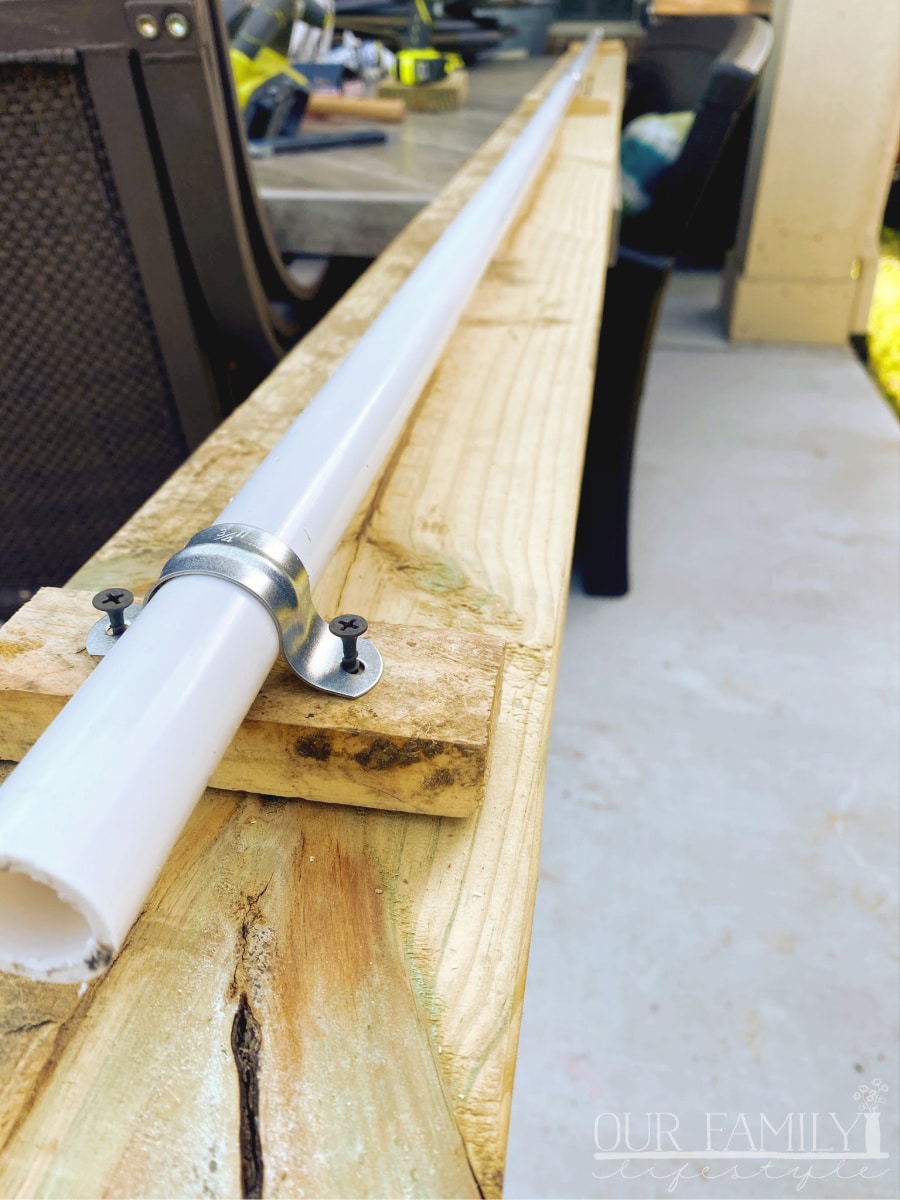
This lifted the PVC pipe far enough away from the header to allow plenty of shuffling of the drop cloth.
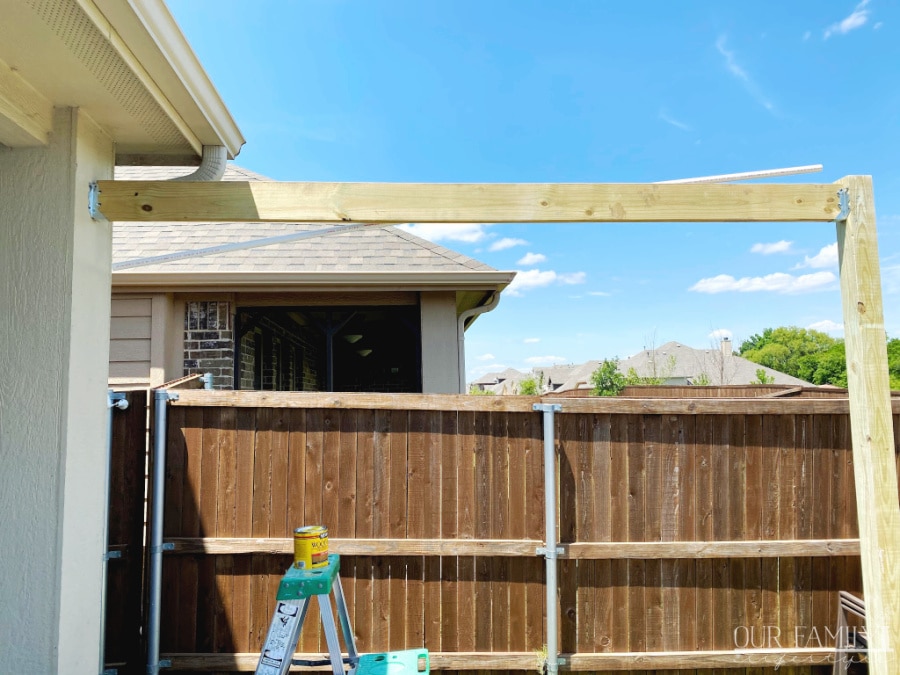
Next, we placed the header (temporarily) into the joist hangers to ensure everything fit together properly.
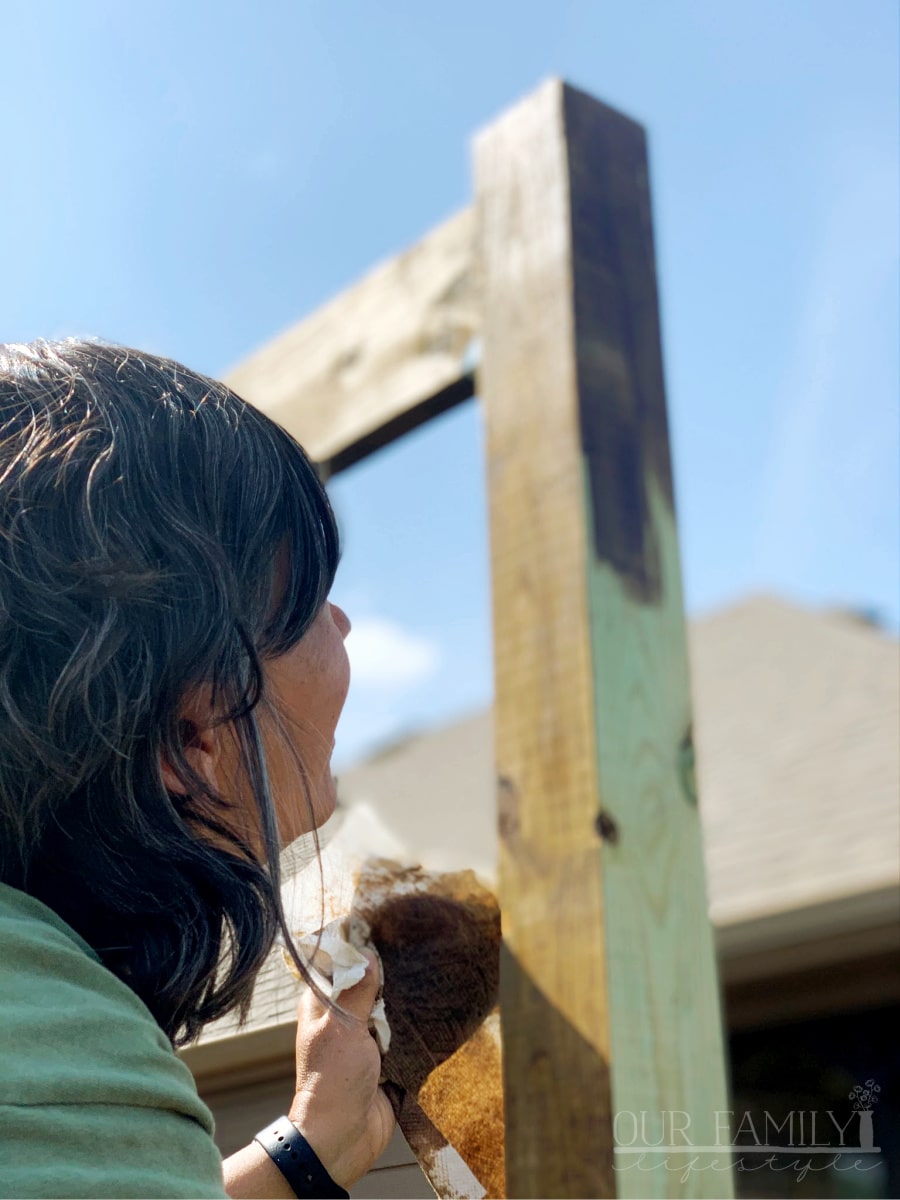
I was then able to do my favorite job! Staining.
I simply love watching the wood come alive through the process.
Each knot and grain line bursting through the stain brings me such joy!
(Yes, I realize I'm a strange one. I guess that comes from being the daughter of a carpenter).
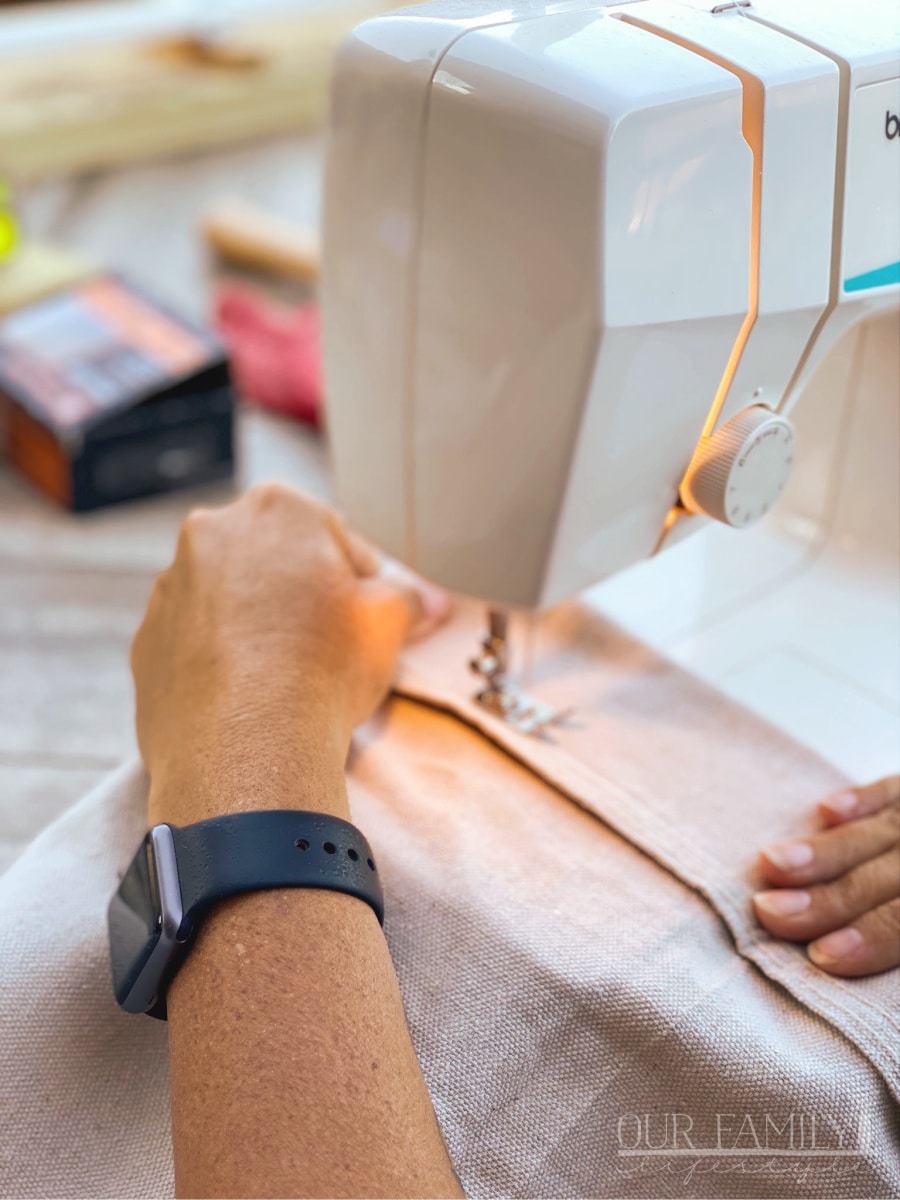
Well, a carpenter and a seamstress.
Although, I must admit, my sewing skills are not as honed as my woodworking skills.
But, I do try.
Luckily, this project only required one sewn line on each drop cloth to make a rod pocket.
Now, it wasn't straight, but it was well enough.
FUN FACT: We were going to use clips to hang the drop cloth, but then decided a rod pocket would work better due to it's length and possible high winds.
The rod pockets worked as they were supposed to!
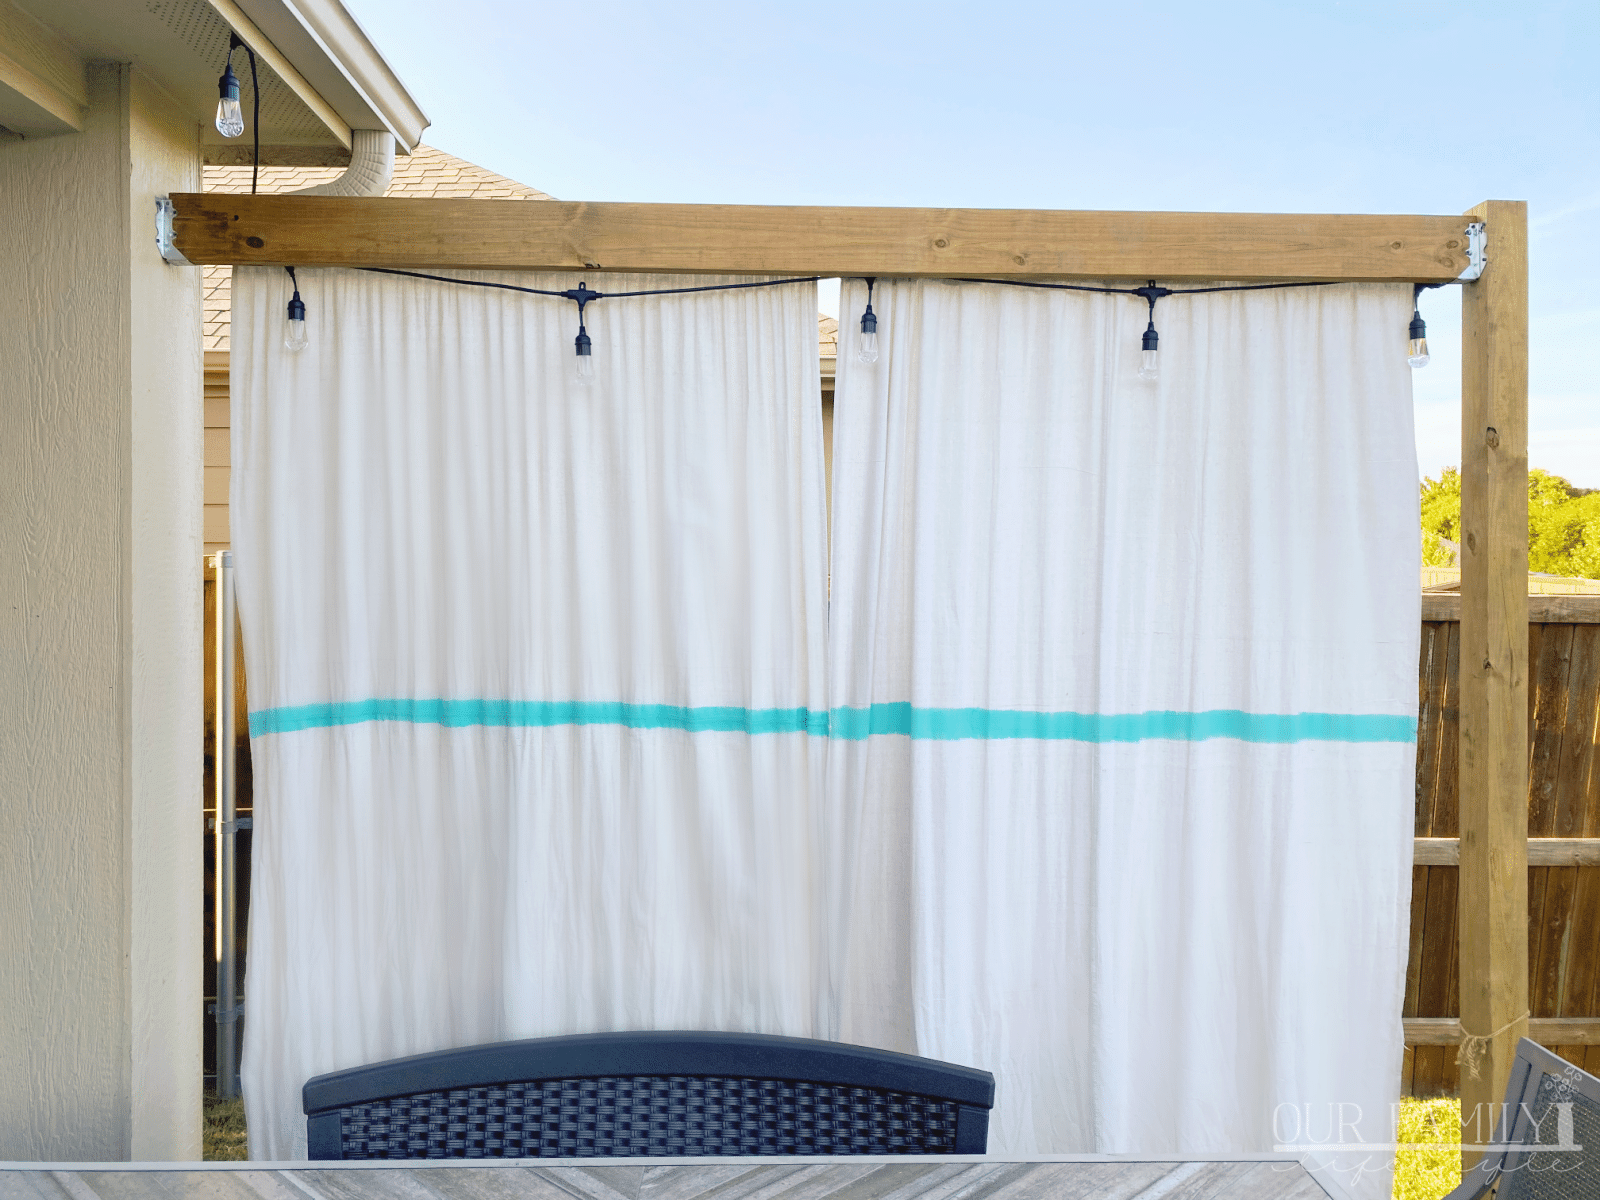
We slipped the PVC pipe into the pockets of both drop cloths, then attached the completed header to the joist hangers.
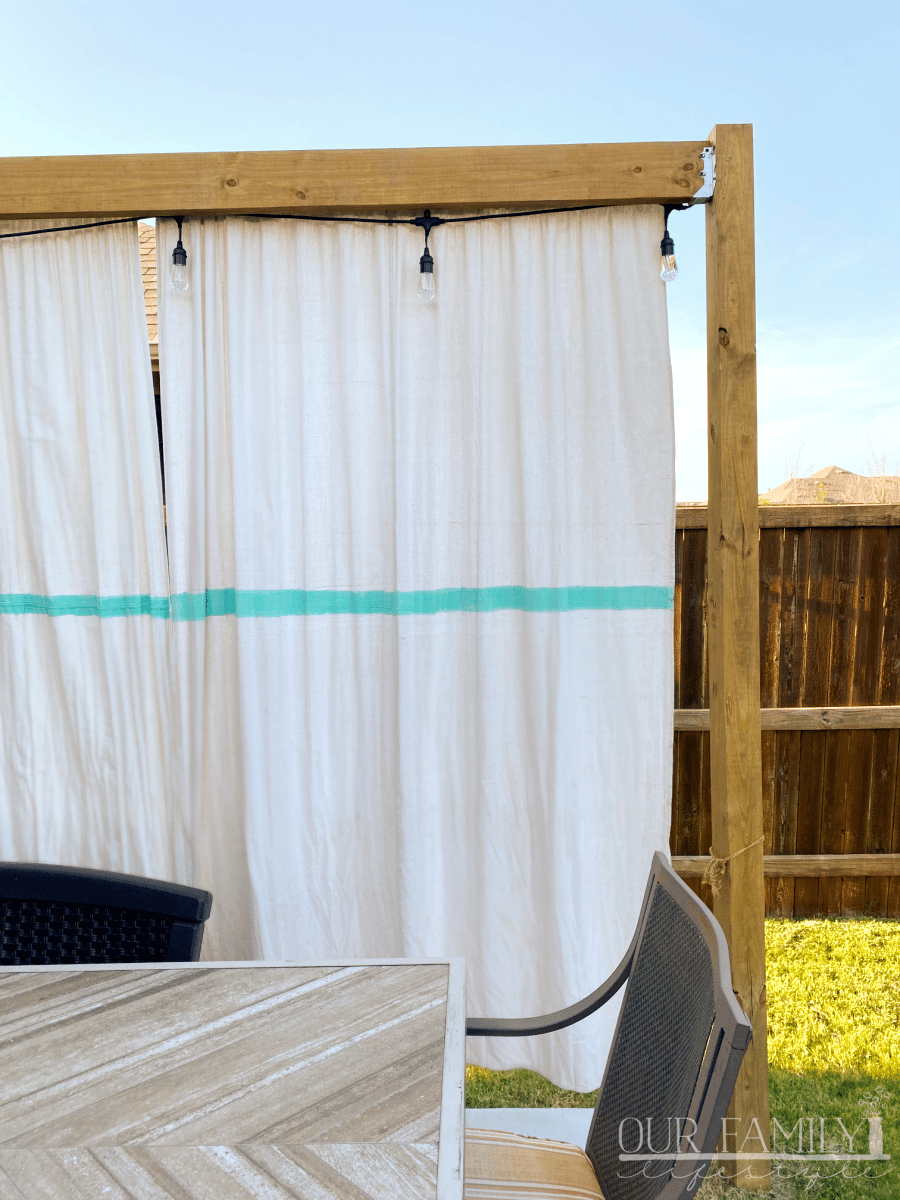
We now had our own little piece of backyard privacy!
We can easily open or close the drop cloth screen based on our needs.
I use a jute string for tie-backs simply because I'm obsessed with it.
Oh, speaking of obsessed.
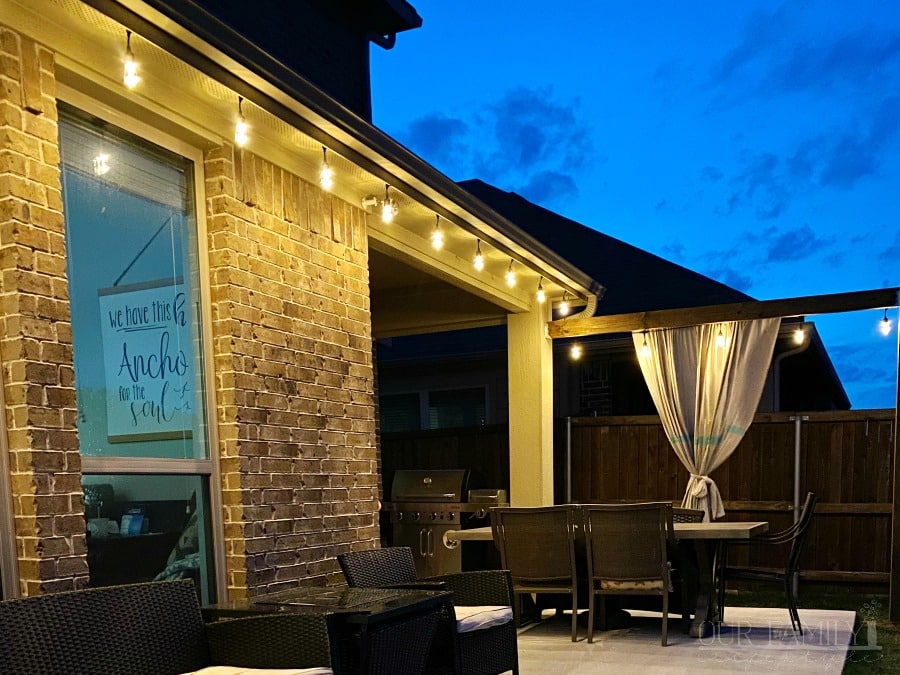
Colby loves his lights. Seriously; him and our girls.
So, his one addition was outdoor string lights.
I can't say I don't love them too though. They add just the right amount of ambiance every evening to the space.
[mv_create key="79" type="diy" title="DIY Outdoor Privacy Drop Cloth Screen" thumbnail="https://www.ourfamilylifestyle.com/content/images/2026/01/outdoor-drop-cloth-privacy-curtain-2.png"]amzn_assoc_placement = "adunit0"; amzn_assoc_search_bar = "true"; amzn_assoc_tracking_id = "7onashoe-20"; amzn_assoc_ad_mode = "manual"; amzn_assoc_ad_type = "smart"; amzn_assoc_marketplace = "amazon"; amzn_assoc_region = "US"; amzn_assoc_title = "Privacy Screen Supplies"; amzn_assoc_linkid = "9fe5a0b2f1c63734836068a2759a5ebc"; amzn_assoc_asins = "B07RT6SPCS,B001APW9ZI,B07TW1K4RC,B000BZZ3H4,B07CMJC884,B008AGWNL0,B00WHXQIJA,B01B4XMMSO";