
Molars are the teeth at the back of your mouth that help you chew and grind down your food so it's easy to digest.
When you lose a molar to decay or injury, it can get much harder to effectively chew your food (especially delicious steaks and crunchy nuts).
Fortunately, dental implants offer a strong, long-term solution that looks and functions just like a natural tooth.
You can consider alternatives to dental implants, but other replacements don't prevent bone loss in the jawbone the way dental implants can.
If you're considering a molar implant restoration, you might be wondering what the process involves. Here's a step-by-step guide to what you can expect.
Initial consultations
Your journey to getting dental implants in Savannah, GA starts with a consultation. During this visit, your prosthodontist will evaluate your oral health, take 3D oral scans, and discuss your treatment options.
This is also when your prosthodontist will create a treatment plan tailored to your specific needs.
If you have any concerns or dental implant questions about how they work, how long the process takes, or what recovery will be like, this is the perfect time to ask.
You'll also get a cost estimate for your treatment plan along with information about the financing options available to you.
When considering molar dental implants, it's natural to have questions about the long-term health of your teeth. While the implant itself won't decay, many patients wonder, "Can you get a cavity under a crown?"
It's important to understand that the tooth structure surrounding the implant or under any existing crown can still be susceptible to decay if not properly cared for.
Once you've decided to get implants, you'll be called in for a second consultation that will involve personalizing your dental implant crowns so your smile looks as natural as possible.
You'll also have the chance to provide in-depth information about your medical history. This is the perfect time to talk about your past and present health conditions, allergies, experiences with pain management, and medications/prescriptions.
This appointment will typically include:
- Medical history review
- Oral exam
- X-rays
- Tooth mold and shade selection
- Taking impressions or scans of your teeth
- Getting photographs of your smile
- Finalizing your treatment plan
Pre-implant procedures and healing
Many people need to address other oral health concerns before they can get implant treatment.
If your jawbone isn't strong enough, or if there's not enough space due to your sinus position, you may need additional procedures first.
These are some common pre-implant procedures tooth loss patients may need prior to implant placement:
- Sinus lift: If your upper jaw lacks bone height, a sinus lift can create the necessary space by adding bone material below the sinus.
- Gum graft: People with thin or receding gums may need a gum graft to ensure proper support for the implant.
- Tooth extraction: If the molar being replaced is still in place but damaged beyond repair, your prosthodontist will remove it. Healing time before implant placement varies from patient to patient.
Dental implant placement and healing time
Healing from pre-implant procedures can take weeks or months, but once the wait is over, it's time for your prosthodontist to place the implant.
Patients usually get tips on how to prepare for surgery from their care team. The procedure may not take long, but it's advisable to take the day off from work so you can rest and recharge.
Prior to dental implant surgery, the prosthodontist will provide appropriate pain management to keep you comfortable throughout the placement.
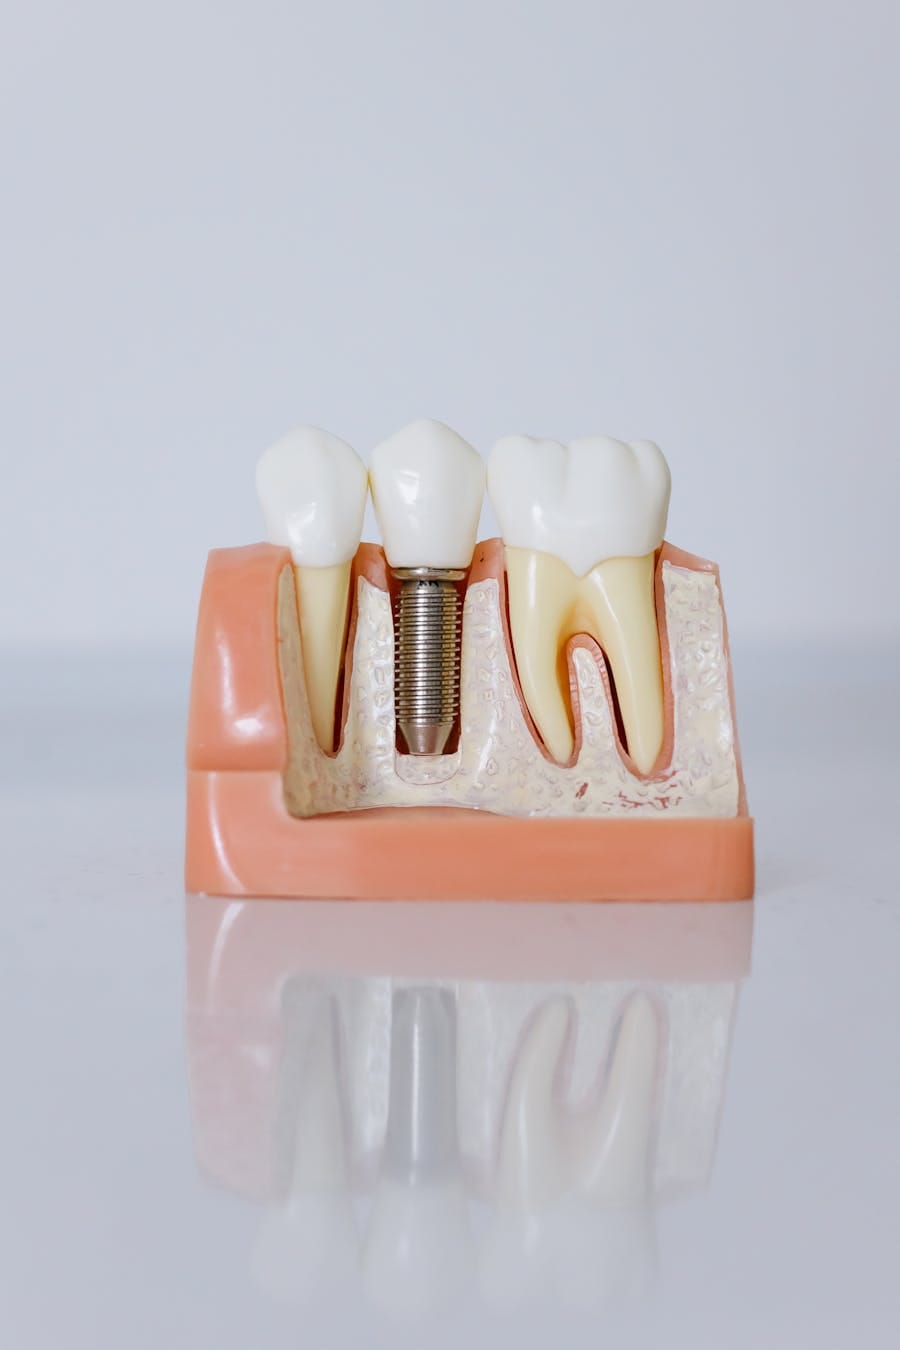
They'll place a small titanium post into your jawbone, where it can fuse with your healthy jawbone and form the foundation for a new artificial tooth.
The procedure usually takes around a couple hours, but may take longer depending on the number of implants you're getting and your specific treatment plan.
Mild swelling and discomfort afterward are normal, but you can stay comfortable using a combination of ice packs and pain medication.
You'll get comprehensive care instructions to minimize any risk of implant failure or infection. During this time, it's best to:
- Get plenty of rest for the first few days after surgery.
- Eat soft foods and gradually progress back to your normal diet over time.
- Avoid hard, sticky foods that could put pressure on the implant.
- Maintain good oral hygiene to prevent infection.
- Get dental checkups to make sure the surgical site is healing properly.
This dentist in Lexington MA reiterates that it's important to stay in close communication with your dental team throughout the healing process. Regular follow-up appointments allow your provider to monitor progress and make any necessary adjustments, ensuring that your implant integrates successfully and sets the stage for a long-lasting, healthy smile.
Final crown placement
Once healing is complete, it's time for your custom crown. Your prosthodontist uses impressions of your mouth to customize a prosthetic tooth (or set of teeth) that perfectly fit your bite and natural teeth.
The crown is then attached to the implant using an abutment, completing your restoration. At this point, your molar implant will look, feel, and function like a real tooth. You can chew, smile, and speak with confidence again!


