Why a DIY Photo Booth Is the Life of the Party
Planning a birthday bash? A DIY photo booth adds instant fun and gives your guests something to smile about—literally!
Not only do photo booths create memorable keepsakes, but they also act as a built-in activity that both kids and adults love.
Insta-Worthy Moments for All Ages
From silly selfies to sweet group shots, a photo booth gives your guests something to post and print. It adds energy to the party and doubles as entertainment.
A Fun Activity and Take-Home Memory
You don’t need a professional setup. With a little creativity, you can make an amazing booth using affordable items—plus free printable props to make the experience extra fun!
What You’ll Need for a DIY Photo Booth Setup
Basic Materials
- Wall space, fence, or backdrop stand
- Tablecloth or fabric for the backdrop
- String lights or fairy lights (optional but magical!)
- Props (DIY or printed)
- Tripod or table to hold a phone or camera
- Good lighting (natural or ring light)
- Tape, push pins, or command hooks
Optional Upgrades (Still Budget-Friendly!)
- Balloon garlands or streamers
- Mini chalkboard or letterboard for signs
- Rug or bench for seating
- Instant photo printer or photo-sharing app
Step-by-Step Guide to Creating Your Photo Booth
Step 1: Choose a Spot
Pick a corner or wall with plenty of space and good lighting. Outdoor? Choose shade for softer light. Indoor? Use a well-lit wall near a window.
Step 2: Create a Backdrop
Attach a large tablecloth, bedsheet, or plastic curtain to the wall using painter’s tape or removable hooks. Add streamers, paper fans, or balloons to match your party theme.
Step 3: Add Lighting
Use:
- Ring light
- Clip-on selfie light
- Desk lamps pointing upward
- Or simply natural daylight!
Avoid harsh overhead lighting that causes shadows.
Step 4: Set Up a Camera Station
Use a:
- Smartphone on a tripod
- Tablet on a stand
- Digital camera (if available)
Enable a timer or burst photo mode so guests can click away without help.
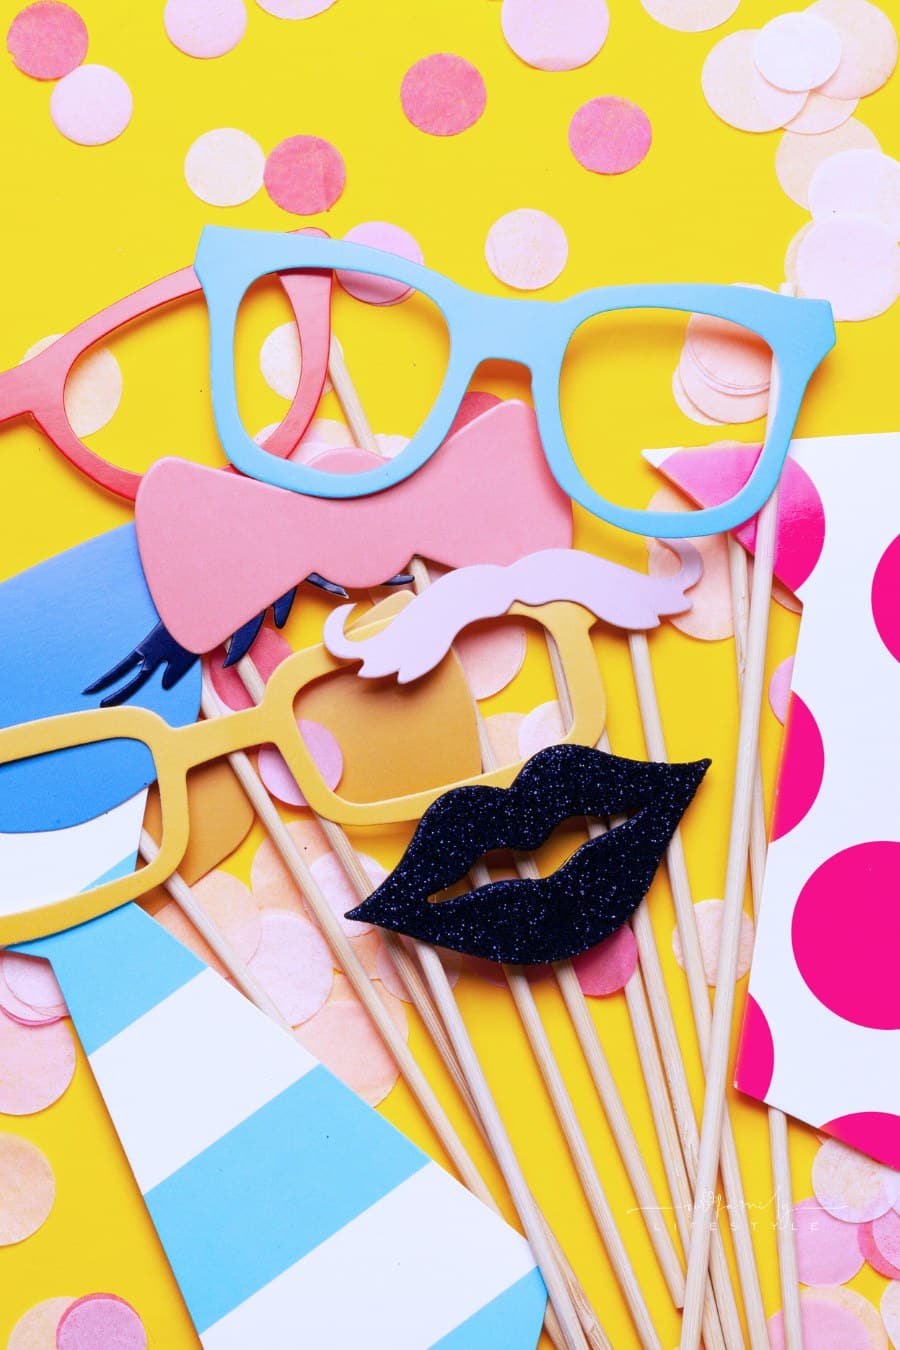
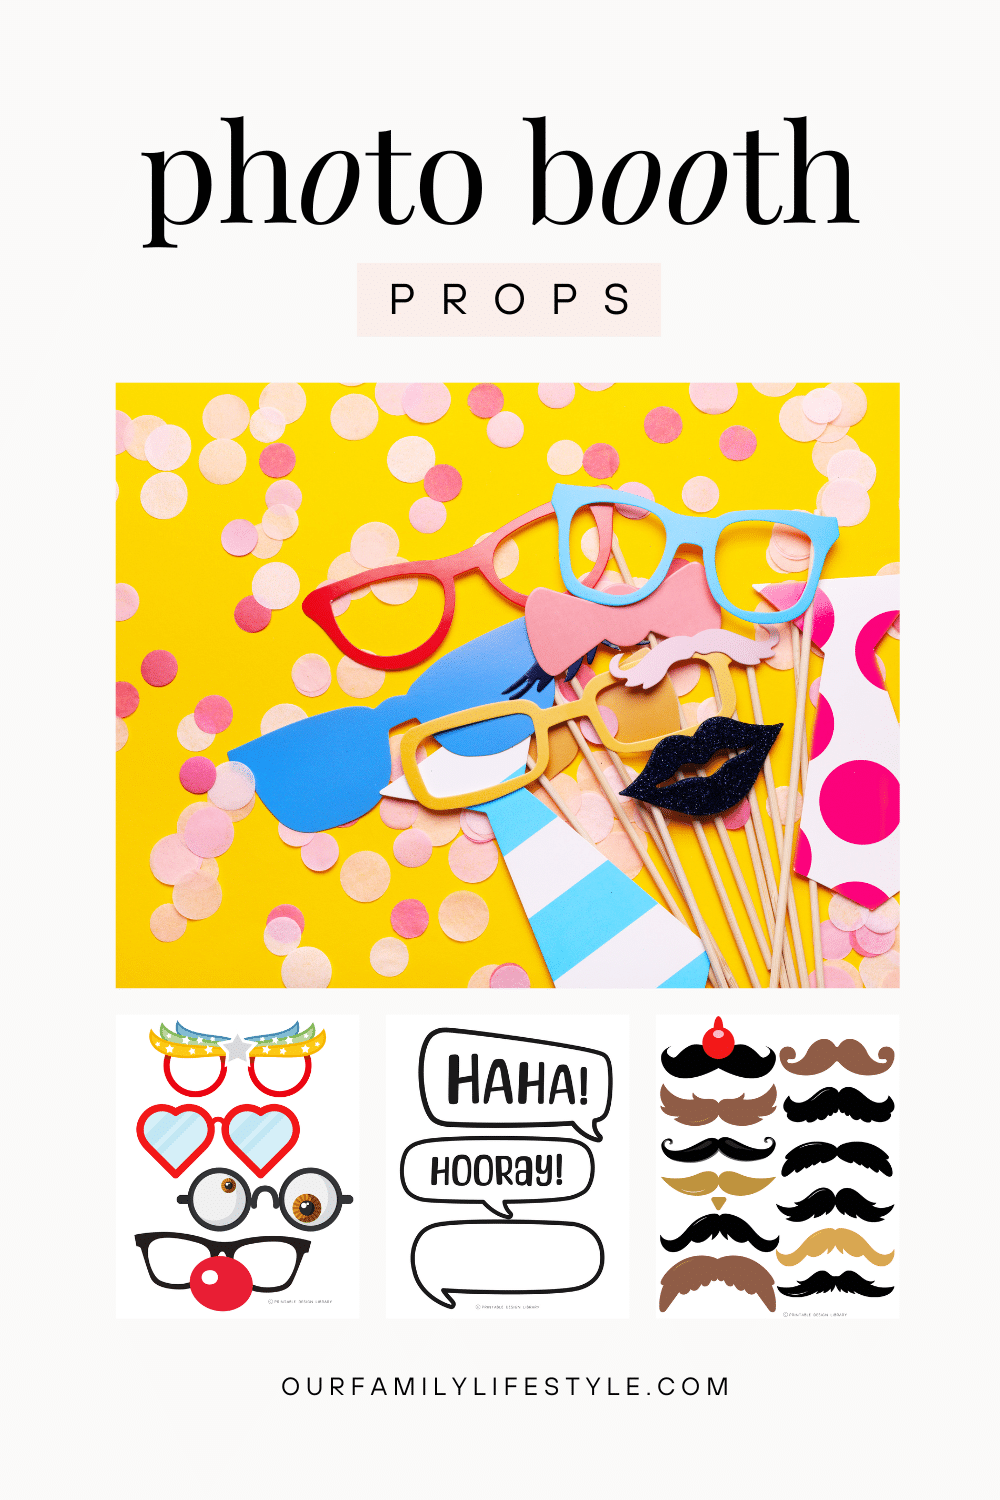
Step 5: Include Printable Props
Print birthday-themed props like hats, glasses, emoji signs, and speech bubbles. Attach to sticks using glue or tape.
Free Printable Props for DIY Photo Booth Fun
How to Print and Assemble
- Print on heavy cardstock or matte photo paper.
- Cut out with scissors.
- Tape or hot glue to dowels, straws, or popsicle sticks.
Popular Birthday Themes and Props
- Unicorns & Rainbows: Horns, clouds, and rainbow sunglasses
- Superheroes: Masks, capes, and comic-style "BOOM" signs
- Glam Party: Tiaras, red lips, champagne glasses (fake, of course!)
- TikTok-Inspired: Hashtags, music notes, and selfie emojis
DIY Photo Booth Themes to Inspire Your Setup
Kids’ Birthday Themes
- Outer Space
- Princess or Pirate Party
- Dinosaurs and Safari
Teen & Tween Vibes
- VSCO or aesthetic wall
- Neon glow-in-the-dark
- Red carpet Hollywood glam
Adult-Friendly Party Themes
- Retro 80s or 90s
- Fiesta photo booth with maracas and sombreros
- Backyard boho with pampas grass and fairy lights
Budget-Friendly Decor Ideas for Your Booth
- Dollar store balloons & streamers: Mix and match for fun color combos.
- Tissue paper flowers: Easy to make and super cute.
- DIY bunting banners: Use construction paper or print themed letters.
- Old picture frames: Hold them up as “selfie frames.”
DIY Photo Booth Checklist
✅ The Day Before:
- Print and prep photo props
- Set up the backdrop and test lighting
- Charge your phone or camera
- Make sure you have memory space
✅ The Morning Of:
- Tape down cords and tripods for safety
- Put out a small mirror so guests can check themselves
- Add a “Strike a Pose!” or “Snap & Tag” sign
Tips for Capturing Great Party Photos
Posing Tips
- Encourage silly faces, group hugs, or holding props up high.
- Assign a few guests to “work the booth” and hype everyone up.
Using Phones vs. Cameras
- Phones with portrait mode take amazing shots.
- Use Bluetooth clickers or camera timers for hands-free shooting.
Printing and Sharing Photos After the Party
- Use a mini printer (like HP Sprocket or Canon Ivy) for instant prints.
- Create a party hashtag for guests to tag their pics.
- Email or text photos later as part of a virtual thank-you.
FAQs About DIY Photo Booths
Q1: How much does it cost to make a DIY photo booth?
You can create one for under $25 using materials you already have and free printable props.
Q2: Do I need a photo printer?
Not at all! You can use digital sharing or post-party emails. But if you have one, it adds fun.
Q3: Can kids operate the photo booth?
Yes—with a simple phone stand and timer, even kids can snap pics themselves.
Q4: What’s the best lighting to use?
Natural daylight is ideal. Otherwise, try a ring light or LED lamps for even lighting.
Q5: Where can I find printable photo booth props?
Right here! I can generate themed printables for you—just ask for your party theme.
Q6: Can I use a tablet or phone as a camera?
Absolutely. Tablets are great for larger touch screens and easy viewing.
Conclusion: Snap, Smile, Repeat!
A DIY photo booth is one of the easiest ways to level up your birthday party without spending a fortune. With printable props, a creative backdrop, and a little planning, you’ll give your guests a reason to pose, laugh, and share the fun.
And the best part? You’ll have memories you can keep long after the candles are blown out.